
Building a 3D block model of a Star Wars Tie Fighter Pilot Helmet offers more than just a display piece—it’s a rewarding hands-on experience that blends creativity with precision. For beginners, the process might seem intimidating at first glance, especially with hundreds of interlocking pieces and no glue required. However, with the right approach, patience, and attention to detail, anyone can complete this project successfully. This guide walks through every stage of assembly, from unboxing to final inspection, ensuring a smooth and enjoyable build.
What Is a Block Model?
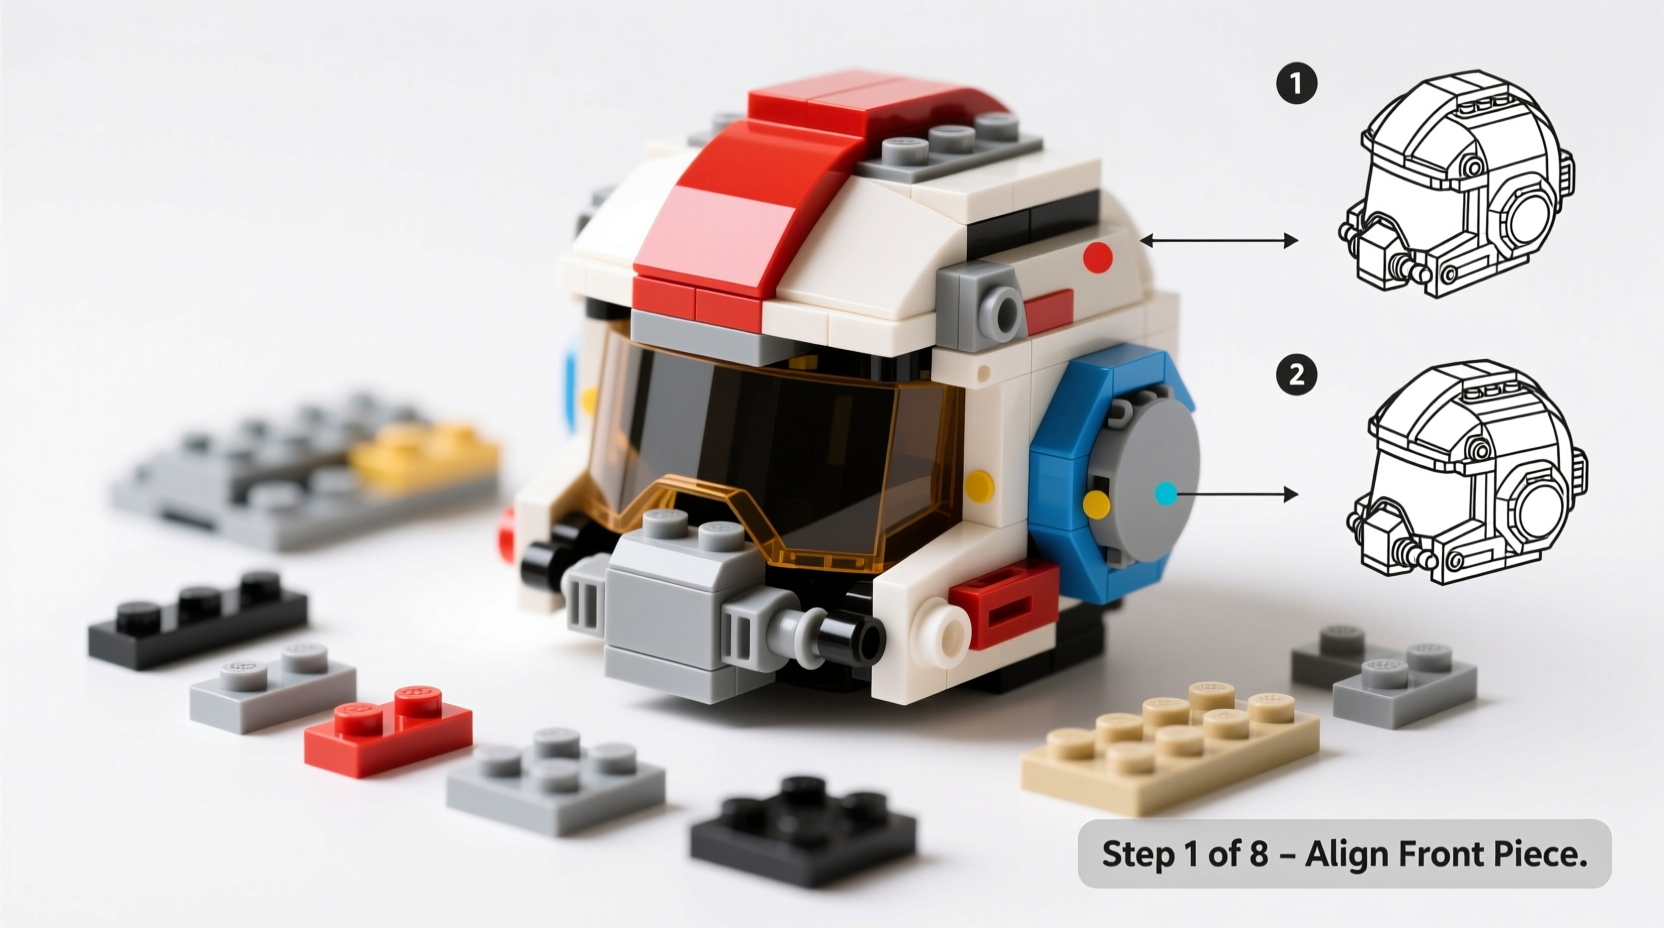
A block model is a type of construction toy made up of small, plastic interlocking bricks, often inspired by popular franchises like Star Wars. These models replicate iconic vehicles, characters, or structures using color-coded blocks that snap together without adhesives. The Tie Fighter Pilot Helmet model typically consists of 500–800 pieces, depending on the brand and scale, and is designed to mimic the angular, menacing look of the Imperial pilot gear seen in the original trilogy.
Unlike traditional LEGO sets, some block models use proprietary brick systems or simplified instructions aimed at casual builders. Still, they maintain high levels of accuracy and visual impact once completed. The finished helmet usually stands between 6 to 9 inches tall, making it an ideal desk ornament or collector’s item.
Preparation: Tools and Workspace Setup
Before starting the build, proper preparation ensures efficiency and reduces frustration. A clutter-free, well-lit workspace is essential. Natural light or a bright desk lamp helps distinguish subtle color differences between similarly shaded blocks—especially important when working with black, dark gray, and charcoal pieces common in this model.
Tip: Use a white tray or sorting container to separate pieces by color and size. This prevents misplacement and speeds up part identification during later stages.- Flat surface: A table or desk large enough to hold both the instruction manual and your ongoing build.
- Small containers: Useful for organizing loose parts (e.g., pill organizers or repurposed food containers).
- Tweezers or a brick separator (optional): Helpful for removing misplaced pieces without damaging connectors.
- Instruction manual: Always keep it nearby and consider laying it flat under a book stand or tablet holder for easy viewing.
Assembly Process: Step-by-Step Guide
The following timeline outlines the logical progression of building the Tie Fighter Pilot Helmet model. Each phase builds upon the last, so accuracy in early steps prevents complications down the line.
- Inventory Check (10–15 minutes)
Open all bags and lay out components by color and shape. Cross-reference each pile with the parts list in the manual. Missing a single connector early on can halt progress later. - Base Structure (30–45 minutes)
Begin with the lower jaw and chin section. This forms the foundation of the helmet and includes the vent grille and neck support brackets. Follow diagrams closely—orientation matters when attaching angled pieces. - Middle Frame & Eye Lens Housing (45–60 minutes)
Attach side panels and reinforce internal supports. The eye lens frame requires precise alignment; double-check symmetry before locking adjacent pieces into place. - Dome and Crest Assembly (60–75 minutes)
This is the most complex section. Build the curved upper dome in segments, then connect them gradually. The signature T-shaped crest snaps onto the top center—handle gently as over-tightening may cause cracking. - Final Detailing and Inspection (20–30 minutes)
Add minor accessories like antenna nubs, sensor dots, and interior padding details if included. Inspect all joints for tightness and visual balance.
Common Challenges and How to Avoid Them
Even experienced builders encounter hiccups. Here are frequent issues and practical solutions specific to this model:
| Issue | Solution | Prevention |
|---|---|---|
| Pieces not snapping securely | Align studs and tubes fully before pressing. Apply even pressure with fingertips. | Inspect connection points for debris or warping. |
| Asymmetry in side panels | Disassemble one side and compare row-by-row with the correct half. | Pause every few rows to verify mirror alignment. |
| Losing small parts | Use a magnetic tray for metal tools or store tiny pieces in labeled bags. | Sort parts immediately after opening. |
“Patience is the most important tool in model building. Rushing leads to mistakes that take longer to fix than to prevent.” — Daniel Reyes, Toy Design Engineer and Hobbyist Builder
Checklist: Before You Begin and After Completion
To ensure a seamless experience from start to finish, follow this comprehensive checklist:
Pre-Build Checklist:- ✔️ Open packaging carefully
- ✔️ Verify all bags are present
- ✔️ Sort pieces by color and size
- ✔️ Confirm instruction manual matches set number
- ✔️ Prepare workspace with good lighting
- ✔️ All sections securely connected
- ✔️ No visible gaps or loose bricks
- ✔️ Helmet sits evenly on its base
- ✔️ Surface cleaned with dry microfiber cloth
- ✔️ Instructions and spare parts stored safely
Frequently Asked Questions
Can children assemble this model independently?
Children aged 10 and older can participate, but adult supervision is recommended due to small parts and detailed alignment requirements. Younger builders may struggle with spatial reasoning needed for symmetrical assembly.
How long does it take to complete the helmet?
Most beginners spend between 3 to 5 hours total, spread over multiple sessions. Experienced builders can finish in under 2.5 hours with prior knowledge of similar models.
What should I do if a piece breaks during assembly?
Contact the manufacturer’s customer service with the set and piece number. Many companies offer free replacement parts via email request. Avoid using glue unless absolutely necessary, as it compromises future disassembly and resale value.
Real Example: Sarah’s First Build Experience
Sarah, a university student and casual Star Wars fan, purchased the Tie Fighter Pilot Helmet model as a weekend project. With no prior building experience beyond childhood toys, she approached it cautiously. She sorted all pieces the night before, labeling containers with masking tape. During assembly, she paused every 20 minutes to stretch and review the next few steps.
At one point, she attached a panel backward, which became evident only after three additional layers were added. Instead of forcing corrections, she used a brick separator to remove the incorrect section without damage. By taking her time and referring back to the diagram, she corrected the error and continued smoothly. The final result stood proudly on her bookshelf, sparking conversations with friends and motivating her to try more advanced models.
Final Thoughts and Next Steps
Completing a Tie Fighter Pilot Helmet block model is more than just following instructions—it’s an exercise in focus, spatial awareness, and personal satisfaction. Every click of a brick brings you closer to owning a piece of galactic history. Whether you're building for fun, decoration, or stress relief, the process itself holds value far beyond the finished product.
Once complete, consider photographing your helmet in different lighting or sharing your build journey online. Many communities welcome beginner builders and offer helpful feedback. You might even inspire someone else to pick up their first set.
💬 Finished your Tie Fighter Pilot Helmet? Share your build story, tips, or photos in the comments—your experience could help the next beginner take their first confident step into the world of block modeling.