
Carrying a camera while staying mobile—whether hiking, traveling, or navigating a busy city—requires both protection and quick access. Crossbody sports bags offer convenience, weight distribution, and hands-free mobility, but they weren’t originally designed with photography gear in mind. Without thoughtful organization, your camera can become damaged, stolen, or buried under layers of unrelated items. The key lies in balancing security, accessibility, and ergonomics. With the right setup, you can protect your investment while being ready to capture spontaneous moments.
Choose the Right Bag for Your Camera Needs
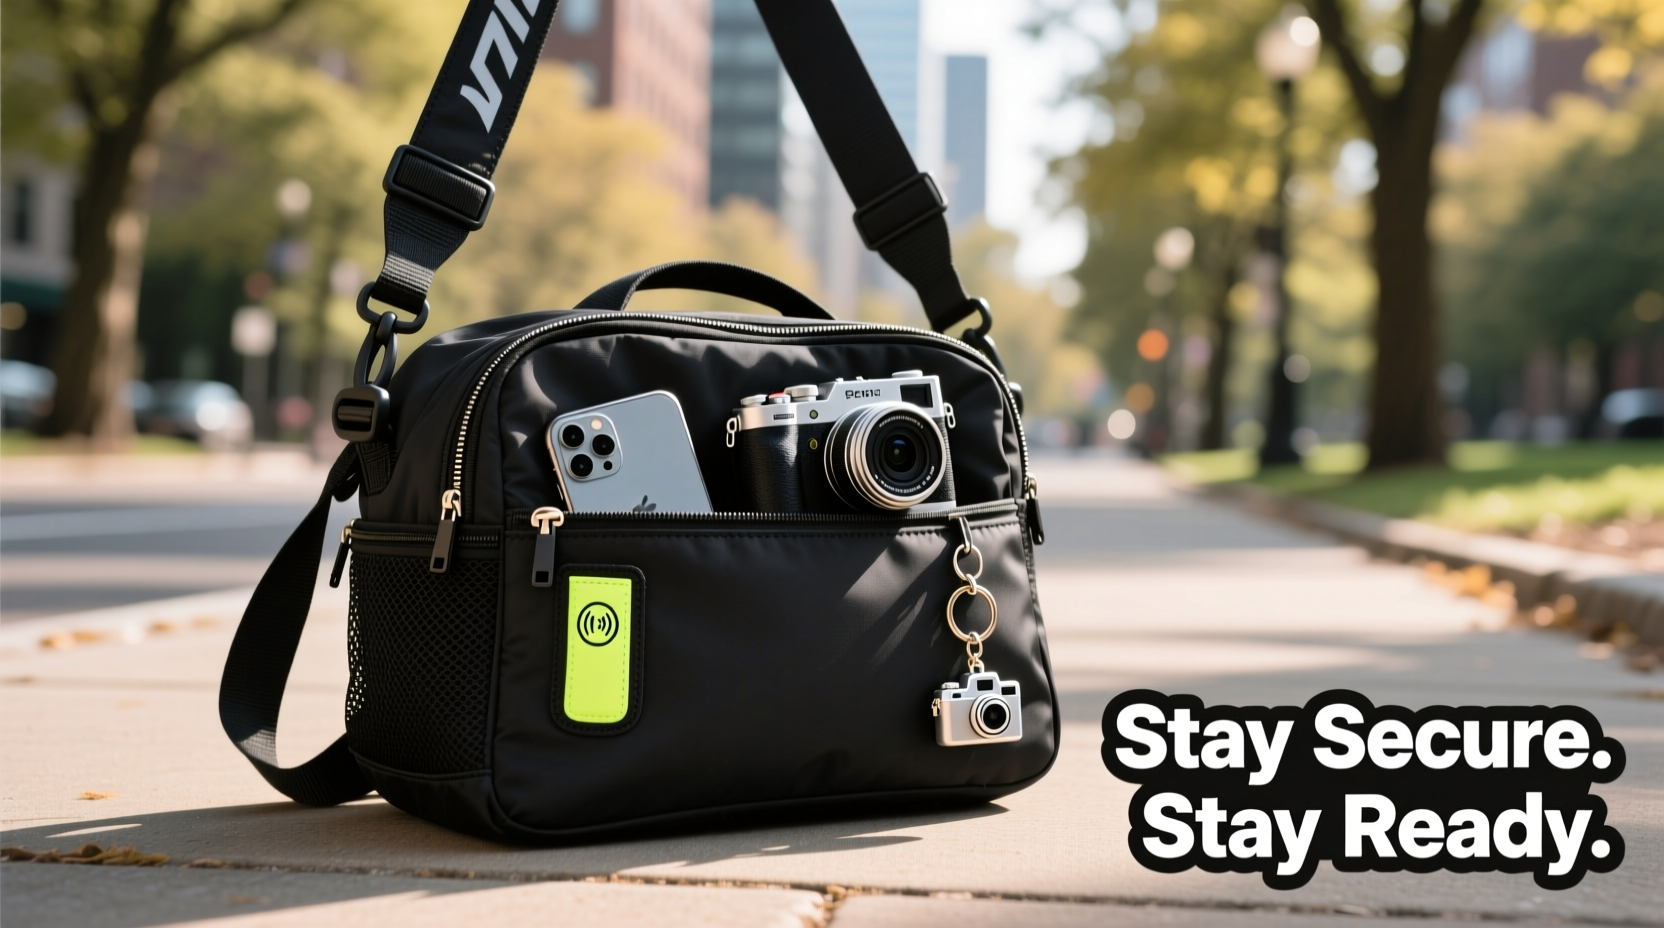
Not all crossbody sports bags are suitable for carrying cameras. Many prioritize hydration systems or gym essentials over padded compartments. When selecting a bag, look for models that include dedicated padded sleeves, internal dividers, or at least enough structure to support a compact DSLR or mirrorless setup. Consider capacity: 8–12 liters is ideal for most photographers who carry only a camera body, one lens, batteries, and a small notebook.
Material matters too. Durable, water-resistant fabrics like ripstop nylon or polyester help shield your gear from rain and abrasion. Avoid overly flimsy bags—even if they’re lightweight—since they provide minimal impact protection.
Tip: Test the bag with your camera inside before purchasing. Ensure the camera fits snugly without pressure on the lens barrel or LCD screen.Optimize Internal Organization
A disorganized bag leads to fumbling, dropped gear, and potential damage. Use internal space wisely by creating zones. If your bag lacks built-in dividers, invest in a modular insert system designed for small photo organizers. These allow you to customize padding around your camera and accessories.
Place the heaviest item—the camera—closest to your back and centered in the bag. This improves balance and reduces strain during extended wear. Store extra batteries, memory cards, and filters in zippered pockets near the top for fast access. Keep non-photo items like snacks or keys in separate external pockets to avoid digging through sensitive equipment.
| Item | Recommended Location | Rationale |
|---|---|---|
| Camera Body + Lens | Centered, against back panel | Balances weight and minimizes movement |
| Spare Battery & Cards | Top inner pocket | Quick swaps without opening main compartment |
| Phone/Wallet | Front zipper compartment | Easy access, reduces theft risk |
| Cleaning Cloth/Tripod | Side mesh or outer sleeve | Keeps main space uncluttered |
Secure Against Theft and Accidents
Crossbody bags are generally more secure than shoulder bags because they sit across your chest and are harder to snatch. However, urban environments and crowded spaces still pose risks. To enhance security:
- Wear the strap diagonally across your torso, with the bag in front of your body when walking through high-risk areas.
- Use locking zippers or add a small luggage lock to deter opportunistic thieves.
- Select bags with RFID-blocking pockets to protect personal data.
- Avoid leaving the bag unattended, even briefly.
For physical protection, ensure your camera is turned off before storing it. A powered-on camera with an extended lens can be damaged by sudden impacts or pressure from other items. Use a lens cap and body cap, and consider a protective hood or neoprene sleeve for added cushioning.
“Over 60% of camera damage during travel occurs due to improper storage in multi-use bags.” — James Reed, Field Equipment Manager at Urban Photo Expeditions
Ensure Fast Access Without Compromising Safety
The frustration of missing a shot because your camera was buried under gym clothes is real. Speed matters. Choose a bag with a clamshell or side-access design that opens flat, allowing you to see everything at once. Avoid top-loading styles unless they have a quick-pull zipper system.
Practice retrieving your camera with one hand. Position the bag so that the opening faces upward when you swing it around. Some photographers attach a small carabiner clip inside to tether the camera strap, preventing accidental drops during removal.
Tip: Pre-frame common shooting scenarios mentally. Knowing how you’ll deploy your camera helps reduce fumble time in critical moments.Mini Case Study: Street Photographer in Barcelona
Lena, a freelance street photographer, used her crossbody sports bag primarily for running errands. After switching to using it for daily photo walks, she noticed two issues: her camera got scratched from contact with keys, and she missed several candid shots due to slow access. She restructured the interior using a padded cube insert, moved her wallet to the front pocket, and began wearing the bag across her chest in tourist-heavy areas. Within a week, she reported faster reaction times and zero incidents of gear damage. “It’s not just about having the right bag,” she said. “It’s about configuring it like a tool, not a closet.”
Step-by-Step Setup Guide
Follow this sequence to configure your crossbody sports bag for optimal camera use:
- Empty the bag completely and wipe down interior surfaces with a dry microfiber cloth.
- Insert a padded divider or organizer, adjusting compartments to fit your camera snugly.
- Place the camera in the main section, lens facing inward, power off, with caps secured.
- Load essentials into designated pockets: batteries, cards, lens cloth, and cables.
- Adjust the strap length so the bag rests between your hip and lower ribcage, tight enough to prevent swinging.
- Test access and comfort by walking briskly and retrieving the camera three times.
- Add security features such as zipper clips or reflective details if used at night.
Frequently Asked Questions
Can I carry a tripod in my crossbody sports bag?
Most standard crossbody sports bags don’t accommodate full-sized tripods. However, compact travel tripods can often be strapped externally using side compression straps or stored in a large outer sleeve. For frequent tripod users, consider a hybrid photo-crossbody model designed with external mounting points.
Is it safe to carry a camera in a bag used for gym gear?
Only if the camera is isolated from sweat-soaked clothes and heavy weights. Moisture and grit from gym shoes or towels can damage camera sensors and electronics. Ideally, use a dedicated bag or a sealed waterproof pouch within the larger bag to create a clean zone.
How do I clean the inside of the bag without damaging my gear?
Remove all contents and shake out debris. Use a soft brush or lint roller to remove dust. For stains, dampen a cloth with mild soap and water, then wipe gently. Never spray liquid directly into the bag. Allow it to air-dry completely before reuse.
Maintain Long-Term Usability
Regular maintenance ensures your bag continues to protect your gear. Inspect stitching, zippers, and strap anchors monthly. Clean the exterior every few weeks depending on usage. Rotate your gear setup seasonally—switching lenses or adding weather-sealing accessories based on environment.
Store the bag in a cool, dry place when not in use. Avoid leaving it compressed under heavy objects, which can deform padding and weaken structural integrity.
“The best camera bag is the one you’re willing to carry every day.” — Chase Bennett, Travel Photographer & Gear Reviewer
Final Thoughts
Keeping your camera secure and accessible in a crossbody sports bag isn’t about buying the most expensive gear—it’s about intelligent organization, mindful habits, and practical adjustments. By treating your bag as an extension of your photographic workflow, you gain confidence in your ability to move freely while staying prepared. Whether you're documenting a journey or capturing fleeting expressions in the city, a well-configured crossbody setup empowers you to stay agile, protected, and always ready.
🚀 Ready to optimize your carry system? Reorganize your bag tonight using these strategies and test it tomorrow. Share your setup tips in the comments—your experience could help another photographer get the perfect shot.