
Storing a bicycle in a garage can quickly become chaotic if not handled with intention. Bikes left on the floor take up valuable space, create tripping hazards, and are more prone to damage from moisture, dust, or accidental bumps. The most practical solution? Hanging your bike vertically or horizontally from the ceiling or wall. When done right, this method saves space, keeps your ride accessible, and protects its components. This guide walks through the simplest, most effective approach to hanging a bicycle in your garage—without complexity, costly tools, or guesswork.
Why Hang Your Bike in the Garage?
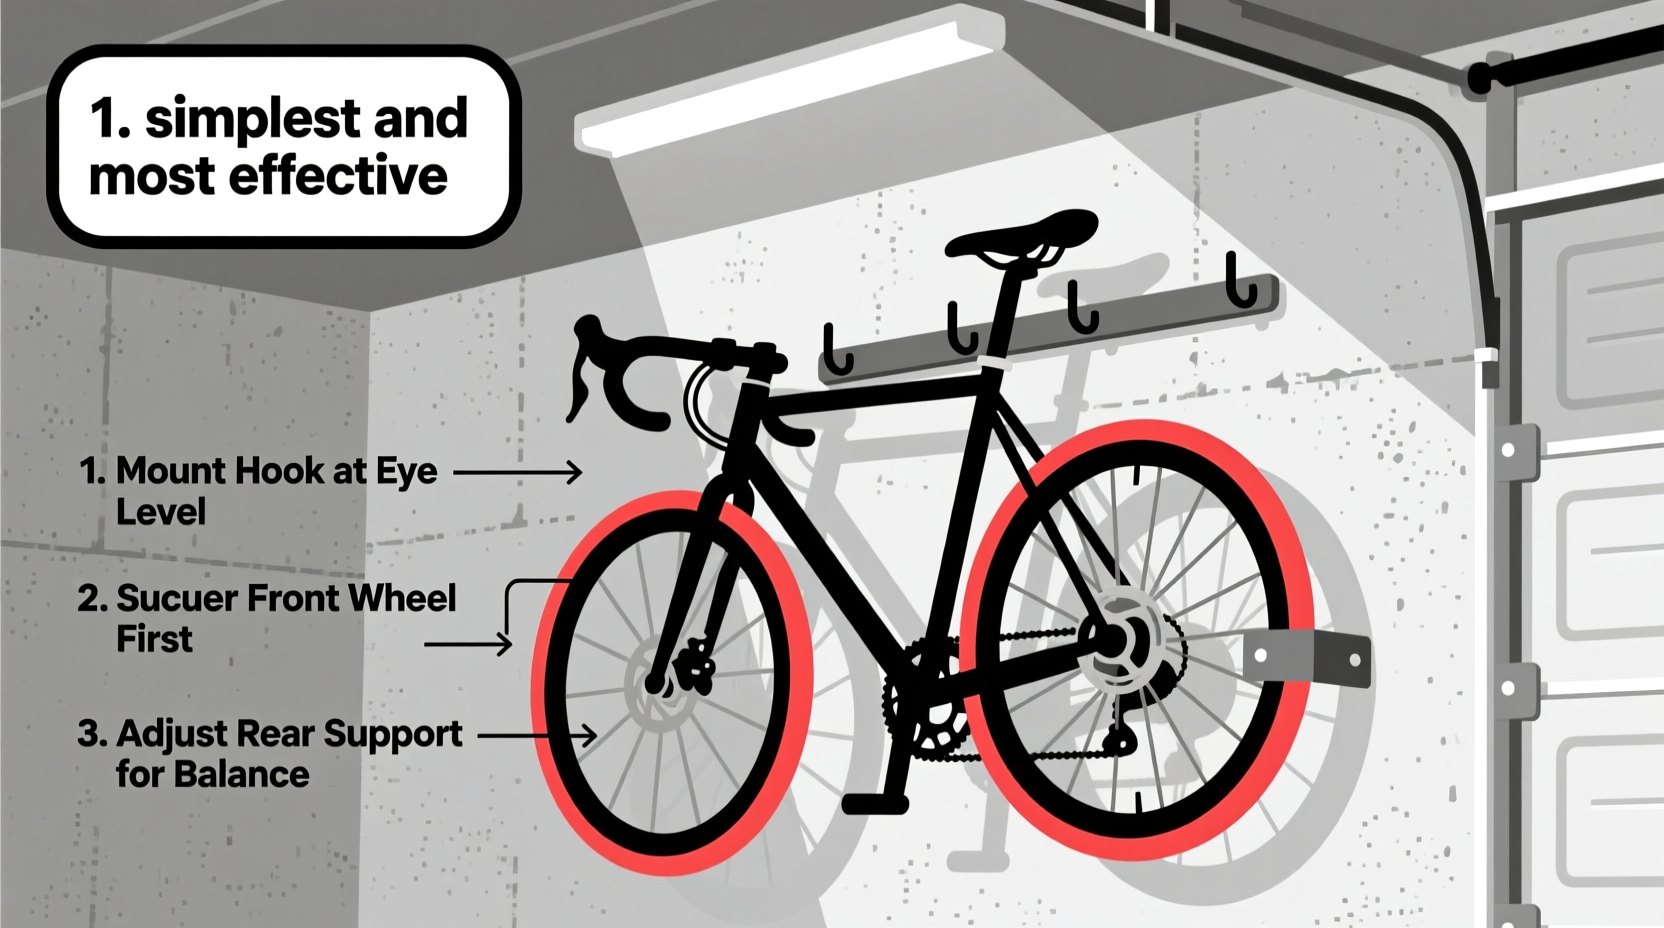
Before diving into methods, it’s important to understand why hanging is superior to floor storage. A garage may seem like a safe place, but ground-level storage exposes bikes to humidity, foot traffic, and clutter. Over time, this leads to rust, chain wear, tire deformation, and even frame stress. By lifting your bike off the ground, you mitigate these risks.
Hanging also maximizes usable space. In a typical two-bike household, upright floor stands consume over 4 square feet per bike. Ceiling-mounted systems, by contrast, free up floor area for tools, vehicles, or storage bins. Plus, an elevated bike is easier to inspect, clean, and maintain—no crouching or dragging across concrete.
Tip: Always store your bike with tires slightly inflated—even during long-term storage—to prevent flat spots.The Best Method: Ceiling-Mounted Hooks with Straps
The most effective and widely recommended way to hang a bicycle in the garage is using ceiling-mounted hooks paired with soft suspension straps. This system supports the bike by the wheels, keeping it stable and minimizing strain on components.
Unlike single-point hoists that dangle the bike by the front wheel (which can cause fork misalignment over time), dual-wheel suspension balances weight evenly. It's ideal for all bike types—from road and mountain to e-bikes and hybrids.
How It Works
The setup involves two heavy-duty J-hooks or pulley mounts installed into ceiling joists, spaced to match your bike’s wheelbase (typically 38–44 inches apart). Each hook connects to a webbed strap with a quick-release buckle. You lift the bike, rest each wheel into its cradle, and secure the straps. The entire process takes under a minute once installed.
This method keeps the bike vertical, which prevents brake fluid pooling in hydraulic lines and avoids tire warping. It also allows for easy access—you simply unhook one side to swing the bike down.
“Proper overhead storage not only preserves bike integrity but significantly extends component life.” — David Lin, Bicycle Maintenance Instructor at Urban Cycling Institute
Step-by-Step Installation Guide
Setting up a ceiling-hang system is straightforward. Follow these steps to ensure safety, stability, and longevity.
- Locate ceiling joists: Use a stud finder to identify wooden joists in your garage ceiling. These provide the necessary structural support. Avoid drywall anchors—they cannot handle dynamic loads.
- Mark spacing: Measure your bike’s wheelbase (distance between front and rear axles). Mark two points on adjacent joists at this distance apart. Standard spacing is 40 inches for most adult bikes.
- Install heavy-duty eye bolts or J-hooks: Drill pilot holes and screw in threaded hooks rated for at least 80 lbs each. Ensure they are seated flush and rotate smoothly.
- Attach suspension straps: Use UV-resistant nylon straps with padded cradles. Loop them over the hooks and adjust length so the bike hangs 12–18 inches above the floor.
- Test stability: Gently lift the bike into position. Check that both wheels are secure and the frame doesn’t tilt. Give it a light shake to confirm no slippage.
Alternative Methods Compared
While ceiling suspension is optimal, other options exist. Each has trade-offs in cost, space use, and ease of access.
| Method | Pros | Cons | Best For |
|---|---|---|---|
| Ceiling Hooks + Straps | Maximizes floor space, protects bike, easy access | Requires joist access, installation effort | All bike types, multi-bike households |
| Wall-Mounted Racks | Simple install, affordable, good visibility | Takes wall space, less protection from debris | Single bikes, narrow garages |
| Floor Stands (Upright) | No installation, portable | Wastes space, risk of tipping | Short-term storage, renters |
| Pulley Hoists (Single Wheel) | Lifts high, compact | Strains fork, harder to balance | Lightweight bikes, low headroom |
Real-World Example: The Johnson Family Garage
The Johnsons own three bicycles—a hybrid commuter, a mountain bike, and a kids’ BMX. Their two-car garage was constantly cluttered, with bikes leaning against lawnmowers and paint cans. After installing ceiling-mounted strap hangers, they reclaimed nearly 50 square feet of floor space.
“We used bungee cords at first,” says Mark Johnson, “but they frayed and didn’t hold well. Once we upgraded to proper straps anchored into joists, it made a huge difference. Now the kids can grab their bikes safely, and I don’t worry about scratches or rust.”
The family now uses the freed-up space for a foldable workbench and storage bins. They hang all three bikes within arm’s reach of the garage door, making morning rides effortless.
Common Mistakes to Avoid
- Mounting into drywall only: Drywall cannot support a bike’s weight over time. Always anchor into wooden joists or beams.
- Using worn or thin ropes: Frayed cords or thin string may snap. Invest in thick, weather-resistant straps.
- Hanging by the saddle or handlebars: This can deform soft parts and unbalance the bike. Support should be at the wheels.
- Overcrowding multiple bikes: Allow at least 10 inches between suspended bikes to prevent contact and scratches.
Checklist: Preparing to Hang Your Bike
Use this checklist before installing your system:
- ☐ Measure your bike’s wheelbase
- ☐ Locate ceiling joists with a stud finder
- ☐ Purchase two heavy-duty J-hooks (rated 80+ lbs)
- ☐ Get adjustable nylon straps with rubber-lined cradles
- ☐ Clear workspace and ensure ladder stability
- ☐ Test load with sandbag or weight before hanging bike
FAQ
Can I hang an electric bike this way?
Yes, as long as the mounting hardware is rated for the bike’s total weight (often 50–70 lbs for e-bikes). Use commercial-grade hooks and check manufacturer guidelines.
Is it safe to hang a carbon fiber bike?
Absolutely. Suspension by the wheels does not stress the frame. Just avoid resting sharp edges against metal hooks—use padded straps.
How high should I hang the bike?
Keep the lowest point (usually pedals) 12–18 inches above the floor. This prevents accidental kicks and allows room for parked vehicles.
Final Thoughts
The simplest and most effective way to hang a bicycle in the garage is with a ceiling-mounted strap system anchored into structural joists. It’s affordable, space-efficient, and protective. Whether you own one bike or five, this method brings order, safety, and convenience to your garage.
Take action today: measure your bike, locate your ceiling supports, and install a system that lasts for years. A few hours of effort now will save you countless minutes of frustration—and extend the life of your ride.
🚀 Ready to reclaim your garage? Start with one bike, get the right hardware, and enjoy a cleaner, smarter storage solution. Share your setup in the comments below!