Securing your bait or lure to a fishing hook might seem like a minor step in angling, but the right knot can mean the difference between landing a trophy fish and losing it moments after the strike. A poorly tied knot is one of the most common causes of lost fish—even when using high-quality gear. The best knot for a fishing hook combines strength, reliability, and ease of use under real-world conditions. This guide explores the most dependable knots, essential tools, and practical tips to ensure your connection holds when it matters most.
Why Knot Strength Matters
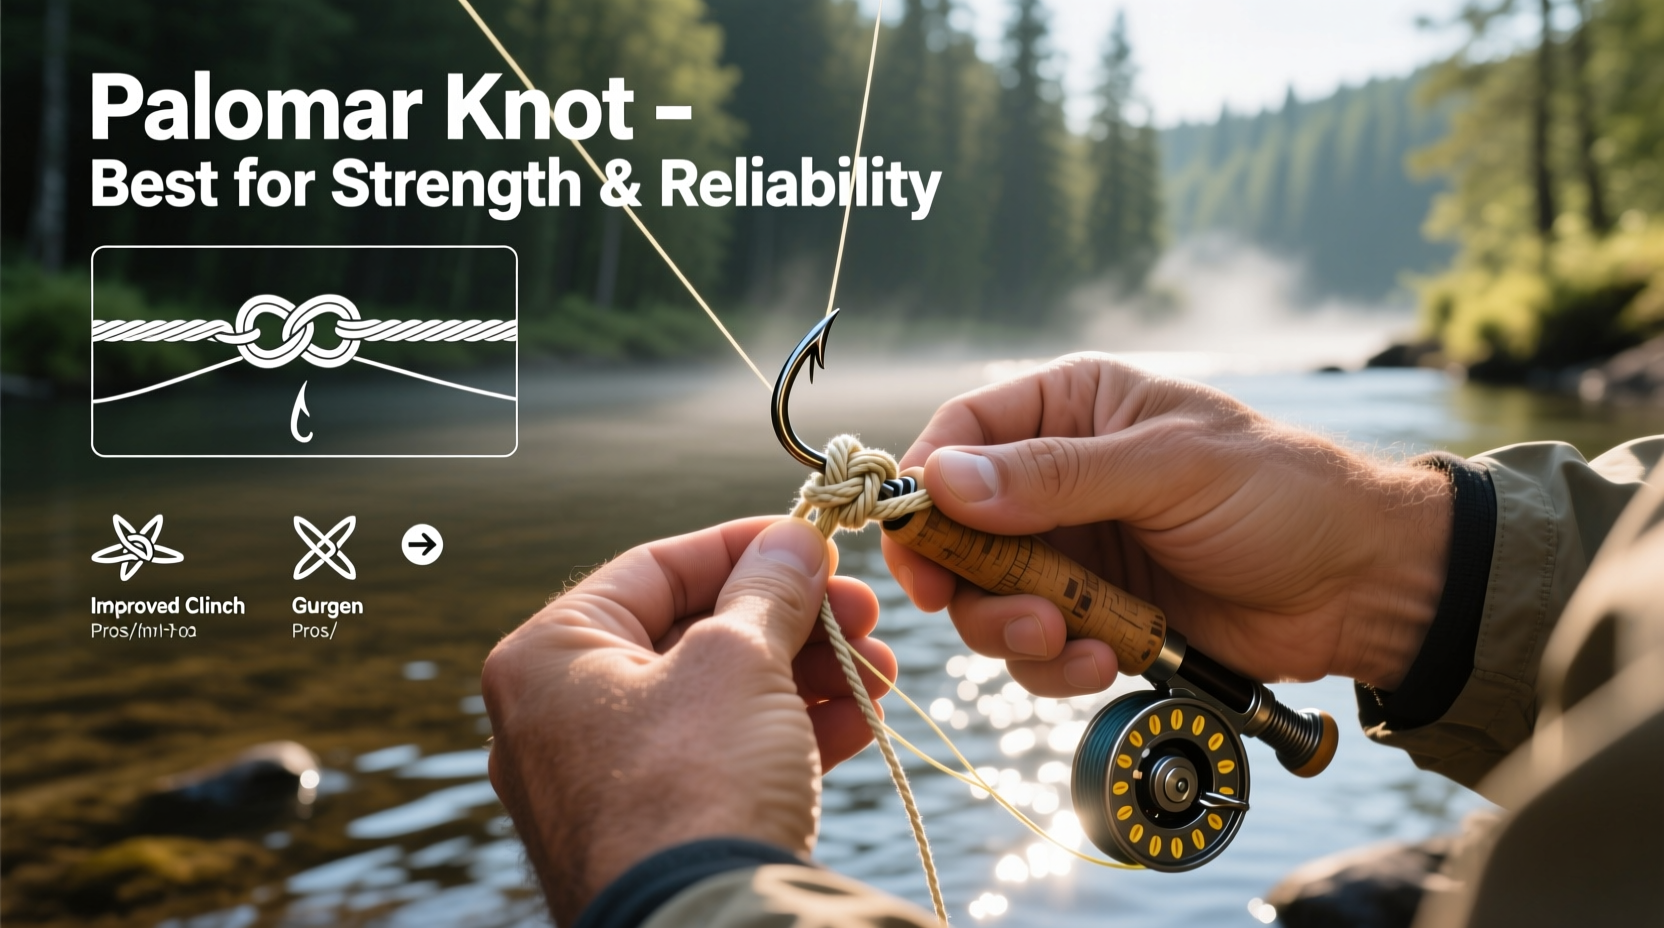
The fishing line is only as strong as its weakest point, and that point is often the knot. Even the highest tensile-strength line can lose up to 50% of its rated power if tied incorrectly. Factors such as abrasion, water exposure, and sudden tension spikes during a fight amplify the importance of a secure knot. Anglers targeting powerful species like bass, pike, or saltwater gamefish need knots that resist slippage and maintain integrity under pressure.
Knot performance depends on several variables: line type (monofilament, fluorocarbon, or braid), hook size, and environmental conditions. For example, fluorocarbon is stiffer and more abrasion-resistant than monofilament but requires extra attention when wetting and tightening to prevent weak knots.
Tip: Always moisten your knot with saliva or water before tightening—this reduces friction and prevents heat damage that can weaken synthetic lines.Top 5 Recommended Knots for Fishing Hooks
Not all knots are created equal. The following five have earned widespread trust among professional anglers and guides due to their balance of strength, simplicity, and adaptability across line types.
- Palomar Knot – Ideal for monofilament and fluorocarbon, this knot retains up to 95% of line strength. It’s especially effective for braided lines when tied carefully.
- Improved Clinch Knot – A classic favorite for attaching lures and hooks. Works best with monofilament and smaller-diameter lines.
- Trilene Knot (Double Loop Clinch) – Offers excellent grip on slippery braid and fluorocarbon. Easy to tie and highly reliable.
- Uni Knot – Versatile and strong, suitable for connecting line to hook, swivel, or even joining two lines. Requires practice but delivers consistent results.
- Non-Slip Loop Knot (Kreh Knot) – Creates a free-swinging loop that allows lures and soft plastics to move more naturally, increasing strike rates.
Choosing the Right Knot by Line Type
| Line Type | Best Knot | Why It Works |
|---|---|---|
| Monofilament | Improved Clinch Knot | High knot strength; easy to inspect and retie quickly. |
| Fluorocarbon | Palomar Knot | Minimizes slippage; performs well with stiff material. |
| Braided Line | Trilene Knot or Palomar | Resists slipping due to multiple wraps and secure cinching. |
| All-Purpose / Mixed Use | Uni Knot | Adaptable to various terminals and line types with consistent strength. |
Essential Tools for Tying Reliable Knots
While skill is paramount, having the right tools streamlines the knot-tying process and improves consistency—especially in challenging conditions like wind, rain, or low light.
- Knot Tying Tool / Hook Threader – Helps feed line through small hook eyes, reducing frustration and finger strain.
- Line Trimmer or Scissors – Sharp cutting tools ensure clean ends, which are critical for proper knot seating.
- Knot Lube or Water Bottle – Keeping lips moist or carrying a small spray bottle helps wet knots efficiently.
- Magnifying Clip-On Light – Useful for night fishing or early mornings when visibility is poor.
- Practice Rig – A dummy hook setup on a keychain allows you to rehearse knots until they become second nature.
Step-by-Step: How to Tie the Palomar Knot (Recommended for Most Situations)
The Palomar knot is widely regarded as one of the strongest and easiest-to-tie options for securing a hook. Follow these steps precisely:
- Fold about 6 inches of line to form a double strand.
- Pass the loop through the eye of the hook.
- Tie a simple overhand knot with the doubled line, leaving the loop open.
- Pass the hook through the large loop.
- Pull both standing line and tag end to tighten the overhand knot.
- Moisten the knot, then pull firmly on the standing line to seat it fully.
- Trim the tag end close to the knot.
This knot excels because it uses a double line throughout, minimizing stress points and maintaining alignment during tension. When tied correctly, failure usually occurs in the line itself—not the knot.
Common Mistakes That Weaken Your Knot
Even experienced anglers make errors that compromise knot integrity. Avoid these pitfalls:
- Skipping the wetting step – Dry friction melts microfibers in synthetic lines.
- Incorrect line routing – Crossing strands or twisting loops creates weak spots.
- Rushing the cinch – Pull gradually to allow the knot to form evenly.
- Using worn or frayed line – Inspect the last few feet regularly and cut off damaged sections.
- Improper trimming – Too much tag left can snag; too little risks unraveling.
“More fish are lost above the knot than below it.” — Lefty Kreh, Legendary Fly Fishing Guide and Author
Real-World Example: Bass Fishing in Heavy Cover
Mark, an avid freshwater angler from Tennessee, consistently targeted largemouth bass around thick vegetation and submerged timber. He used heavy fluorocarbon line and jigs, but kept losing fish within seconds of setting the hook. After reviewing his technique, he realized he was relying on an old habit—the standard clinch knot—which slipped under sudden torque near structure.
He switched to the Palomar knot, ensuring each was properly moistened and seated. Within a weekend, he landed three personal-best bass without a single break-off at the hook. The change wasn’t in gear quality, but in knot reliability.
Checklist: Ensuring Every Knot You Tie Is Secure
Use this checklist every time you attach a new hook or lure:
- ✅ Inspect the line for nicks, kinks, or abrasions.
- ✅ Choose the appropriate knot for your line type and hook size.
- ✅ Double-check that the line passes cleanly through the eye.
- ✅ Wet the knot before tightening.
- ✅ Pull slowly and steadily to seat the knot completely.
- ✅ Trim the tag end to 1/8 inch (3 mm).
- ✅ Give the line a firm tug to test security before casting.
Frequently Asked Questions
What is the strongest knot for tying a hook?
The Palomar knot is generally considered the strongest for most line types, retaining up to 95% of the line’s original strength. It performs exceptionally well with braided and fluorocarbon lines when tied correctly.
Can I use the same knot for all types of fishing line?
While some knots like the Uni Knot are versatile, others are optimized for specific materials. For instance, the Improved Clinch works well with mono but may slip on braid. Always match the knot to your line type for optimal performance.
How often should I re-tie my hook?
Retie after every major catch, visible abrasion, or if you suspect the knot has been compromised. As a rule of thumb, replace terminal rigs at least once per outing, especially in rocky or snag-prone environments.
Final Thoughts and Call to Action
Mastering the best knot for a fishing hook isn’t just about technique—it’s about confidence. Knowing your connection will hold allows you to focus on reading the water, presenting your bait naturally, and playing fish effectively. Whether you’re a weekend warrior or a seasoned pro, investing time in perfecting your knots pays dividends every time the rod bends.
🚀 Take action today: Retie your current rig using the Palomar knot, test its strength, and commit to practicing one new knot this week. Share your experience or ask questions in the comments—let’s build a stronger angling community together.