Fishing is as much about precision and preparation as it is about patience. A well-set-up fishing rod can transform a frustrating day on the water into one filled with consistent bites and successful landings. Too often, anglers overlook the importance of proper rod configuration, only to struggle with poor casting distance, line tangles, or missed hooksets. By mastering your fishing rod setup with deliberate attention to detail, you gain control, confidence, and ultimately, better results.
Selecting the Right Rod and Reel Combination
The foundation of any effective fishing setup begins with pairing the correct rod and reel. Mismatched gear leads to imbalance, reduced sensitivity, and mechanical inefficiency. Consider species, fishing environment, and technique when choosing your equipment.
Rods are categorized by power (light, medium, heavy) and action (fast, moderate, slow). A light-power, fast-action rod excels in finesse techniques like drop-shotting for bass, while a heavy-power, moderate-action rod handles deep-jigging for walleye or trolling large lures. Reels must match the rod’s weight capacity and line rating. Spinning reels suit lighter lines and finesse work; baitcasting reels offer greater control with heavier lures and lines.
Tip: Always check the manufacturer’s specifications on the rod blank and reel to ensure compatibility in line weight and lure size.Step-by-Step Guide to Threading Your Line
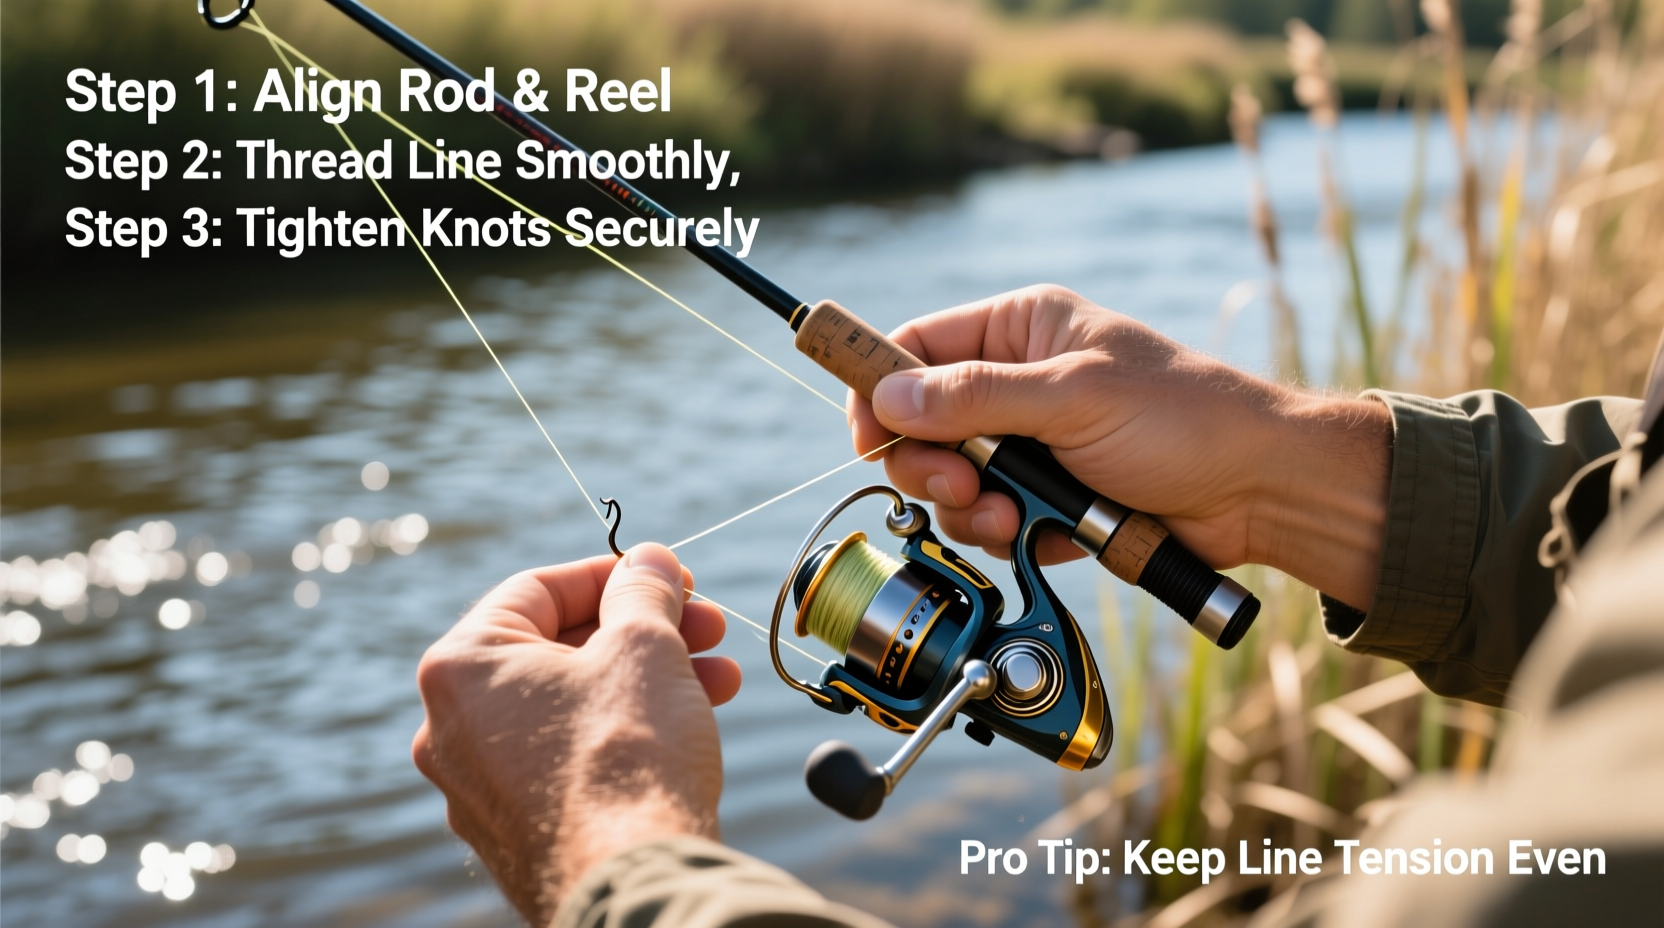
Proper line threading ensures smooth performance and prevents wind knots or friction hotspots. Follow this sequence carefully:
- Attach the line to the reel spool using an arbor knot. Wrap the line around the spool base, tie a simple overhand knot around itself, then secure it with a second knot over the tag end.
- Leave about 1/8 inch of space from the spool edge when filling. Overfilling causes line to jump off during casting; underfilling reduces casting distance.
- Thread the line through the rod guides starting from the reel. Begin at the lowest guide near the reel and move upward toward the tip. Pull the line smoothly—do not force it.
- Wet the line before initial use to minimize memory and help it settle evenly on the spool.
- Test tension by reeling in slowly, checking for snags or resistance at each guide.
| Guide Number | Function |
|---|---|
| 1 (lowest) | Directs line from reel to first major guide; critical for reducing friction |
| 2–5 (mid-section) | Distribute stress along the rod blank during casting and fighting fish |
| Last guide (tip) | Controls line direction and enhances casting accuracy |
Choosing and Tying the Right Knot
No matter how advanced your gear, a weak knot is the weakest link. The most reliable knots balance strength, ease of tying, and suitability to line type.
- Improved Clinch Knot: Ideal for monofilament and fluorocarbon up to 15 lb test. Secure for hooks, lures, and swivels.
- Palomar Knot: Excellent for braided line. High strength retention and easy to tie in low light.
- Uni Knot: Versatile for joining lines or attaching line to reel. Also used as a loop knot for enhanced lure action.
Tie every knot slowly the first few times, ensuring each wrap lies flat without crossing. Moisten the line before tightening to prevent heat damage. Trim the tag end to 1/8 inch—longer ends may snag; shorter ones risk unraveling.
“Over 70% of lost fish are due to knot failure, not rod or reel issues.” — Captain Ray Sanders, Professional Fishing Guide with 30 years’ experience
Optimizing Casting Performance
Smooth casting requires synchronization between rod flex, reel drag, and line weight. Poor form or misaligned components disrupt energy transfer, leading to clunky throws and backlashes—especially with baitcasters.
For spinning rods, keep the bail open and place your index finger on the line. Use a controlled forward snap, releasing the line at the peak of the motion. For baitcasters, adjust the magnetic or centrifugal brake system according to wind conditions and lure weight. Start with higher settings when learning, then fine-tune for distance and accuracy.
Tip: Practice casting with a rubber lure or practice plug in an open field to refine timing and release without wasting tackle.Common Do’s and Don’ts for Smooth Casting
| Do’s | Don’ts |
|---|---|
| Match lure weight to rod specifications | Use lures too heavy or too light for the rod |
| Keep wrist firm and use forearm motion | Flip wrist excessively, causing erratic casts |
| Clean guides regularly to prevent line wear | Ignore frayed line or cracked guides |
| Re-spool line every 3–6 months | Keep old, sun-damaged line on the reel |
Real-World Example: Turning Around a Tough Day on the Lake
Dave, an amateur angler from Minnesota, spent two weekends struggling on Lake Minnetonka. Despite using top-tier gear, he experienced constant backlashes with his new baitcaster and rarely cast beyond 30 feet. Frustrated, he switched back to a spinning rod but still caught nothing.
After consulting a local guide, Dave discovered three key oversights: his spool was overfilled, his brake system was set too low, and he was using a 1/2 oz crankbait on a medium-light rod rated for 1/8–1/4 oz. He adjusted the spool fill, reset the brakes, and switched to a medium-heavy baitcaster rod matched with a 3/8 oz lure. His casting distance improved to over 60 feet, backlash disappeared, and that afternoon he landed four smallmouth bass.
This case illustrates how technical details directly impact success. Small adjustments in setup yield dramatic improvements in performance.
Essential Setup Checklist
Use this checklist before every fishing trip to ensure optimal readiness:
- ✅ Rod and reel properly matched by power, action, and line rating
- ✅ Line securely attached to reel with correct knot (arbor knot)
- ✅ Line threaded through all guides in order, no skips or twists
- ✅ Spool filled within 1/8 inch of rim
- ✅ Leader or mainline tied to lure with appropriate knot (e.g., Palomar for braid)
- ✅ Drag system pre-set (lightly tightened for casting, adjusted after hookset)
- ✅ Guides inspected for cracks or debris
- ✅ Test cast performed in open area to confirm smooth release
FAQ
How tight should I set the drag before casting?
Set the drag just tight enough to allow line to peel under strong pressure but not so loose that it overruns during casting. For baitcasters, start at 1/4 to 1/3 of the line’s breaking strength. Adjust tighter once a fish is hooked.
Why does my line keep tangling during casting?
Tangles often result from incorrect spool fill, mismatched lure weight, or improper braking. Check that your lure falls within the rod’s recommended range, reduce spool overfill, and increase brake settings if using a baitcaster. Also inspect for line twist caused by repeated one-directional retrieves.
Should I use a leader, and what type?
Leaders improve abrasion resistance and reduce visibility. Use fluorocarbon leaders (4–12 lb test) when fishing clear water or around structure. In murky water or heavy cover, monofilament or even direct braid may suffice.
Final Thoughts: Consistency Breeds Success
Mastering your fishing rod setup isn’t a one-time task—it’s an ongoing practice. Each adjustment, from knot selection to drag tension, contributes to a seamless experience on the water. When your gear works in harmony, casting becomes instinctive, strikes are felt instantly, and landing fish feels less like luck and more like skill.
Take time before each outing to inspect and refine your setup. Record what works—rod, reel, line, knot, lure—and replicate success. The most productive anglers aren’t always the ones with the most expensive gear, but those who understand how to make their equipment perform at its peak.
💬 What’s your go-to rod setup for your favorite fishing spot? Share your proven combination and tips with fellow anglers in the comments below!