For hikers who rely on GPS devices, headlamps, smartphones, or satellite messengers, staying powered is not a luxury—it’s a safety necessity. As outdoor enthusiasts seek sustainable, off-grid solutions, solar chargers have surged in popularity. But behind the promise of endless energy from sunlight lies a critical question: Are solar chargers truly reliable on the trail, or are they just as unpredictable as the weather?
The answer isn’t a simple yes or no. Solar charger reliability depends on a combination of technology, environment, user habits, and expectations. When used wisely, solar can be a dependable ally. When misunderstood or misused, it can leave you with a dead phone at a crucial moment.
How Solar Chargers Work in the Wild
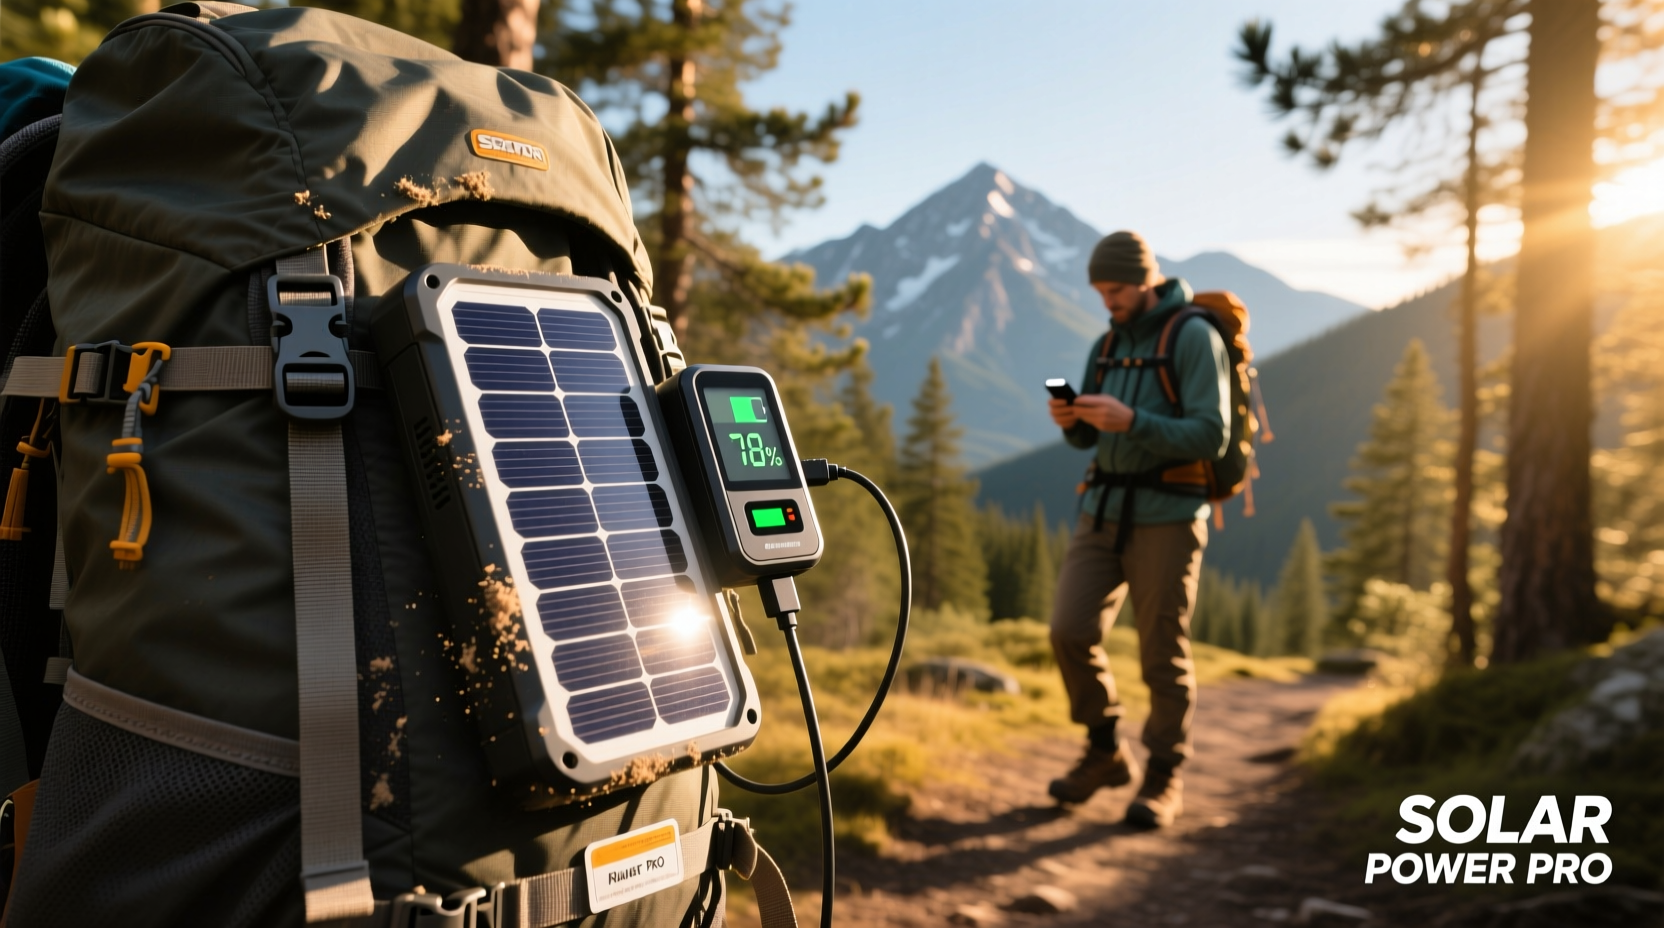
Solar chargers convert sunlight into electrical energy using photovoltaic (PV) cells. These cells generate direct current (DC), which is then regulated by internal circuitry to safely charge USB-powered devices. Most portable models fold into compact units with built-in panels and often include a small battery buffer.
In ideal conditions—direct sunlight, clear skies, optimal panel angle—a quality solar charger can deliver consistent power. However, hiking rarely takes place under ideal conditions. Trails wind through forests, mountain passes, and valleys where shade, cloud cover, and changing angles reduce efficiency.
Unlike wall charging, solar power delivery is variable. A 10-watt panel might produce only 3–4 watts under partial shade or overcast skies. This means charging times can stretch from hours to days, depending on circumstances.
Tip: Angle your solar panel toward the sun every few hours. Even a 30-degree adjustment can increase output by up to 40%.Factors That Impact Reliability
Several environmental and technical factors determine whether a solar charger performs well on the trail.
Sun Exposure and Weather Conditions
Full sun is essential. Dense tree canopy, fog, or storms dramatically reduce energy production. Hikers in alpine zones may enjoy clearer skies and longer daylight, but those traversing dense forests or rainy seasons face significant limitations.
Panel Quality and Efficiency
Not all solar panels are created equal. Monocrystalline panels are more efficient than polycrystalline or amorphous types, especially in low-light conditions. Higher efficiency means better performance when sunlight is indirect or fleeting.
Battery Buffer vs. Direct Charging
Some solar chargers lack internal batteries and require direct sunlight to charge devices. Others include a built-in power bank that stores energy for later use. The latter is far more practical for hiking, allowing you to collect sun during the day and charge devices at night.
Device Power Demands
A smartphone consumes more power than a headlamp or GPS unit. Charging a modern smartphone fully may require 5–8 hours of strong sunlight with a 10W panel. Heavy users streaming maps or taking photos will drain batteries faster than solar can replenish them.
“Solar is not a plug-and-forget solution. It’s an energy harvesting tool that requires planning and patience.” — Dr. Lena Torres, Renewable Energy Researcher at Mountain Tech Institute
Do’s and Don’ts of Using Solar Chargers on the Trail
| Action | Recommendation | Reason |
|---|---|---|
| Use a model with a built-in battery | ✅ Do | Stores energy for use when sun isn’t available |
| Leave panel exposed during breaks | ✅ Do | Maximizes passive charging while hiking |
| Expect fast charging in cloudy weather | ❌ Don’t | Output drops significantly under overcast skies |
| Place panel inside a backpack | ❌ Don’t | No light penetration = zero charging |
| Pair with a lightweight power bank | ✅ Do | Hybrid setup ensures redundancy |
Real-World Example: A Weeklong Trek in the Sierra Nevada
Consider Alex, an experienced backpacker hiking the John Muir Trail. He carried a 12W foldable solar charger with a 10,000mAh battery. His gear included a smartphone for navigation, a headlamp, and a Garmin inReach Mini.
Days 1–2 were sunny and open. He clipped the solar panel to his pack and angled it upward. By the end of each day, the charger had topped off its internal battery and partially charged his phone.
Day 3 entered a shaded pine forest with limited sun. The panel produced minimal power. Fortunately, he’d stored enough energy from previous days to keep his devices functional.
On Day 5, a storm rolled in. For 12 hours, there was no usable sunlight. He relied entirely on stored power. Without the buffer battery, his devices would have died.
By trip’s end, his phone remained at 30%, his Garmin stayed online, and his headlamp never failed. The solar charger didn’t replace careful power management—but it made the difference between anxiety and confidence.
Tip: Always carry a secondary backup—like a compact power bank—even if you trust your solar setup.Choosing the Right Solar Charger for Hiking
Reliability starts with selection. Not every solar product marketed for outdoors delivers in real conditions. Here’s what to look for:
- Wattage: 10W to 15W is ideal for balancing weight and output. Below 7W may struggle to charge modern devices.
- Efficiency: Choose monocrystalline panels—they perform better in diffuse light and cooler temperatures.
- Durability: Look for water-resistant, rugged designs. Some models are rated IPX4 or higher.
- Portability: Foldable, lightweight options (under 1 lb) integrate easily into backpacks.
- USB Output: Dual USB ports allow charging multiple devices. Check for USB-C and smart regulation to prevent overheating.
- Built-in Battery: Strongly recommended. A 5,000–10,000mAh capacity provides meaningful storage.
Popular models like the Goal Zero Nomad 10, Anker PowerPort Solar Lite, and BigBlue 28W have earned reputations for durability and real-world performance. However, even top-tier models depend on how they’re used.
Step-by-Step Guide: Maximizing Solar Charging on the Trail
- Pre-trip: Charge the internal battery – Start with a full buffer so you have power from day one, regardless of sun.
- During the hike: Mount the panel externally – Use loops or clips to attach it to your pack where it faces upward.
- At breaks: Optimize positioning – Lay the panel flat on a rock or tent stake it upright to face the sun directly.
- Avoid shading – Even a small shadow from a strap or tree branch can cut output by 50% or more.
- Monitor device charging – If the battery indicator blinks or stops, reposition the panel.
- Use at peak sun hours – Between 10 a.m. and 2 p.m., solar input is strongest.
- Store energy first, charge devices later – Let the solar charger fill its own battery before connecting your phone.
When Solar Falls Short: Understanding the Limitations
Solar isn’t a magic fix. It has inherent constraints that hikers must respect:
- No nighttime charging: Obvious, but critical. You need storage to bridge the gap.
- Seasonal variation: In winter, shorter days and lower sun angles reduce daily energy harvest.
- Weight trade-off: High-output panels are larger and heavier. Ultralight backpackers may find them impractical.
- Slow recharge rates: Compared to a wall outlet, solar is slow. Patience is required.
- Failure points: Hinges, connectors, and wiring on foldable panels can break with repeated use.
As outdoor educator Mark Delgado explains: “I teach my students that solar is a supplement, not a primary source. Think of it like catching rainwater—you hope for a downpour, but you still carry a canteen.”
Frequently Asked Questions
Can I charge my phone while hiking?
Yes, but slowly and only under good sun. Most hikers find it more effective to let the solar charger power its internal battery during the day, then charge the phone at camp. Continuous movement and shifting shade make real-time charging inefficient.
Are solar chargers worth it for weekend hikes?
For short trips, a simple power bank is lighter and more reliable. Solar becomes more valuable on multi-day or remote expeditions where resupply isn’t possible. For weekenders, solar makes sense only if you consistently run out of power and want a renewable option.
What happens if my solar charger gets wet?
Many models are splash-resistant but not waterproof. Light rain is usually fine, but submerging or prolonged exposure can damage circuits. Always check the manufacturer’s IP rating and dry the unit thoroughly after moisture exposure.
Checklist: Is a Solar Charger Right for Your Next Hike?
- ☐ Will you be off-grid for 3+ days without access to power?
- ☐ Do you rely on GPS, communication, or navigation devices?
- ☐ Will your route include open terrain with regular sun exposure?
- ☐ Are you willing to manage panel placement and charging timing?
- ☐ Have you tested the charger at home under varying light conditions?
- ☐ Are you carrying a backup power source as a failsafe?
If you answered “yes” to most of these, a solar charger can enhance your self-reliance. If not, consider starting with a high-capacity power bank and adding solar later as needs evolve.
Conclusion: Embracing Solar as a Tool, Not a Guarantee
Solar chargers are neither perfectly reliable nor completely unpredictable. Their value lies in their ability to extend your power window, reduce dependence on grid electricity, and support emergency readiness—all while aligning with low-impact outdoor ethics.
The key to reliability is realistic expectations. Treat solar as a supplemental energy harvester, not a wall outlet replacement. Pair it with smart power management, durable gear, and a backup plan. Test your system before hitting the trail. Understand its limits and optimize its strengths.
With the right approach, a solar charger can transform from a gimmick into a trusted part of your kit—quietly powering your adventures, one ray of sunlight at a time.
🚀 Ready to harness the sun? Pick a quality solar charger, test it on a local hike, and share your experience with others. The trail community grows stronger when we learn together.