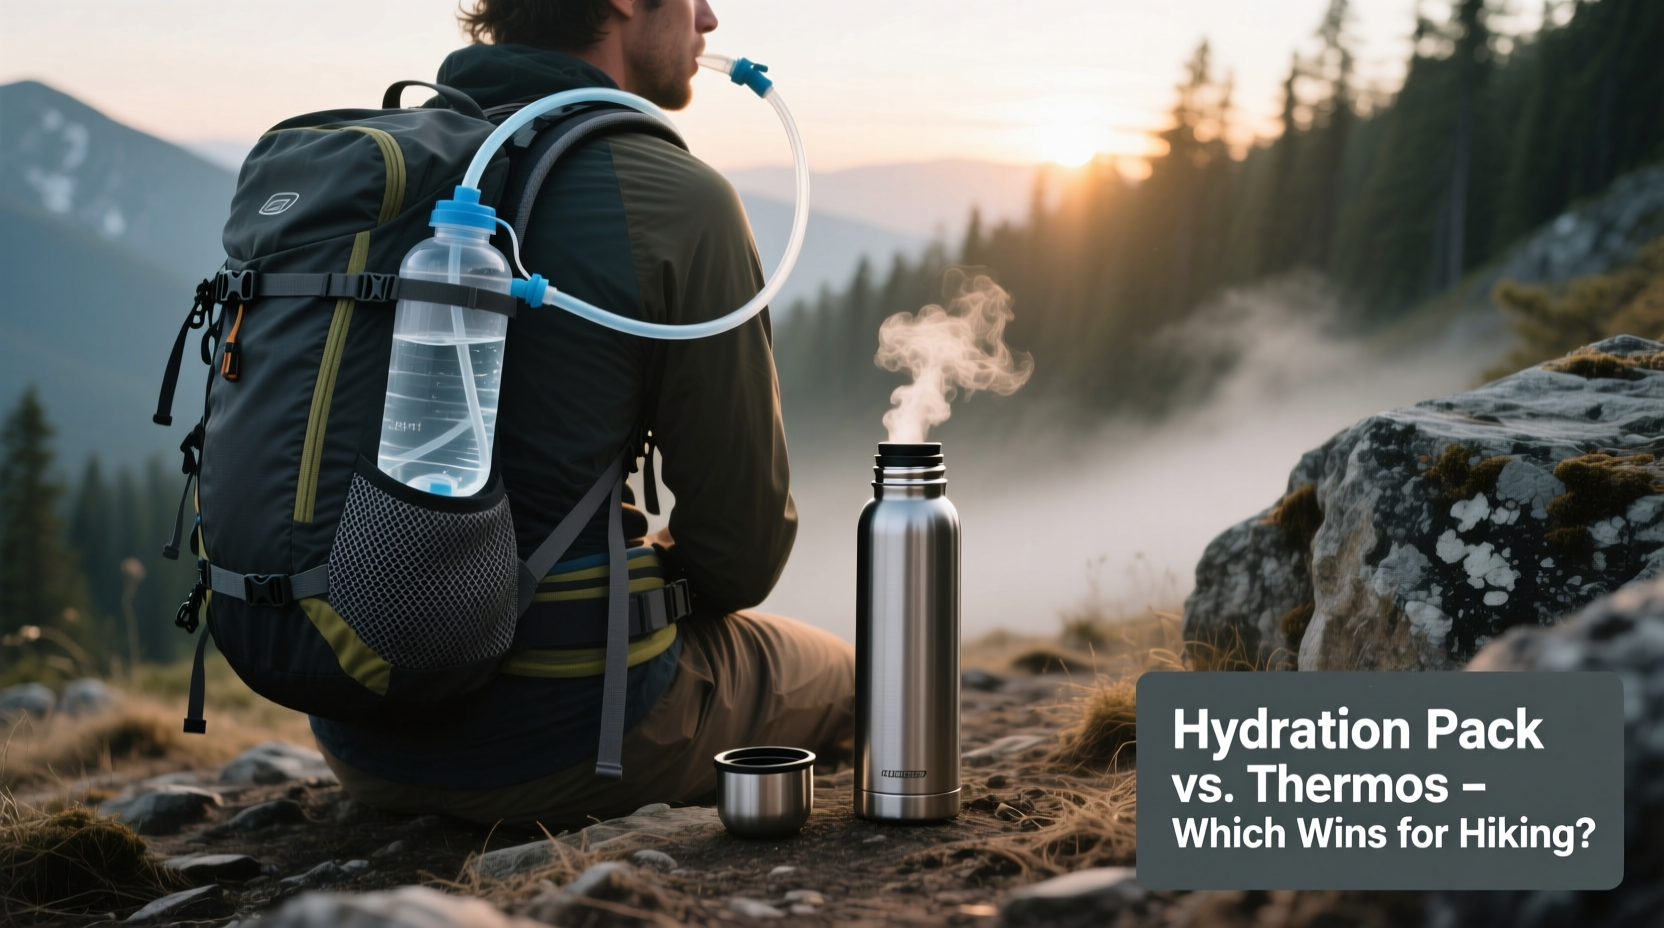
Staying hydrated on the trail isn’t just about comfort—it’s essential for performance, focus, and safety. But when it comes to carrying water, hikers face a practical dilemma: should they go with a hydration pack or rely on an insulated thermos? Both have loyal followings, but the right choice depends on your hike type, climate, personal preferences, and how you manage hydration throughout the day.
This guide breaks down the strengths and limitations of each option, backed by real-world use cases, expert insights, and actionable comparisons. Whether you're planning a half-day ridge walk or a multi-day backcountry trek, understanding these tools will help you stay hydrated without unnecessary weight or hassle.
How Hydration Needs Change with Hike Type
The duration, intensity, and environment of your hike dramatically influence how much fluid you need—and how you should carry it. A quick 3-mile loop in mild weather requires far less planning than a 15-mile alpine traverse under direct sun.
- Day hikes (under 4 hours): Moderate hydration needs; accessibility and convenience matter most.
- Long day hikes (6+ hours): Higher sweat loss; continuous sipping is crucial to prevent fatigue.
- Overnight or multi-day trips: Water resupply points may be sparse; capacity and ease of access become critical.
- Cold-weather hikes: Insulation matters—water can freeze, and warm drinks provide both hydration and morale.
In all cases, the goal is consistent hydration—not chugging at trailheads or waiting until you’re thirsty. This is where delivery method plays a decisive role.
Hydration Packs: Design, Advantages, and Drawbacks
A hydration pack integrates a water reservoir (usually 2–3 liters) into a backpack, with a drinking tube that runs over one shoulder for hands-free sipping. Popular among thru-hikers and endurance athletes, these systems prioritize continuous access.
Tip: Rinse your hydration bladder with warm water after every use to prevent mold and lingering odors.Pros of Hydration Packs
- Hands-free drinking: Sip while walking, scrambling, or navigating—no need to stop or remove your pack.
- Better weight distribution: Water sits close to your center of gravity, improving balance on technical terrain.
- Larger capacity: Reservoirs typically hold more than single bottles or thermoses (up to 3L).
- Integrated storage: Many packs include pockets for filters, snacks, and layers.
Cons of Hydration Packs
- Difficult to clean: Bladders and tubes require thorough drying to avoid bacterial growth.
- Freezing risk: In cold weather, the tube and bite valve can ice over unless insulated or blown out after sips.
- Hard to monitor intake: You can’t easily see how much water remains without removing the reservoir.
- Not ideal for hot liquids: Most bladders aren’t designed for boiling water or coffee.
“Hikers who sip frequently perform better and report less fatigue. The convenience of a hydration tube encourages exactly that behavior.” — Dr. Lena Torres, Outdoor Sports Nutritionist
Insulated Thermoses: When Temperature Control Matters
An insulated thermos, like those from Hydro Flask or Thermos brand, keeps liquids hot or cold for hours. While not a full hydration system, it excels in specific conditions where temperature stability is key.
These are particularly popular in winter hiking, high-altitude treks, or desert hikes where cold water provides a psychological boost.
Pros of Insulated Thermoses
- Temperature retention: Keeps drinks hot for 12+ hours or icy for 24+, depending on model.
- Easy to clean: Wide-mouth designs allow full scrubbing; no hidden tubing.
- Morale booster: A hot tea or soup mid-hike can elevate mood and core warmth in cold environments.
- No freezing issues: Hot liquids resist freezing; useful in sub-zero conditions.
Cons of Insulated Thermoses
- Limited capacity: Rarely exceeds 1 liter, requiring frequent refills or multiple containers.
- Weight and bulk: Stainless steel models add significant heft when full.
- Requires stopping to drink: Unscrewing caps disrupts flow, discouraging regular sipping.
- Poor weight placement: Carried in side pockets, they shift your center of gravity.
Direct Comparison: Hydration Pack vs. Insulated Thermos
| Feature | Hydration Pack | Insulated Thermos |
|---|---|---|
| Max Capacity | Up to 3L (reservoir + pockets) | Typically 0.6L–1L |
| Drinking Convenience | Excellent – sip while moving | Fair – must stop and open |
| Temperature Control | Poor – water warms quickly | Excellent – retains heat/cold |
| Cleaning & Maintenance | Challenging – requires drying tubes | Easy – wide mouth, no crevices |
| Ideal For | Hot weather, long distances, endurance hiking | Cold weather, short stops, morale-boosting drinks |
| Freezing Risk | High – tube and valve can freeze | Low – especially with hot liquids |
Real-World Scenario: Winter Ascent of Mount Washington
Consider a solo hiker tackling the Tuckerman Ravine Trail in March. Winds exceed 40 mph, temperatures hover around -10°C (14°F), and snow covers the path. Starting with a full 2L hydration pack, the hiker finds the tube frozen within 90 minutes despite blowing it out after each sip. By mid-ascent, no water flows.
In contrast, another hiker carries a 1L insulated thermos filled with hot herbal tea and a secondary 750ml BPA-free bottle in an insulated sleeve. They take short breaks every hour to drink, enjoying warm liquid that helps maintain body temperature. Though they must pause to hydrate, their system never fails.
This example illustrates a key principle: reliability in extreme conditions often trumps convenience. Sometimes, stopping to drink is safer and more effective than struggling with frozen gear.
Smart Hybrid Approach: Best of Both Worlds
Many experienced hikers don’t choose one over the other—they combine them. A hybrid setup leverages the strengths of each:
- Use a 2L hydration pack as your primary water source for steady sipping.
- Add a 0.6L insulated thermos with hot tea, broth, or lemon water for lunch or summit breaks.
- In winter, keep the reservoir inside your pack against your back and use an insulated tube cover.
- Carry backup water in a bottle if resupply isn’t guaranteed.
FAQ: Common Questions Answered
Can I put hot water in a hydration bladder?
No. Most manufacturers warn against it due to potential damage from heat degradation and difficulty cleaning. Some specialized backcountry users do it cautiously, but it shortens bladder lifespan and risks chemical leaching.
Which is lighter: a hydration pack or thermos?
A basic 2L hydration pack (empty) weighs 10–14 oz. A 1L stainless steel thermos weighs 16–20 oz when empty. So for volume-to-weight efficiency, hydration packs win—but only if you need that volume.
How do I prevent my hydration tube from freezing?
Use an insulated tube cover, blow water back into the reservoir after each sip, and start with warm (not hot) water. Store the reservoir upside-down inside your pack so the hose stays higher than the bladder.
Final Recommendation: Match Your Gear to Your Hike
There’s no universal winner between hydration packs and insulated thermoses. The best choice aligns with your environment, pace, and personal habits.
For long, hot, or strenuous hikes where constant hydration is key, a hydration pack offers unmatched convenience and promotes healthier drinking patterns. For cold-weather adventures, shorter trips, or when a warm drink lifts your spirits, an insulated thermos delivers irreplaceable benefits.
The smartest hikers adapt. They might use a hydration pack in summer, switch to a thermos in winter, and occasionally carry both when the trail demands versatility.
🚀 Ready to optimize your next hike? Test both systems on short outings, track your water intake, and choose the one that keeps you consistently hydrated—without compromise.