Wearing shoes that pinch, squeeze, or rub against your feet can turn even the shortest walk into an ordeal. Whether you’ve just bought a new pair that runs slightly small or your favorite leather boots have tightened over time, there’s no need to resign yourself to discomfort—or worse, toss them out. With simple household tools like water and a hair dryer, you can stretch tight shoes at home safely and effectively. These DIY techniques are cost-efficient, non-destructive when done correctly, and surprisingly powerful in delivering lasting relief.
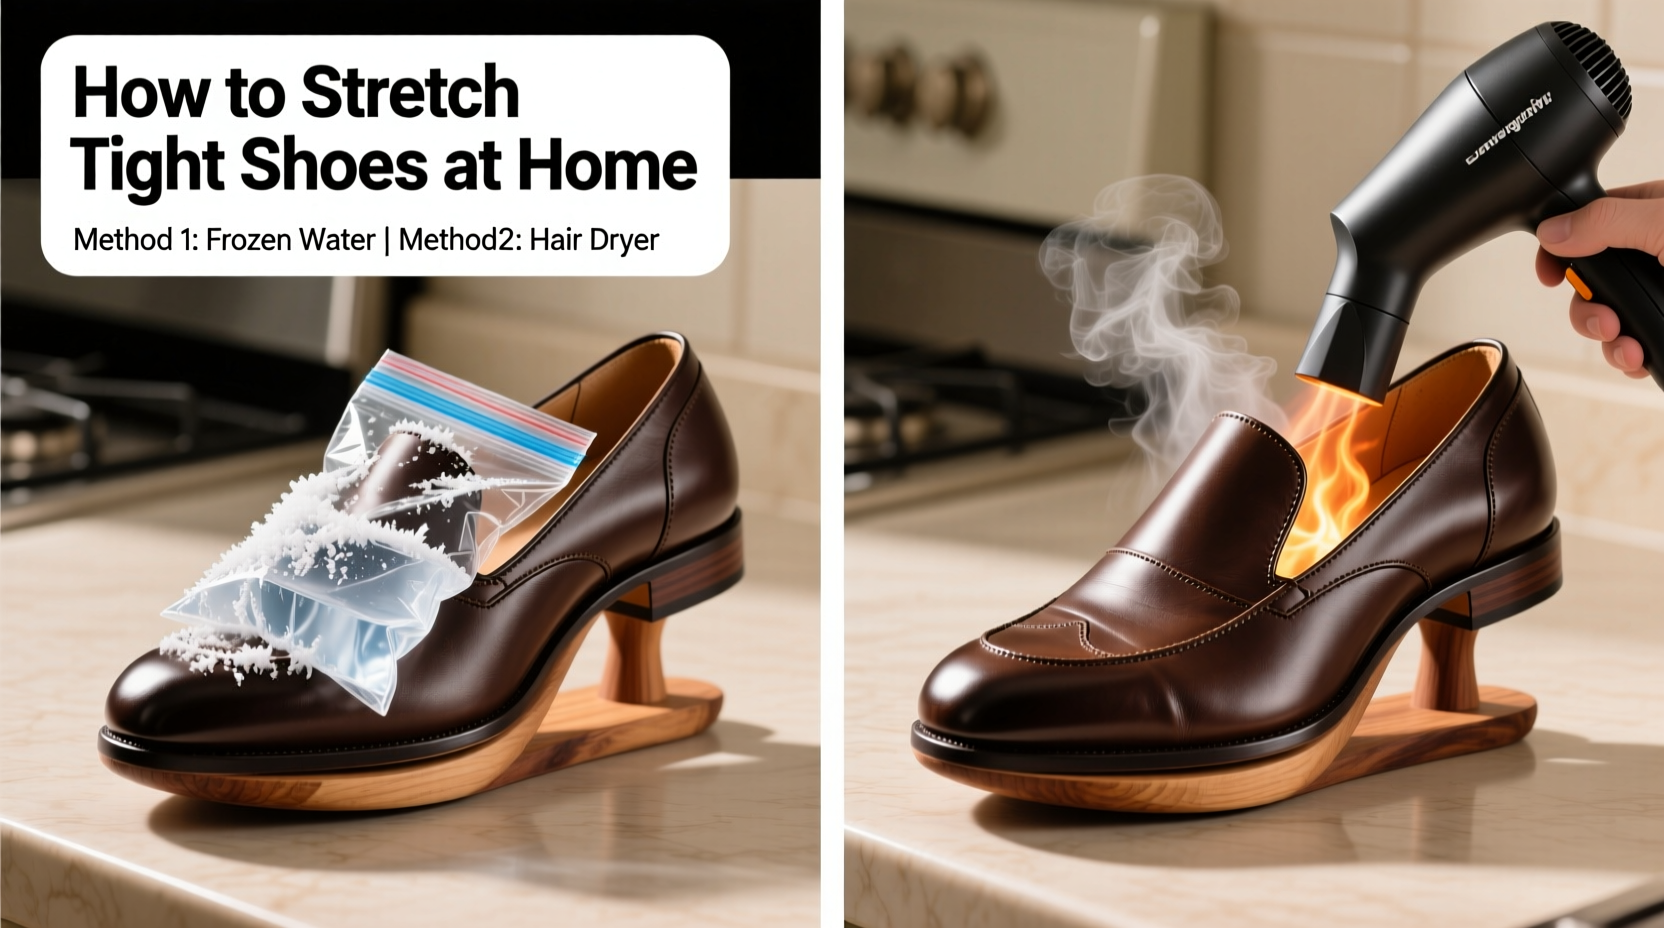
The two most accessible and widely recommended home stretching methods involve freezing water inside the shoe or applying controlled heat with a hair dryer. Both leverage material science: water expands as it freezes, gently pushing outward on the shoe’s interior, while heat makes materials like leather and synthetic fibers more pliable, allowing them to be reshaped under pressure. When combined with moisture and wear, these approaches can yield noticeable results in just one or two attempts.
Why Shoes Feel Tight—and How Stretching Helps
Not all tightness is created equal. Understanding the root cause helps determine which method will work best. Shoes may feel tight due to:
- Natural material shrinkage – Leather, suede, and canvas can contract after exposure to moisture or improper storage.
- Poor fit from the start – Some styles run narrow or short; others lack proper arch support.
- Material stiffness – New shoes often need a “break-in” period before conforming to your foot shape.
- Foot swelling – Feet expand during the day, especially in warm weather or after standing for long periods.
Professional cobblers use mechanical stretchers and steam treatments, but similar principles apply at home. The goal isn’t to distort the shoe but to encourage gradual, targeted expansion where pressure points occur—typically across the ball of the foot, around the toes, or along the heel collar.
“Shoe materials respond well to slow, consistent stress. Sudden force can damage stitching or warp soles. Gentle methods like ice expansion or low-heat molding preserve integrity while improving comfort.” — Daniel Reyes, Footwear Restoration Technician
Method 1: Stretching Shoes with Frozen Water (The Ice Bag Technique)
This clever method uses the physical property of water expanding by approximately 9% when it freezes. By filling sealed plastic bags with water and placing them inside your shoes, then freezing them overnight, the expanding ice applies uniform outward pressure—effectively “pushing” the shoe material into a slightly larger shape.
Step-by-Step Guide: Ice Expansion Method
- Fill two sandwich-sized ziplock bags about halfway with water. Avoid overfilling—they must fit inside the toe box without blocking closure.
- Seal the bags securely, pressing out excess air to minimize leakage risk.
- Place one bag inside each shoe, positioning it in the area that feels tightest (usually the toe box).
- Put the shoes in the freezer. Ensure they sit flat and upright so the water freezes evenly.
- Wait 6–8 hours or overnight. As the water freezes, it expands and stretches the upper material.
- Remove shoes and let ice melt. Take bags out once thawed. Wipe interior dry with a towel.
- Try on the shoes. Wear thick socks if further stretching is needed; repeat process once more if necessary.
This technique works best on leather, canvas, and knit uppers. Avoid using it on shoes with glued components or delicate linings, as repeated freezing/thawing cycles may weaken adhesives.
Method 2: Using a Hair Dryer to Soften and Reshape Shoes
Heat makes many shoe materials temporarily flexible, allowing them to be stretched manually while warm. A standard household hair dryer provides enough controlled warmth to loosen fibers without scorching or warping the structure.
Timeline: Heat-and-Wear Process
| Time | Action | Goal |
|---|---|---|
| 0–5 min | Put on thick socks and insert shoe tree or crumpled paper | Prep foot and maintain shape during heating |
| 5–10 min | Apply hair dryer on medium heat, focusing on tight zones | Warm material until soft to touch (not hot) |
| 10–15 min | Immediately put on shoes and walk around for 20–30 minutes | Allow shoe to mold to foot as it cools |
| Next 24 hrs | Air-dry naturally, avoid direct heat | Stabilize new shape |
For stubborn areas like side seams or heel counters, press gently with your fingers while the shoe is warm. Do not force movement—if resistance is high, reapply heat rather than risk cracking the material.
Tip: Spritz the inside with water before heating to enhance pliability, especially for full-grain leather.Do’s and Don’ts: Best Practices for Home Shoe Stretching
To maximize success and prevent damage, follow these guidelines based on common pitfalls observed by footwear care professionals.
| Do’s | Don’ts |
|---|---|
| Test heat level on hand first—never hold dryer closer than 6 inches | Use high heat settings that can melt glue or discolor fabric |
| Stretch incrementally—repeat process over 1–2 days | Expect dramatic size increases (most materials stretch only 1/4 to 1/2 size max) |
| Use shoe trees or stuffing between sessions to maintain new shape | Leave wet bags in shoes longer than needed—excess moisture invites mold |
| Target specific zones (e.g., only the left shoe if only one pinches) | Apply water-based methods to suede or nubuck without protective spray |
Combining both methods—using ice for initial expansion and heat for fine-tuning fit—can yield superior results, particularly for stiff leather boots.
Real-Life Example: Fixing Pinching Work Boots
James, a warehouse supervisor from Ohio, bought a new pair of steel-toe work boots online. Though they fit lengthwise, the right boot pressed painfully against the outside of his pinky toe after just two hours of standing. He tried wearing thicker socks, but the friction caused blistering.
He used the ice method first: filled two quart-sized bags halfway, placed them in the toe boxes, and froze them overnight. After melting and drying, he noticed slight improvement—but still felt pressure. On day two, he applied the hair dryer technique, warming the outer seam of the right shoe for seven minutes while wearing heavy wool socks. He walked laps around his house for half an hour as the boot cooled.
By the third day, the boots were wearable for full shifts. Six weeks later, they remain comfortable with no signs of structural damage. James now keeps a shoe stretcher at home and rotates boots monthly to prevent tightening.
Essential Checklist: Stretch Shoes Safely at Home
- ☐ Identify exact location of tightness (toe, heel, width, etc.)
- ☐ Choose appropriate method: ice for general expansion, heat for spot treatment
- ☐ Prepare materials: ziplock bags, water, hair dryer, thick socks
- ☐ Protect interior lining—dry thoroughly after any moisture exposure
- ☐ Test fit frequently; avoid over-stretching
- ☐ Maintain new shape with shoe trees or stuffing when not in use
- ☐ Repeat process once if needed, but allow 24-hour recovery between attempts
Frequently Asked Questions
Can I use these methods on synthetic or vegan leather shoes?
Yes, but with caution. Synthetic leathers often have a polymer coating that can bubble under excessive heat. Use low to medium heat only, keep the dryer moving, and never leave the shoe unattended. The ice method is generally safer for synthetics, though prolonged moisture exposure may degrade inner layers over time.
How much can I realistically stretch a shoe at home?
Most shoes can gain about 1/4 to 1/2 size in width or localized space through home methods. Length is harder to increase. Results depend on material type and construction. Full-grain leather responds best; bonded or heavily reinforced shoes offer less flexibility.
Is it safe to combine both ice and heat methods?
Yes, as long as you allow the shoe to return to room temperature and dry completely between treatments. For example, use the ice method first to create internal space, then apply heat and wear to refine the fit. Never alternate rapidly between extreme cold and heat—that can cause micro-tears in fibers or delamination.
Final Thoughts: Comfort Doesn’t Require Replacement
Tight shoes don’t have to mean wasted money or enduring pain. With basic tools and a little patience, you can reshape footwear to match your feet—not the other way around. The frozen water method offers a passive, set-it-and-forget-it solution ideal for busy schedules, while the hair dryer approach allows active customization and immediate feedback.
These techniques aren’t magic, but they are grounded in physics and widely validated by podiatrists and shoemakers alike. What matters most is consistency and care. Rushing the process or applying too much force leads to breakdowns, not breakthroughs.
🚀 Take action today: Pick one uncomfortable pair and try the ice method tonight. Tomorrow, assess the change and refine with heat if needed. Share your results, tips, or questions in the comments—your experience could help someone else step into comfort.