Tight shoes can turn a pleasant day into a painful one. Whether they’re new leather boots, snug sneakers, or dress shoes that pinch after hours of wear, discomfort from ill-fitting footwear is common. While professional stretching services exist, most people don’t realize they can achieve similar results at home—using items already in their kitchen, freezer, or laundry room.
The key is understanding how different materials respond to pressure, moisture, and temperature. With the right approach, you can gently expand your shoes by half a size or more without damaging the structure or finish. This guide covers safe, effective, and accessible techniques anyone can use—without buying specialized equipment.
Why Shoes Feel Tight—and When Stretching Helps
Shoes often feel tight for several reasons: material stiffness (especially in new leather), improper sizing, foot swelling during the day, or design flaws like narrow toe boxes. Some materials, such as genuine leather, suede, and canvas, have natural flexibility and can be stretched with minimal risk. Synthetic uppers, however, are less forgiving and may crack or warp if mishandled.
Stretching works best when the shoe fits well in length but feels constricted across the width or around specific pressure points—like the instep or toes. It won't fix a shoe that's too short, but it can relieve pinching, reduce blister formation, and improve overall comfort.
“Most quality shoes are designed to mold to your foot over time. Smart home methods accelerate this process without compromising durability.” — Marcus Reed, Footwear Craftsmanship ConsultantTip: Always test any method on a small, inconspicuous area first—especially with dyed or treated leather.
Household Methods That Actually Work
You don’t need a shoe stretcher or steam machine to make room in your footwear. The following techniques leverage physics and material science using common household items. Each method applies controlled expansion through moisture, freezing, heat, or sustained pressure.
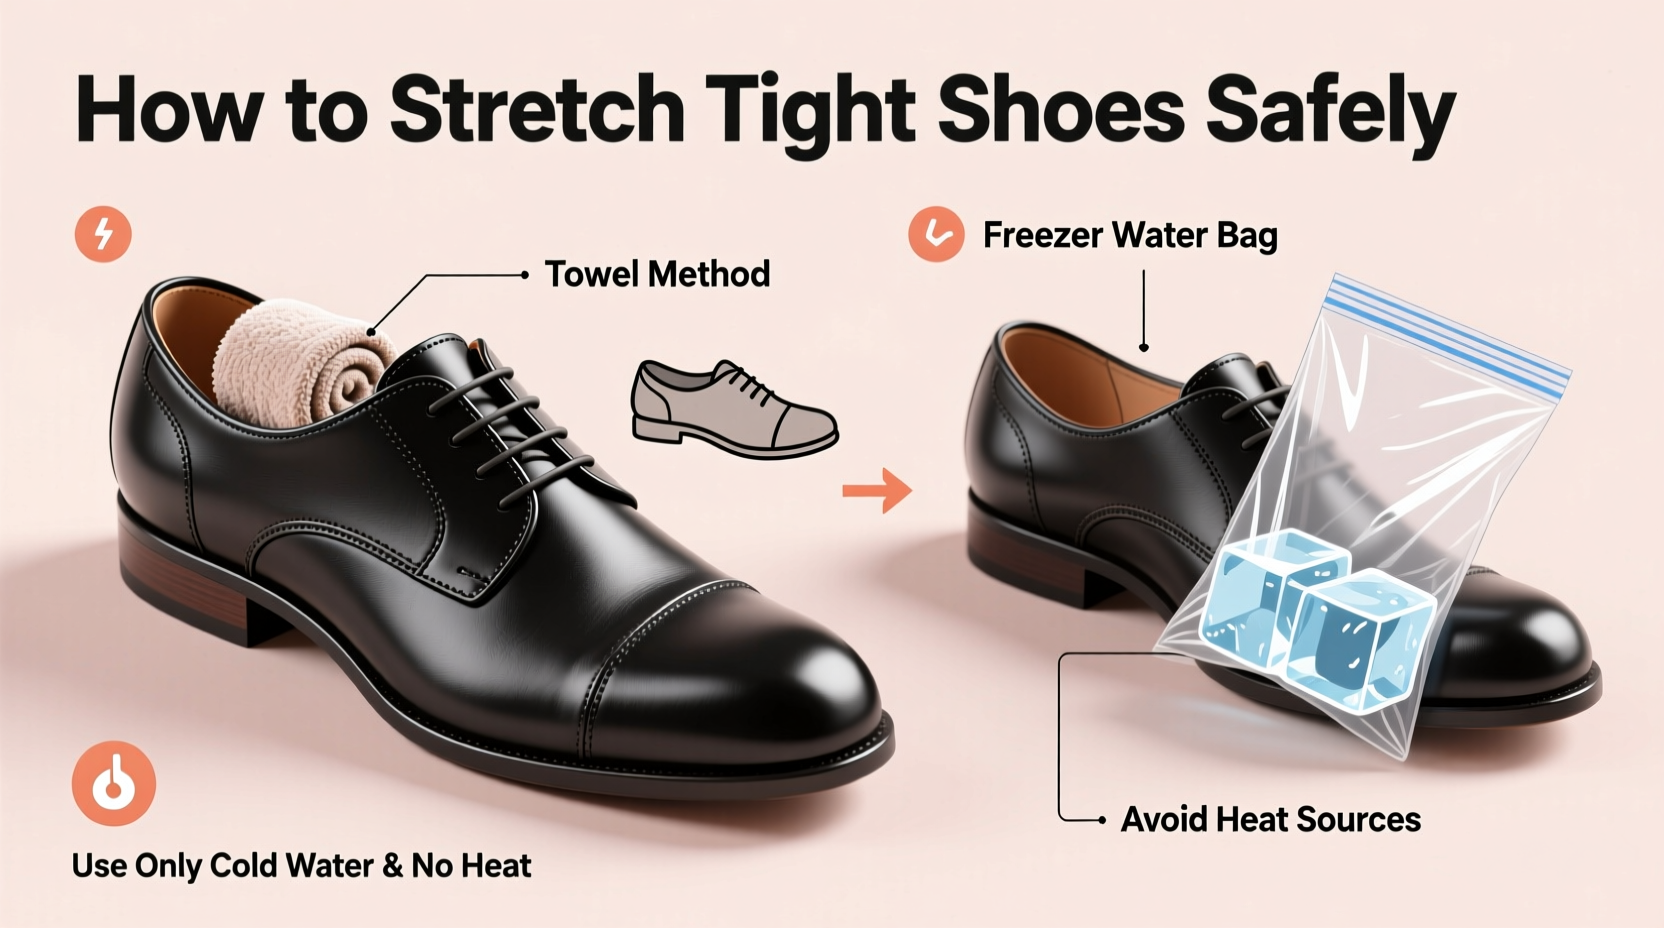
1. The Water-Freezing Technique (Best for Canvas & Leather)
This clever method uses water’s expansion when frozen to gently push outward on the shoe’s interior.
- Fill two sturdy plastic sandwich bags with water—about two-thirds full.
- Insert one bag into each shoe, placing it where tightness occurs (e.g., toe box).
- Seal the bags tightly and ensure no leaks.
- Lay the shoes flat in the freezer overnight.
- As the water freezes, it expands, applying even pressure from within.
- Remove shoes, let ice melt, then dry thoroughly before wearing.
This technique mimics professional bladder stretching and works especially well for sneakers, boat shoes, and soft leather loafers. Repeat once or twice if needed.
2. The Hairdryer & Wear Method (Ideal for Break-In Zones)
Heat makes leather and synthetic fibers more pliable. Combine warmth with direct pressure from your foot for targeted stretching.
- Put on thick socks to create extra volume.
- Insert your feet into the tight shoes.
- Use a hairdryer on medium heat to warm the tightest areas (e.g., sides of ankle or top of foot) for 30–60 seconds.
- Walk around in the shoes until they cool down.
- Repeat 2–3 times per session, doing 1–2 sessions per day for up to three days.
This method is excellent for breaking in stiff boots or heels that rub against the Achilles tendon.
Tip: Never apply direct heat for more than 60 seconds—overheating can dry out leather or warp glue joints.3. The Potato Hack (Natural Shape Retention + Moisture)
A raw potato acts as a moisture-emitting form that subtly reshapes the toe box.
- Peel a large russet potato and shape it slightly to fit the front of your shoe.
- Insert the potato deep into the toe area.
- Leave it overnight—or up to 48 hours for stubborn tightness.
As the potato dries, it releases moisture into the shoe’s fibers, softening them while exerting gentle outward pressure. Remove and allow shoes to air-dry completely before wearing. Avoid this method with suede unless you plan to condition afterward.
4. Towel Damp-Expansion (Controlled Moisture Stretch)
Much like a tailor sprays fabric before altering a suit, dampening leather allows it to stretch under tension.
- Dampen a clean towel with lukewarm water—wring it until it’s just moist, not dripping.
- Wear the shoes with thick socks while walking around for 20–30 minutes.
- Stuff the damp towel inside each shoe, focusing on tight zones.
- Let sit for 6–8 hours or overnight.
- Remove the towel and let shoes air-dry naturally—away from direct heat.
This method slowly relaxes the upper material, allowing it to conform better to your foot’s contours.
Do’s and Don’ts: A Quick Reference Table
| Action | Do | Don’t |
|---|---|---|
| Moisture application | Use slightly damp cloths or sealed water bags | Soak shoes completely or use hot water |
| Heat exposure | Use hairdryer in short bursts while wearing shoes | Leave shoes near radiators or heaters for hours |
| Drying after treatment | Let air-dry at room temperature with paper stuffing | Use a dryer, oven, or direct sunlight |
| Fabric types | Try these methods on leather, canvas, suede | Avoid on bonded synthetics or glued soles |
| Frequency | Repeat methods 2–3 times max | Over-stretch daily; risking structural damage |
Real-Life Example: Breaking In Winter Boots
Sarah, a landscape photographer from Vermont, bought insulated hiking boots ahead of ski season. Though the length was correct, the forefoot felt compressed after an hour of walking, causing numbness in her toes. She didn’t want to return them—she’d already broken in the sole and liked the ankle support.
She tried the water-freezing method first. After two nights in the freezer with water bags in the toe box, she noticed improved width. Still slightly snug, she followed up with the hairdryer-and-wear technique for two evenings, wearing wool socks and walking around her house for 20 minutes post-heating. By day three, the boots flexed naturally with her stride. Six months later, they remain her go-to pair—with no signs of cracking or seam failure.
Her success came from combining methods gradually and respecting drying times between treatments.
Step-by-Step Checklist: Safe Shoe Stretching at Home
Your Action Plan:- Identify the tight area (toe, instep, heel, width).
- Determine shoe material (leather, suede, synthetic, etc.).
- Choose one primary method based on material and severity.
- Gather supplies (plastic bags, water, potatoes, towels, hairdryer).
- Apply the method carefully, avoiding excess moisture or heat.
- Allow shoes to dry fully before testing or reapplying.
- Evaluate fit—repeat only if necessary, with at least 24 hours between attempts.
- Condition leather afterward to restore oils lost during stretching.
When Not to Stretch—and What to Do Instead
Not all tight shoes can or should be stretched. If your shoe is:
- Too short in length: No stretching method will add length. Consider exchanging for a larger size.
- Made of rigid plastic or low-grade synthetic: These materials won’t stretch and may crack under pressure.
- Holding structural glue: Excessive moisture or heat can weaken adhesive bonds, leading to sole separation.
- Already stretched or worn unevenly: Further manipulation may distort the shape permanently.
In such cases, focus on alternatives: use gel pads, switch to thinner socks, or insert orthotic-friendly insoles that redistribute pressure rather than expand the shoe.
Frequently Asked Questions
Can I use rubbing alcohol to stretch shoes?
While some online sources recommend mixing rubbing alcohol and water to spray inside shoes, this method carries risks. Alcohol can strip natural oils from leather, leading to brittleness and discoloration. It’s safer to stick with distilled water or conditioning agents specifically made for footwear.
How long does it take to stretch shoes at home?
Most effective home methods require 8–24 hours per attempt. You may need 1–3 rounds depending on material thickness and desired expansion. Immediate fixes aren’t realistic—proper stretching takes patience. Rushing increases the risk of damage.
Will these methods ruin my shoes?
If used correctly, no. The techniques described rely on gradual, controlled forces that mimic natural wear. However, overuse—such as freezing shoes repeatedly or leaving wet towels inside for days—can lead to warping, odor, or delamination. Moderation and attention to detail are essential.
Final Tips for Long-Term Shoe Care
Once you’ve achieved a comfortable fit, maintain it. Rotate your shoes regularly to prevent compression fatigue. Use cedar shoe trees in leather footwear to preserve shape and absorb moisture. For suede or nubuck, brush lightly with a rubber eraser or specialized brush to lift nap after wear.
And remember: prevention beats correction. When buying new shoes, try them on in the afternoon when feet are slightly swollen, and walk around the store for several minutes. Look for models with removable insoles—you can temporarily replace them with thicker ones to test fit before committing.
“The best-stretched shoe is one that was nearly perfect to begin with. Home methods refine fit—they don’t transform poor design.” — Lena Torres, Bespoke Shoemaker, Austin, TX
Take Control of Your Comfort
Tight shoes don’t have to mean wasted money or enduring pain. With simple household items and a bit of know-how, you can reshape your footwear safely and effectively. These techniques empower you to extend the life of your favorite pairs, adapt to seasonal foot changes, and avoid unnecessary returns or replacements.
Start with the mildest method—like the damp towel or potato trick—and progress only if needed. Listen to your shoes as much as your feet. When done right, home stretching preserves both comfort and craftsmanship.
💬 Have a shoe-saving hack of your own? Share your experience in the comments and help others walk easier.