Wearing tight shoes can be more than just uncomfortable—it can lead to blisters, calluses, and long-term foot problems. While many people rush to buy new footwear when their favorite pair feels too snug, there’s a smarter, cost-effective solution: stretching them at home. Among the most reliable DIY methods is the frozen water technique. This approach uses the natural expansion of water as it freezes to gently widen and soften shoe materials. Unlike chemical sprays or aggressive stretching tools, this method works gradually, preserving the integrity of your shoes while delivering noticeable results—often overnight.
The frozen water method is especially effective for leather, canvas, and synthetic uppers that retain some flexibility. It’s also ideal for shoes that pinch across the toes or feel constricting along the sides. By applying controlled pressure from within, you can relieve tightness without risking damage to stitching or soles. With just a few common household items, you can transform an unwearable pair into comfortable, well-fitted footwear.
Why Water Expansion Works for Shoe Stretching
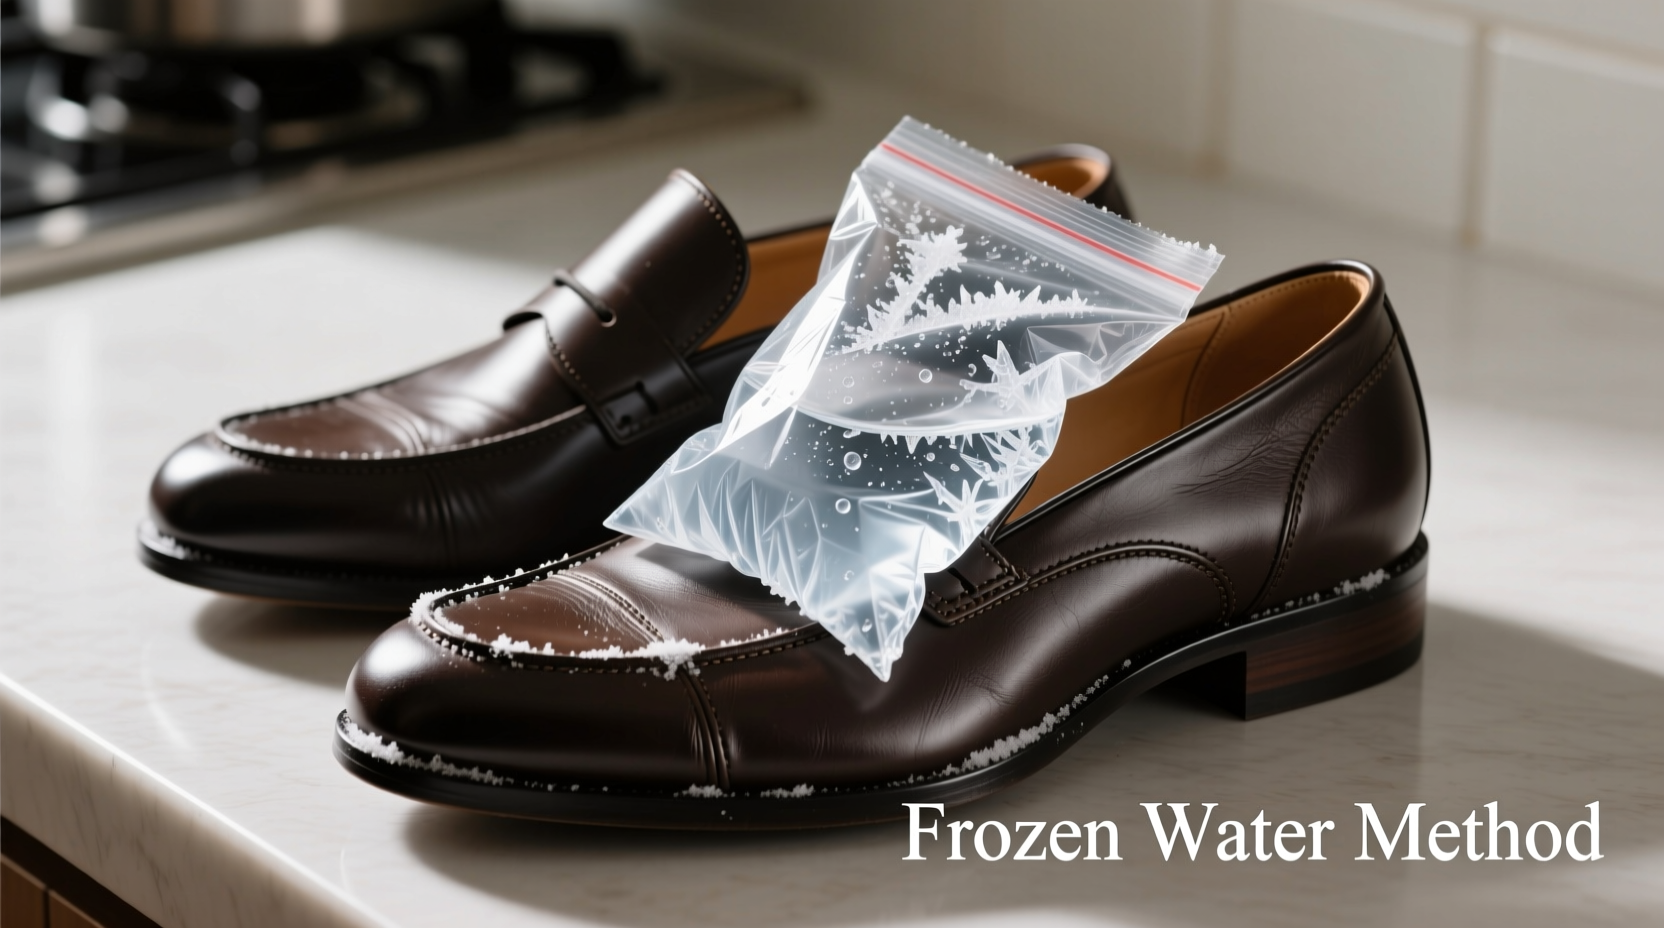
Water expands by approximately 9% when it freezes. This physical property is the foundation of the frozen water stretching method. When sealed plastic bags filled with water are placed inside shoes and frozen, the expanding ice applies outward pressure on the interior walls of the shoe. This pressure mimics the effect of a professional shoe stretcher but does so gradually and evenly.
Unlike heat-based or alcohol-based stretching sprays—which can dry out leather or discolor fabric—the frozen water method maintains the material’s natural moisture balance. The cold temperature also helps relax fibers in leather and canvas, making them more pliable once thawed. As the ice melts, the softened material retains its new, slightly expanded shape.
“Using freezing water to stretch shoes is one of the oldest tricks in cobblers’ workshops. It’s gentle, predictable, and works best on structured uppers.” — Daniel Reeves, Master Cobbler & Footwear Restoration Specialist
This method is particularly useful for breaking in new shoes or rehabilitating older pairs that have stiffened over time. Because the expansion occurs slowly over several hours, there’s minimal risk of cracking seams or warping the shoe’s structure—a common issue with rapid heating or forceful mechanical stretching.
Step-by-Step Guide: Stretching Shoes Overnight with Ice
To achieve optimal results, follow this detailed process carefully. Precision matters—too much water can cause excessive pressure, while too little won’t generate enough expansion.
- Identify the Tight Areas: Put on the shoes with the socks you typically wear. Walk around briefly to pinpoint where pressure builds—common zones include the toe box, ball of the foot, and heel collar.
- Prepare Two Quart-Sized Ziplock Bags: Use heavy-duty freezer bags to reduce the risk of leaks. Double-bagging adds extra protection.
- Fill the Bags with Water: Pour water into each bag until it’s about two-thirds full (roughly 20–24 oz per bag). Avoid overfilling, as water needs space to expand during freezing.
- Add a Few Drops of Food Coloring (Optional): This helps detect leaks. If colored water stains your shoe interior, you’ll know a bag ruptured.
- Seal the Bags Tightly: Press out excess air before zipping shut. Any trapped air will limit expansion and increase burst risk.
- Insert Bags into Shoes: Place one bag into each shoe, positioning it in the area that needs stretching—usually centered over the toes.
- Adjust for Target Zones: For width issues, spread the bag laterally. For length, position it toward the front. You can use smaller sandwich bags filled with water to target specific hotspots.
- Place Shoes in the Freezer: Set them upright or lay them flat, ensuring the bags stay centered. Freeze for at least 6–8 hours, preferably overnight.
- Remove and Thaw: Take shoes out of the freezer and let them sit at room temperature for 30–45 minutes until all ice has melted.
- Drain and Dry: Remove the bags, wipe down the interior with a clean cloth, and allow shoes to air-dry completely before wearing.
Do’s and Don’ts of the Frozen Water Method
| Do’s | Don’ts |
|---|---|
| Use thick, puncture-resistant freezer bags | Use thin or reused plastic bags prone to tearing |
| Fill bags only ⅔ full to allow for expansion | Overfill bags, increasing rupture risk |
| Target problem areas by adjusting bag placement | Assume one-size-fits-all placement works for every shoe |
| Freeze shoes overnight for maximum effect | Expect results after only 2–3 hours in the freezer |
| Dry interiors thoroughly before reuse | Wear shoes immediately while still damp inside |
| Repeat the process if additional stretching is needed | Apply heat or steam immediately after freezing, which can shock materials |
Real-World Example: Breaking In Stiff Leather Oxfords
James, a financial analyst in Chicago, purchased a pair of full-grain leather oxfords for work presentations. Though stylish, they caused sharp discomfort across the top of his feet after just 20 minutes of walking. He tried wearing thicker socks and using store-bought stretch sprays, but neither provided lasting relief.
After researching home remedies, he decided to try the frozen water method. He filled two quart-sized freezer bags with water (adding blue food coloring), sealed them tightly, and inserted one into each shoe, focusing on the midfoot where pressure was greatest. He placed the shoes upright in his freezer overnight.
The next morning, after thawing and drying, James slipped them on. The difference was immediate—the upper felt noticeably softer, and the constriction across the instep had eased significantly. He wore them around the house with dress socks for an hour, then took them on a short commute. Over the next three days, repeating the process once more, the shoes adapted fully to his foot shape. Within a week, they became his most comfortable formal pair.
This case illustrates how even high-quality, structured leather shoes can benefit from gradual, internal pressure rather than aggressive external treatments.
Alternative Applications and Creative Variations
The frozen water method isn’t limited to standard lace-up shoes. With minor adjustments, it can be applied to boots, loafers, and even closed-toe sandals with rigid fronts.
- For Ankle Boots: Fill longer freezer bags or use multiple small bags stacked from toe to ankle to relieve tightness along the shaft.
- For Wide Feet: Flatten the water-filled bag slightly before freezing to create lateral pressure that widens the forefoot area.
- For Spot Treatment: Use small sandwich bags filled with water to target isolated pressure points, such as a bunion bump or hammertoe zone.
- With Fabric Conditioner (Advanced): Mix one part fabric softener with two parts water in the bag. This can help relax synthetic fibers, though test first on inconspicuous areas.
Frequently Asked Questions
Can I use this method on suede or nubuck shoes?
Yes, but with caution. These materials are more sensitive to moisture. Use double-sealed bags and ensure no leaks occur. After thawing, brush the surface gently with a suede eraser or nylon brush to restore texture. Avoid saturation at all costs.
How many times can I repeat the process?
You can safely repeat the frozen water method 2–3 times on most shoes. Beyond that, diminishing returns set in, and over-stretching may compromise structural support. If more expansion is needed, consider professional stretching services.
Will freezing ruin the glue or sole of my shoes?
Not typically. Most modern footwear adhesives and rubber soles withstand freezer temperatures. However, avoid using this method on shoes already showing signs of delamination or sole separation, as thermal stress could worsen existing damage.
Maximizing Long-Term Results
Once you’ve successfully stretched your shoes, maintaining the improved fit requires consistent care. Rotate footwear regularly to prevent materials from reverting to their original shape. Store shoes with cedar shoe trees or stuff the toe box with acid-free tissue paper to preserve volume.
If you frequently experience tightness in certain styles, consider buying shoes with a wider last or adjustable features like side goring or elastic panels. Also, purchase shoes later in the day when feet are naturally slightly swollen—this ensures a better fit under real-world conditions.
“The key to successful shoe stretching is patience. Rushing leads to damage. Let physics do the work—you’ll get better, longer-lasting results.” — Lena Torres, Footwear Ergonomics Consultant
Final Checklist: Success in One Night
- ✅ Identified exact areas of tightness
- ✅ Used high-quality, leak-proof freezer bags
- ✅ Filled bags only ⅔ full
- ✅ Positioned bags to target pressure zones
- ✅ Placed shoes securely in the freezer overnight
- ✅ Allowed full thawing before removal
- ✅ Dried interiors completely before wearing
- ✅ Tested fit with appropriate socks
Conclusion
The frozen water method offers a simple, science-backed way to stretch tight shoes overnight—no special tools, chemicals, or expense required. By harnessing the natural power of freezing expansion, you can customize your footwear for superior comfort and extend the life of your favorite pairs. Whether you're dealing with stiff new leathers or seasonal boots that have lost their give, this technique delivers reliable results when done correctly.
Don’t let uncomfortable shoes dictate your wardrobe choices. Try the frozen water method tonight and wake up to footwear that fits better, feels better, and performs better. Share your success story or tips in the comments—your experience might help someone else step into comfort tomorrow.
💬 Have you tried stretching shoes with ice? What worked—or didn’t work—for you? Join the conversation and help build a community of smarter, more comfortable shoe wearers!