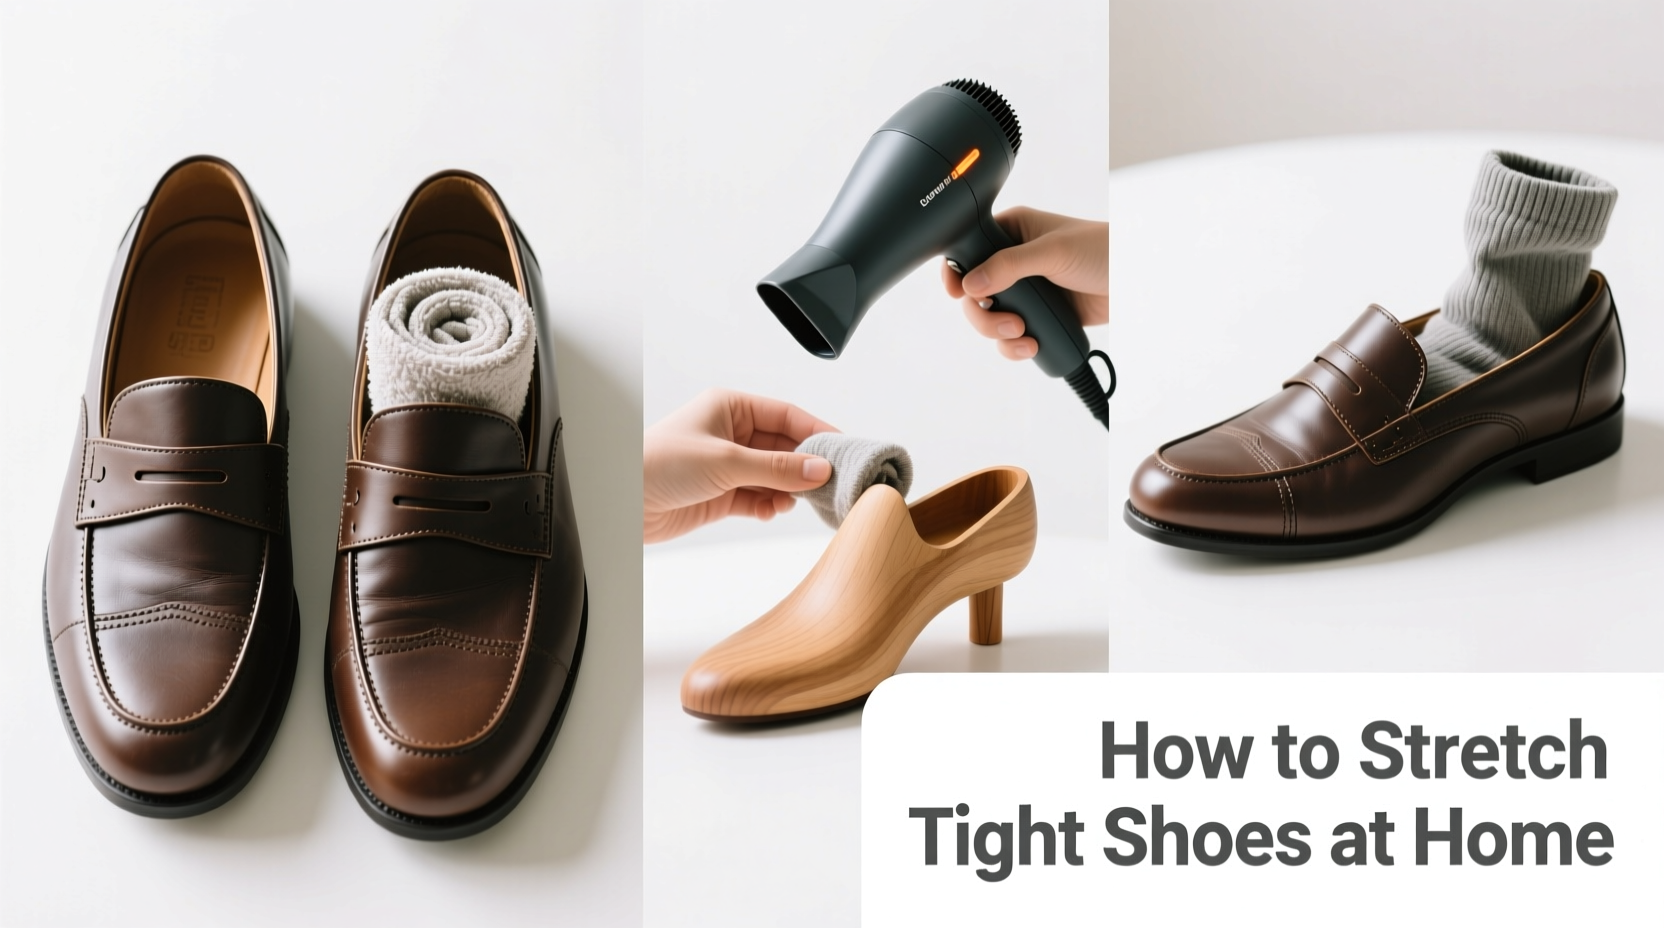
Tight shoes can turn a pleasant day into a painful ordeal. Whether they’re new leather boots, snug sneakers, or a favorite pair that’s slightly shrunk after washing, discomfort doesn’t have to be permanent. The good news is you don’t need professional stretching services or expensive tools to fix the problem. With everyday household items and a little patience, you can effectively stretch out tight shoes at home. These proven techniques work across materials like leather, canvas, and synthetic fabrics, offering relief without damaging your footwear.
Why Shoes Feel Tight—and When Stretching Helps
Shoes may feel tight for several reasons: manufacturing inconsistencies, material shrinkage, or simply choosing a size that’s slightly too small. Leather naturally molds to the foot over time, but synthetic uppers and stiff linings may resist change. Most shoes have some degree of flexibility in their structure, especially around the toe box, heel collar, and midfoot areas. This elasticity allows for controlled expansion when treated properly.
Stretching is most effective during the break-in phase or when minor compression occurs due to moisture or wear. It’s not a substitute for poor sizing—if your toes are consistently cramped or your heel slips excessively, consider adjusting your size rather than relying solely on stretching. However, if the fit is just slightly off, targeted expansion can make all the difference.
“Most quality footwear is designed to adapt slightly to the wearer’s foot. Smart home stretching preserves the shoe’s integrity while improving comfort.” — Daniel Ruiz, Footwear Craftsmanship Consultant
Effective Household Methods to Stretch Tight Shoes
The following techniques use common household items to gently expand tight areas. Each method applies controlled pressure or moisture to encourage fibers to loosen and stretch. For best results, combine techniques based on material type and severity of tightness.
1. The Frozen Water Bag Method (Best for Spot Stretching)
This clever technique uses water’s natural expansion when frozen to apply outward pressure inside the shoe.
- Fill two sandwich-sized plastic bags with water, leaving room for expansion.
- Place one bag inside each shoe, positioning it where stretching is needed—typically near the toe box.
- Seal the bags tightly and place the shoes in the freezer.
- Leave them for 6–8 hours or overnight until the water is fully frozen.
- Remove the shoes, let the ice melt slightly, then extract the bags.
- Try on the shoes to assess improvement. Repeat if necessary.
This method works especially well on leather and canvas shoes because the expanding ice pushes against the upper material, creating subtle but noticeable width increases.
Tip: Double-bag the water to prevent leaks. If your shoes have removable insoles, take them out first to maximize internal space.2. The Hairdryer and Wear Technique (Immediate Relief)
Heat softens shoe materials, making them more pliable. Combine heat with direct wear to mold the shoe to your foot shape.
- Put on thick socks to create extra volume.
- Insert your feet into the tight shoes.
- Use a hairdryer on medium heat to warm the tightest areas (e.g., top of foot, sides) for 2–3 minutes.
- Walk around in the shoes for 20–30 minutes as they cool.
- Repeat once daily for 2–3 days for lasting results.
This approach is ideal for synthetic materials and rubber-backed textiles that respond well to heat molding. Avoid prolonged exposure to high heat on delicate leathers or glued seams.
3. Alcohol and Wear Method (For Synthetic and Suede Shoes)
Rubbing alcohol breaks down surface tension in certain materials, allowing fibers to relax and expand.
- Dampen a clean cloth with isopropyl alcohol (70% or higher).
- Gently rub the solution on the interior and exterior of tight zones.
- Immediately put on thick socks and wear the shoes for 30–60 minutes.
- Allow shoes to air dry naturally—never use direct heat.
Suede and nubuck respond particularly well to this method, though care must be taken not to oversaturate. Test on a small, inconspicuous area first.
4. The Potato Trick (Natural Shape Retention + Expansion)
A raw potato can act as a biodegradable shoe stretcher, absorbing moisture and applying steady pressure.
- Peel a large russet potato.
- Carve it into a wedge that fits snugly into the toe area of the shoe.
- Insert the potato and leave it for 24–48 hours.
- Remove and test fit. Replace with a fresh piece if further stretching is needed.
As the potato dries, it absorbs residual moisture from the shoe lining, helping soften fibers while maintaining internal shape. This low-tech method is especially useful for mild toe-box constriction.
5. Newspaper and Damp Cloth Expansion
Mimicking professional steam treatments, this technique uses moisture and bulk to stretch fabric and leather shoes.
- Crumple damp (not wet) newspaper into tight balls.
- Stuff the shoes completely, focusing on tight zones.
- Let them sit for 6–12 hours until the paper dries.
- Remove paper and repeat 2–3 times as needed.
The drying process pulls moisture from the shoe material, encouraging fibers to shift and expand. Ideal for canvas sneakers and unlined boots.
Do’s and Don’ts of Home Shoe Stretching
| Do | Don’t |
|---|---|
| Test methods on a small area first | Use boiling water directly on shoes |
| Stretch gradually over 2–3 sessions | Wear shoes excessively while stretched with ice or damp paper |
| Use thick socks to enhance molding effect | Apply alcohol to patent leather or vinyl |
| Allow shoes to air dry naturally after moisture-based methods | Leave potatoes or wet paper longer than 48 hours (risk of odor/mold) |
| Combine heat and wear for faster results | Expect dramatic size changes—stretching typically gains only half a size at most |
Real-World Example: Breaking in Hiking Boots Before a Trip
Sarah, an avid hiker from Colorado, purchased a new pair of full-grain leather hiking boots two weeks before a backcountry trek. After just ten minutes of walking, she noticed intense pressure along the top of her left foot. Knowing she couldn’t return the boots in worn condition and didn’t have time for professional stretching, she turned to home remedies.
She used the hairdryer-and-wear method for three consecutive evenings, wearing thick wool socks and walking around her house for 30 minutes each session. On the fourth night, she combined this with stuffing the boots with damp newspaper overnight. By the end of the week, the boots felt significantly more flexible, especially across the instep. During her trip, she experienced no blisters or hot spots—proof that consistent, gentle stretching delivered real-world performance benefits.
Step-by-Step Checklist for Success
Checklist: How to Stretch Shoes at Home- Identify the tightest areas (toe, heel, sides, instep)
- Determine shoe material (leather, suede, synthetic, canvas)
- Select appropriate method(s) based on material and tightness
- Gather household supplies (plastic bags, water, hairdryer, alcohol, socks, etc.)
- Apply chosen technique carefully and patiently
- Allow proper drying time between attempts
- Test fit frequently—avoid over-stretching
- Repeat as needed, up to 3 times for most methods
- Condition leather afterward to restore moisture balance
Frequently Asked Questions
Can I stretch shoes more than half a size at home?
Typically, home methods yield a quarter to half size increase. Attempting to stretch beyond this risks deforming the shoe’s structure, weakening glue bonds, or warping the sole. For larger adjustments, consult a cobbler who has mechanical stretchers.
Is it safe to use rubbing alcohol on leather shoes?
Plain aniline or smooth leather can tolerate limited alcohol exposure, but it strips natural oils. Always dilute with water (50/50 mix) and condition the leather afterward. Avoid using alcohol on finished, patent, or painted leather.
How long does it take to see results?
Some methods, like the hairdryer technique, offer immediate relief after one session. Others, such as damp newspaper or repeated freezing, may require 2–3 applications over several days. Consistency yields better, longer-lasting results than aggressive single attempts.
Conclusion: Comfort Is Within Reach
Dealing with tight shoes doesn’t require a trip to the repair shop or throwing away a favorite pair. With simple items already in your kitchen or bathroom, you can safely and effectively stretch shoes to match your foot’s natural shape. The key is understanding your shoe’s material, applying the right method, and being patient through the process. Whether you're preparing for a long day on your feet or salvaging a beloved pair from the donation pile, these home techniques empower you to take control of fit and comfort.
💬 Have a shoe-stretching success story or tip? Share your experience in the comments and help others walk comfortably!