
Finding the perfect pair of boots often comes down to style, support, and fit. But even the most stylish boots can disappoint if they’re too tight across the foot or pinch at the toes. Rather than giving up on a favorite pair, many wearers turn to stretching techniques to improve comfort. The key lies in doing so without compromising the integrity of the material—whether it’s full-grain leather, delicate suede, or modern synthetics. Done correctly, stretching narrow boots can extend their lifespan and enhance wearability. This guide covers proven, non-damaging methods backed by footwear experts, cobblers, and long-term users.
Why Boots Feel Too Narrow (And When Stretching Helps)
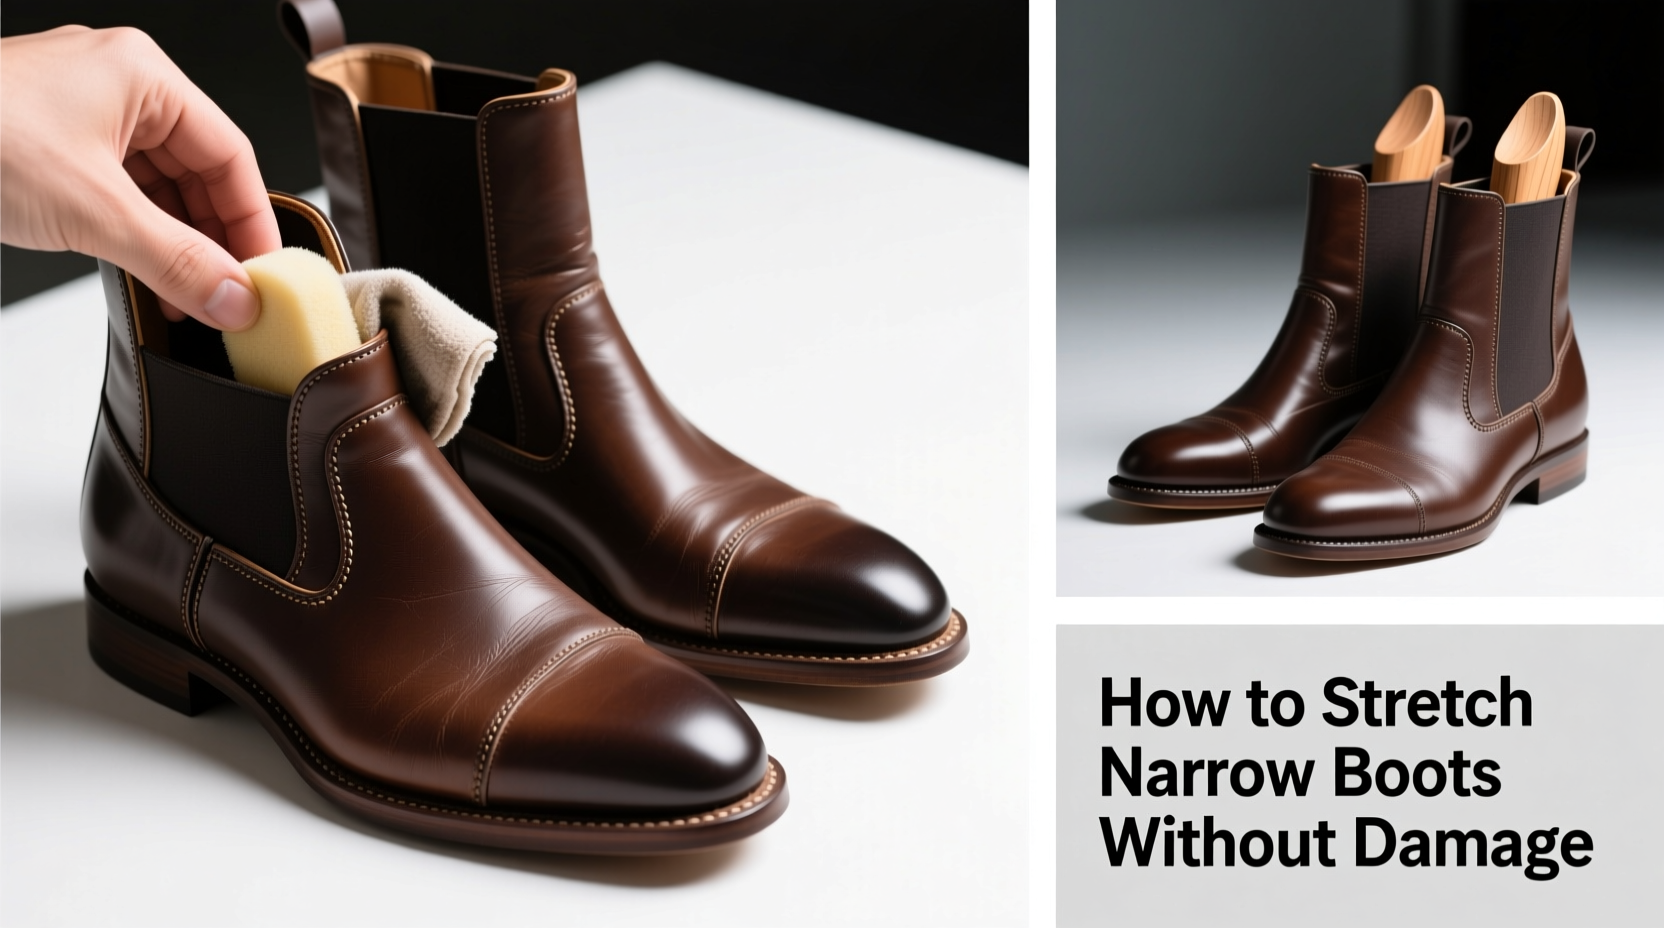
Boots may feel narrow for several reasons: foot shape mismatch, seasonal swelling, or poor initial sizing. Some materials naturally conform over time, while others resist expansion. Leather, especially vegetable-tanned varieties, responds well to controlled stretching. Suede and nubuck offer moderate flexibility but are more sensitive to moisture and heat. Synthetic uppers, common in budget-friendly styles, have limited give and can crack or delaminate under aggressive treatment.
Stretching is appropriate when:
- The boot fits well in length but pinches across the ball of the foot or instep.
- You experience pressure points but no heel slippage.
- The material shows no signs of prior over-stretching or creasing.
It’s not recommended if:
- The boot already sags or has loose quarters.
- The sole is separating from the upper.
- You're dealing with rigid structural components like reinforced toe caps.
Safe Stretching Methods That Preserve Material Integrity
Effective stretching doesn’t require brute force. Gentle, consistent pressure combined with moisture or heat encourages fibers to relax and expand. Below are five reliable techniques suitable for different materials and skill levels.
1. Use a Professional Shoe Stretcher
Shoe stretchers mimic the shape of the foot and apply targeted pressure. Two-way models expand width and length; four-way versions also lift the toe box. Insert the stretcher into clean, dry boots and turn the knob gradually—never force it. Allow 24–48 hours per session, remove, let the boot rest for 12 hours, then repeat if needed.
For added effect, lightly dampen a cloth and place it over the tightest area before inserting the stretcher. The moisture softens the fibers, enhancing stretch potential. Avoid soaking the boot—excess water weakens adhesives and promotes mold.
2. The Freezer Method (For Small Adjustments)
This low-cost technique uses water expansion to gently push against constricting areas. Fill two zip-top bags with water, seal them securely, and place one inside each boot, positioning the bag where stretching is needed. Stand the boots upright in a freezer overnight.
As the water freezes, it expands by approximately 9%, exerting outward pressure. Remove the ice packs after 8–12 hours and allow the boots to thaw completely at room temperature. Repeat once if necessary. This method works best for minor width issues and should be avoided with suede or unlined leather, which absorb moisture easily.
3. Wear Them With Thick Socks and Apply Heat
Combining body heat, moisture from sweat, and mechanical stress helps break in tight spots. Put on thick wool socks or multiple layers of cotton socks. Use a hairdryer on medium heat to warm the snug areas for 30–60 seconds—just enough to make the material pliable. Immediately put on the boots and walk around for 20–30 minutes.
The warmth opens the fiber structure, allowing it to adapt to your foot. Stop if you feel pain or excessive resistance. Do this over several days rather than all at once to prevent blisters and material fatigue.
“Controlled heat and moisture are allies in shoe conditioning. But timing matters—overheating leather above 140°F can denature its proteins and reduce elasticity.” — Marcus Reed, Master Canner & Footwear Conservator
4. Apply a Leather-Safe Stretching Spray
Commercial stretching sprays contain conditioners and mild solvents that soften leather temporarily. Brands like Kiwi, Saphir, and Venetian Shoe Care offer formulas designed to penetrate without staining. Spray evenly on the interior or exterior of tight zones, then wear the boots with thick socks for an hour.
Do not use on suede unless specified. These sprays work best on new boots that haven’t fully formed to the foot. Follow label instructions carefully—over-application can leave residue or darken light finishes.
5. Visit a Cobbler for Professional Stretching
For valuable or structured boots, professional help is worth the investment. Cobblers use industrial-grade stretchers, steam injectors, and multi-directional presses calibrated to specific materials. They can stretch by as little as 1/8 inch in targeted zones—ideal for high arches or wide metatarsals.
Costs vary ($20–$60), but precision prevents irreversible damage. Many offer guarantees or follow-up adjustments. Ask whether they use cold stretching (mechanical only) or steam-assisted methods, depending on your boot’s construction.
Step-by-Step Timeline: How to Stretch Boots Over One Week
A gradual approach yields better results than rushing. Follow this seven-day plan for optimal comfort without damage:
- Day 1: Clean boots thoroughly. Identify exact pressure points using a marker on your foot or paper tracing.
- Day 2: Insert adjustable shoe stretchers at neutral setting. Turn knob one full rotation. Leave for 24 hours.
- Day 3: Remove stretchers. Let boots air out for 6 hours. Lightly spray tight areas with leather conditioner.
- Day 4: Reinsert stretchers, increase expansion slightly. Wear thick socks and boots indoors for 30 minutes.
- Day 5: Try the freezer method if additional width is needed. Use sealed bags and freeze for 10 hours.
- Day 6: Thaw completely. Buff exterior with a dry cloth. Test fit with normal socks.
- Day 7: Assess comfort. If still tight, schedule cobbler visit or repeat one method conservatively.
Material-Specific Guidelines: What Works and What Doesn’t
Different boot materials react uniquely to stretching. Using the wrong method can lead to cracking, warping, or discoloration. The table below summarizes best practices.
| Material | Recommended Methods | Avoid |
|---|---|---|
| Full-Grain Leather | Shoe stretchers, stretching sprays, heat + wear-in | Excessive steaming, boiling water, sharp tools |
| Suede / Nubuck | Light stretching with socks + heat, cobbler-only steam | Freezer method, alcohol-based sprays, direct water contact |
| Synthetic Uppers | Wear with thick socks, minimal heat exposure | Mechanical stretchers, freezing, chemical sprays |
| Patent Leather | Limited stretching only; focus on insoles and lacing | All moisture-based methods, heat beyond 90°F |
| Lined Leather | Gradual wear-in, cobbler assistance | Direct spraying, freezing, aggressive stretching |
Real Example: Restoring Comfort to Hand-Me-Down Work Boots
Jamal, a landscape architect, inherited a pair of vintage Red Wing Iron Rangers from his father. Though structurally sound, they were narrow through the forefoot—unsurprising given his wider foot shape. Instead of resoling and donating them, he decided to adapt them.
He began by cleaning the oiled leather with a pH-balanced wipe, then applied a leather stretching spray to the medial side of both boots. He inserted a two-way wooden stretcher and left it for 36 hours. After removing it, he wore the boots indoors with two pairs of merino wool socks and used a hairdryer to warm the ball area for short intervals.
Over ten days, he repeated the process three times, increasing wear time gradually. By day 14, the boots felt snug but no longer painful. A cobbler later confirmed the stretch was even and within safe limits—approximately 3mm wider across the metatarsal. Jamal now wears them weekly, crediting the slow, careful method for preserving their rugged character.
Checklist: Safe Boot Stretching Protocol
Follow this checklist to ensure you stretch your boots effectively and safely:
- ☐ Identify the exact location of tightness (toe box, instep, heel, ball).
- ☐ Confirm the boot material type and check manufacturer care instructions.
- ☐ Clean the boots gently with appropriate products.
- ☐ Choose one primary method based on material (see table above).
- ☐ Perform a patch test if using liquids or heat.
- ☐ Apply gradual pressure—never force expansion.
- ☐ Limit consecutive wear sessions to under 60 minutes during break-in.
- ☐ Allow resting periods between treatments (12+ hours).
- ☐ Monitor for signs of damage: cracks, bubbling, seam separation.
- ☐ Consult a professional if no improvement after two weeks.
Frequently Asked Questions
Can I stretch boots more than half a size?
Generally, stretching beyond half a size is not advisable. Most materials can safely accommodate 1/4 to 3/8 of an inch in width. Exceeding this risks permanent deformation, weakened stitching, or sole detachment. If your boots are more than half a size too small, consider exchanging them or using orthotic modifications instead.
Will wearing tight boots stretch them naturally over time?
To a limited extent, yes—especially with full-grain leather. However, relying solely on wear can cause blisters, calluses, and gait imbalances. Active stretching methods accelerate adaptation while maintaining control over the process. Combine moderate wear with targeted techniques for best results.
Are there any permanent risks to stretching boots?
Yes. Overstretching can distort the original shape, create unsightly bulges, or compromise waterproof linings. In synthetics, stretched areas may never rebound, leading to sloppy fit. Once stretched, boots cannot be shrunk back reliably. Proceed cautiously and prioritize incremental changes.
Conclusion: Respect the Craft, Honor the Fit
Well-made boots are investments in comfort, durability, and personal style. Stretching narrow boots without damaging the material isn’t about shortcuts—it’s about patience, knowledge, and respect for craftsmanship. Whether you’re reviving heirloom footwear or adjusting a new purchase, the right approach preserves both form and function.
Start conservatively. Trust gradual change over force. Know your materials and their limits. And when in doubt, seek expert hands. A properly stretched boot shouldn’t look altered—it should simply feel like it was made for you.
💬 Have a boot transformation story? Share your experience or ask questions in the comments—your insight could help someone save their favorite pair.