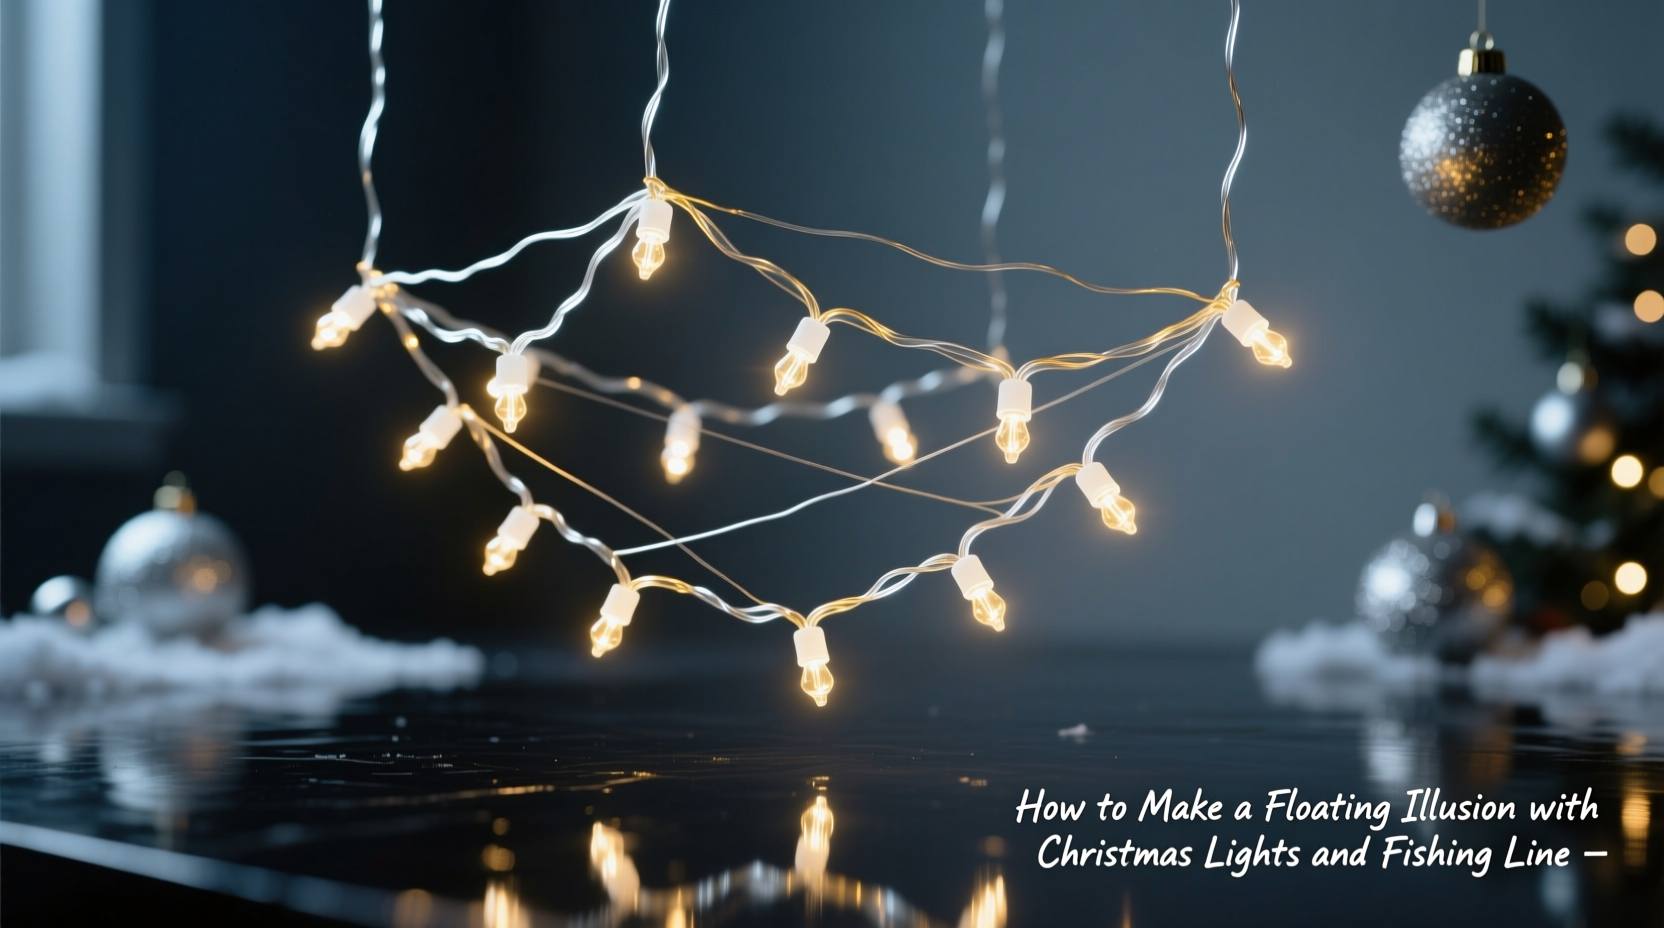
There’s a quiet magic in holiday lighting that doesn’t cling to surfaces or trace outlines—it hovers. Not suspended from visible wires, not tucked into garlands, but truly *floating*: clusters of warm white LEDs drifting midair like captured fireflies or miniature constellations. This effect isn’t reserved for high-end commercial displays or professional installers. With careful planning, the right materials, and attention to physics—not pixie dust—you can achieve it yourself using nothing more than standard mini LED lights and transparent monofilament fishing line. The result is elegant, ethereal, and deeply memorable: a centerpiece that draws gasps, not glances.
The floating illusion works because human vision relies on reference points. When thin, clear fishing line is taut, properly anchored, and aligned with ambient light conditions (especially against darker backgrounds or at dusk), it effectively disappears. What remains is the light source—unmoored, unanchored, impossibly airborne. But success hinges on execution, not just concept. Too much tension snaps the line; too little creates sag and visible droop. Poor anchor points lead to slippage or wall damage. And mismatched light density or spacing breaks the illusion entirely. This guide distills over a decade of residential and boutique display experience—including installations for historic homes, urban apartments, and snow-prone mountain cabins—into a field-tested, safety-conscious method you can replicate indoors or out.
Why Fishing Line Works (and Why Other “Invisible” Options Don’t)
Fishing line—specifically 6–12 lb test monofilament nylon—is uniquely suited to this application. Its refractive index (1.49) closely matches that of air (1.00) and water (1.33), meaning light bends minimally as it passes through the line, reducing glare and visibility. Crucially, it’s also highly tensile, UV-resistant (for outdoor use), and knot-secure when tied correctly. Compare that to alternatives:
| Material | Visibility Risk | Tensile Strength (lb) | UV Stability | Knot Security | Real-World Verdict |
|---|---|---|---|---|---|
| Clear nylon thread (sewing) | High — reflects light sharply | 2–4 | Poor — yellows in weeks | Low — slips under load | Unreliable; avoid |
| Black braided fishing line | Medium — visible as dark string | 15–30 | Excellent | High | Functional but breaks illusion |
| Stainless steel wire (0.2mm) | Low — nearly invisible | 25+ | Excellent | Medium — requires crimping | Overkill; expensive; risky near lights |
| Monofilament fishing line (8–10 lb test) | Very low — disappears when taut & angled | 8–10 | Good (with UV inhibitor) | High — double-loop knots hold firmly | Optimal balance: safe, invisible, accessible |
As lighting designer Lena Torres explains in her 2022 workshop at the Holiday Design Summit:
“The ‘floating’ effect collapses the moment the viewer’s eye catches a single linear cue. That’s why 90% of failed attempts trace back to either line thickness >0.25mm or anchor points that cast shadows. It’s not about hiding the line—it’s about eliminating visual evidence that anything is holding the light up.”
Essential Materials & Where to Source Them
You don’t need specialty suppliers. Every item below is available at hardware stores, craft chains, or online retailers (search terms provided). Total cost for a medium-scale indoor installation (e.g., above a dining table or mantel): $22–$38.
- LED Mini Lights: 100-light strands (warm white, non-blinking, battery- or plug-in). Choose UL-listed, insulated wire. Avoid incandescent bulbs—they generate heat that degrades monofilament over time. Search term: “UL listed warm white LED mini lights 100 count”.
- Fishing Line: 8 lb test monofilament, UV-resistant (e.g., Berkley Trilene XL or Seaguar Red Label). Buy 100-yard spools—never pre-cut “invisible thread” packs. Search term: “Berkley Trilene XL 8lb test monofilament”.
- Anchors: For walls/ceilings: plastic drywall anchors rated for 20+ lbs (e.g., TOGGLER SNAPTOGGLE). For wood beams or rafters: #8 × 1.5″ coated deck screws. For temporary setups (rentals, events): heavy-duty Command™ Ceiling Hooks (rated 7.5 lbs each).
- Tools: Needle-nose pliers (for bending wire loops), digital kitchen scale (to verify weight distribution), laser level (optional but highly recommended for alignment), and a small binder clip (for testing tension).
- Optional but Recommended: A cordless drill with a 1/8″ bit, painter’s tape (for marking anchor points), and a 10x magnifier loupe (to inspect knots before loading).
Step-by-Step Installation: From Planning to First Glow
This sequence assumes an indoor ceiling-to-ceiling or wall-to-wall floating cluster (e.g., above a sofa or entryway). Adjust measurements for outdoor use by adding 15% extra line length to accommodate wind sway and thermal contraction.
- Map Your Layout (15 minutes): Sketch your space. Identify two or more rigid anchor points (studs, joists, masonry) at equal height. Measure distances precisely. Determine desired light height (minimum 7′ from floor for safety) and spacing between lines (18–30″ apart for depth perception). Mark points with painter’s tape.
- Calculate Load & Select Anchors (5 minutes): Weigh one full strand (typically 0.3–0.5 lbs). Multiply by number of strands. Add 25% safety margin. Example: 4 strands × 0.4 lbs = 1.6 lbs + 0.4 lbs = 2.0 lbs total. Any anchor rated ≥5 lbs per point is sufficient. Never exceed 75% of anchor’s rated capacity.
- Install Anchors (20 minutes): Drill pilot holes. Insert anchors firmly. For drywall, tap anchors until flush—do not overtighten. For wood, drive screws until heads are just recessed. Verify level across all points with laser level or string line.
- Prepare Light Strands (25 minutes): Untangle lights completely. Test each strand. Then, starting at the first bulb, measure 6″ along the wire and tie a secure double-loop knot (like a bowline, but with two wraps). Trim excess line to 1/8″. Repeat every 12–18″ along the strand, ensuring loops face same direction. Use magnifier to confirm no fraying.
- String & Tension Lines (30 minutes): Thread one end of fishing line through first anchor, leaving 6″ tail. Tie a figure-eight knot around anchor shank. Pull line taut (use binder clip as tension gauge—clip should slide smoothly but not fall off). At second anchor, thread line, pull taut, then tie identical figure-eight. Repeat for all lines. Key: All lines must be equally taut—uneven tension causes visible sag or twisting.
- Hang Lights (20 minutes): Starting at one end, gently hook each pre-tied loop onto its corresponding fishing line. Do not stretch or yank. Work toward center to distribute weight evenly. Once all hung, step back and observe from multiple angles. Adjust individual loops if any bulb appears lower than neighbors.
- Final Safety Check (10 minutes): Gently press down on center of each line—no sag >1/4″. Verify no bulbs contact line (friction causes heat buildup). Confirm plug location is accessible and not pinched. For outdoor use, add drip loops before entering outlets.
Real-World Application: The Maple Street Apartment Project
In December 2023, interior stylist Maya Chen faced a challenge common to urban renters: how to create drama in a 550-square-foot studio with plaster ceilings, no attic access, and strict no-drill lease terms. Her client wanted “a winter sky” above the living area—but traditional mounting was forbidden. Maya adapted the floating technique using Command™ Ceiling Hooks (tested to hold 7.5 lbs each) and 10 lb test fluorocarbon line (even more invisible than nylon, though pricier). She installed three parallel lines spanning 8 feet across the ceiling, suspending six 50-light strands in staggered clusters: two higher (7′6″), two mid-level (7′), and two lower (6′6″) to simulate atmospheric depth. To avoid visible hooks, she painted them matte black and placed them precisely where ceiling medallions created natural shadow lines. The result? A layered, dimensional glow that guests consistently described as “like sleeping under the aurora.” Crucially, removal took 12 minutes, left zero residue, and passed the landlord’s inspection. Maya’s insight: “The illusion isn’t just visual—it’s psychological. When people assume something is permanent, they look for flaws. When they know it’s temporary, they surrender to the magic.”
Common Pitfalls & How to Avoid Them
Even experienced installers encounter these issues. Recognizing them early prevents frustration—and potential falls.
- Sagging Mid-Span: Caused by insufficient line tension or overloaded strands. Fix: Retie anchors with tighter figure-eights; reduce bulbs per line (max 50 per 10′ span); or add a third anchor point mid-line for support.
- Visible Line Glint: Occurs when light hits line perpendicularly (e.g., from overhead fixtures). Fix: Angle anchor points slightly inward so lines run diagonally across the space; use warmer-toned ambient lighting (2700K) to reduce contrast.
- Bulbs Twisting or Spinning: Results from uneven knot placement or twisted line during installation. Fix: Before final tensioning, rotate each bulb loop so socket faces forward; use pliers to gently untwist line while holding both ends.
- Cold-Weather Brittleness (outdoor use): Standard nylon becomes stiff below 32°F, increasing break risk. Fix: Use fluorocarbon line (remains flexible to -40°F) or bring installation indoors overnight before hanging.
- Electrical Hazards: Overloading circuits or using damaged cords. Fix: Plug no more than three 100-light strands into one outlet. Use a surge-protected power strip. Inspect cords for nicks before each season.
FAQ
Can I use this method outdoors in rain or snow?
Yes—if you use only UL-listed outdoor-rated lights and UV-stabilized fishing line (e.g., Seaguar FluoroCarbon). Anchor points must be corrosion-resistant (stainless steel screws or galvanized anchors). Always route cords through drip loops and use weatherproof outlet covers. Avoid hanging over walkways unless lights are rated for 15+ ft height clearance.
How many lights can one fishing line safely hold?
For 8 lb test line: maximum 0.6 lbs per 10-foot span (≈1.5 strands of 100-light LEDs). Exceeding this risks gradual stretching or sudden failure. Always weigh strands first—battery-operated lights are lighter than plug-in versions.
Will pets or children accidentally break the illusion—or the setup?
Curious pets may paw at dangling bulbs, but monofilament is nearly impossible for cats/dogs to see or grasp. Children should be taught not to touch (bulbs get warm; line is sharp if broken). For high-traffic areas, position lowest bulbs ≥7 feet above floor and use shatter-resistant LED bulbs. The line itself poses minimal entanglement risk due to its thinness and tension.
Conclusion: Light That Defies Gravity, Not Good Sense
The floating Christmas light illusion isn’t about defying physics—it’s about honoring it with precision. It asks you to slow down: to measure twice, knot deliberately, and observe critically from every angle. In doing so, you transform simple materials into moments of shared wonder. That pause when a guest stops mid-sentence, tilts their head, and whispers, “How is it *floating*?”—that’s the real gift. It’s not spectacle for spectacle’s sake. It’s proof that intentionality, even in decoration, cultivates presence. Whether you’re illuminating a century-old porch, a minimalist loft, or a child’s bedroom ceiling, this technique rewards patience with poetry. Your lights won’t just shine. They’ll suspend time.
💬 Try it this season—and tell us what you floated. Share your anchor tricks, knot hacks, or favorite light color temperature in the comments. Let’s build a library of real-world wisdom, one glowing strand at a time.