A dead battery is one of the most common reasons a car won’t start—especially in cold weather or after leaving lights on overnight. For new drivers, the idea of jump-starting a vehicle can feel intimidating, but it’s a straightforward process when done correctly. With the right tools, precautions, and sequence of steps, you can safely revive your car’s battery and avoid damaging your vehicle or risking personal injury. This guide walks you through everything you need to know—from preparation to post-jump checks—so you can handle this situation calmly and effectively.
Why Car Batteries Die and When Jump Starting Helps
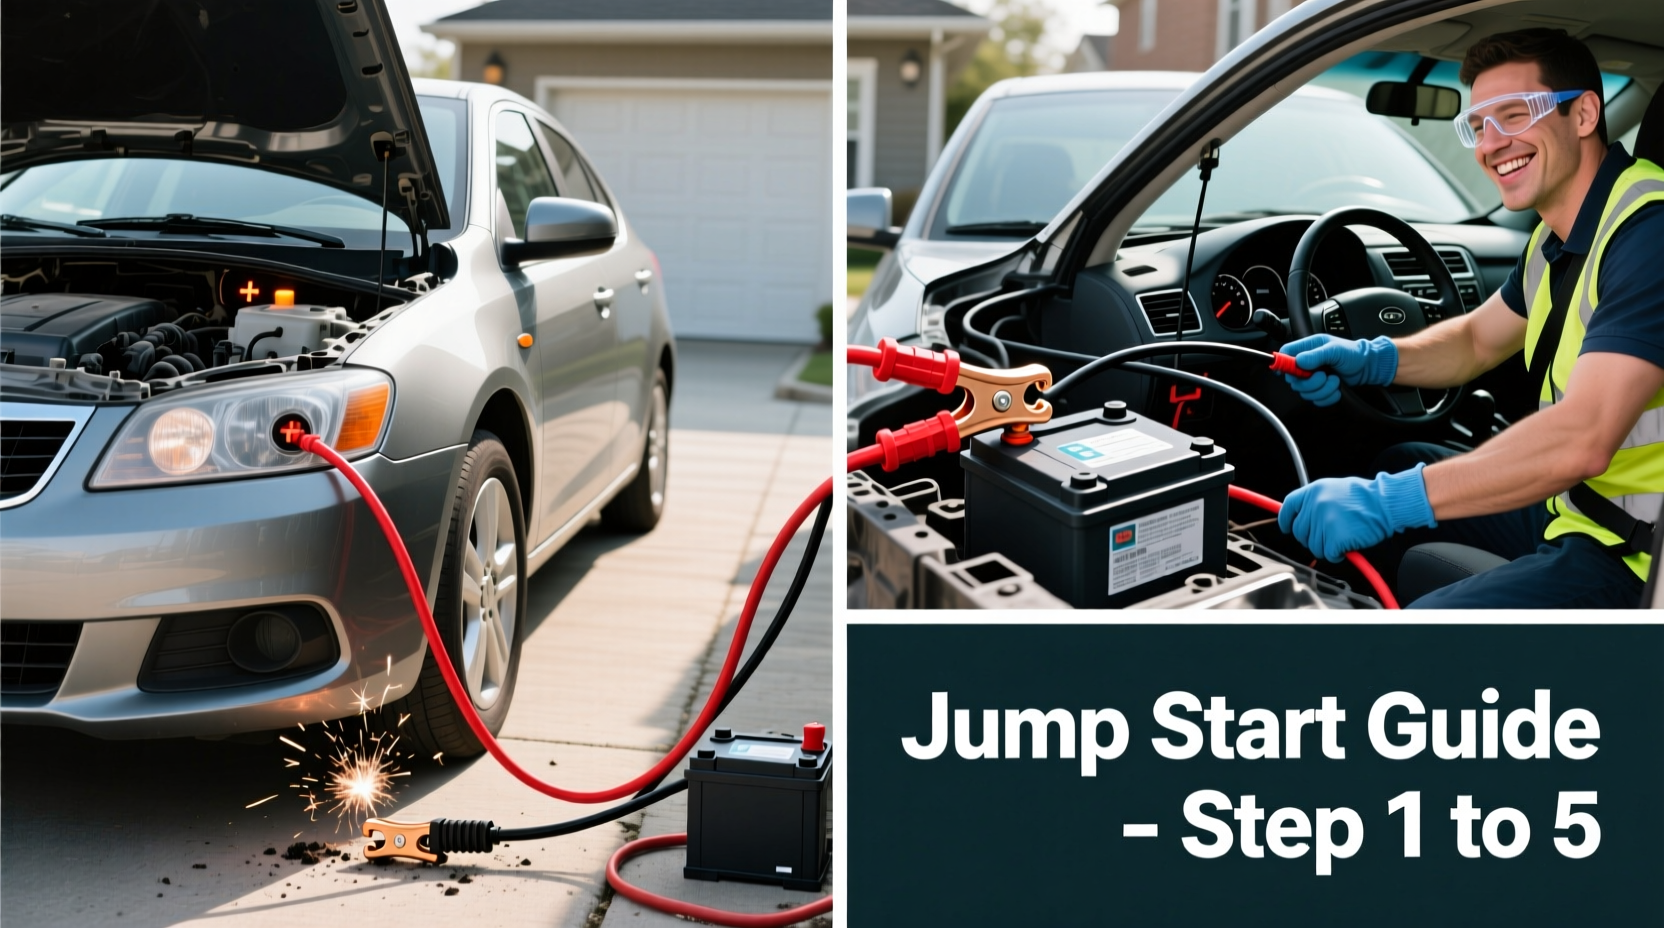
Car batteries typically last 3–5 years, but various factors can shorten their lifespan or drain them prematurely. Common causes include:
- Leaving headlights, interior lights, or charging devices plugged in overnight
- Extreme temperatures (both hot and cold)
- Frequent short trips that don’t allow the alternator to fully recharge the battery
- Old age or internal battery failure
- Parasitic drain from faulty electrical components
Jump starting works by using another vehicle’s battery to provide enough power to crank your engine. Once the engine runs, the alternator begins recharging the battery. However, if the battery is completely dead due to age or damage, a jump may only offer a temporary fix. In such cases, replacement is often necessary.
“Knowing how to jump start a car isn’t just about convenience—it’s a fundamental safety skill every new driver should have.” — Mark Reynolds, ASE-Certified Automotive Technician
Essential Tools and Safety Precautions
Before attempting a jump start, ensure you have the right equipment and understand the risks involved. The last thing you want is a spark near battery fumes, which could lead to an explosion.
You’ll need:
- Jump starter cables (also called jumper cables) – at least 10 feet long, with thick gauge wires (4–6 gauge recommended)
- A second vehicle with a working battery (or a portable jump starter)
- Gloves and safety glasses (recommended for protection)
- Owner’s manuals for both vehicles (helpful for locating terminals and understanding specific warnings)
Safety first: Never attempt a jump start if the battery is cracked, leaking fluid, or frozen. These conditions increase the risk of explosion or chemical exposure. Also, avoid smoking or using open flames near the engine bay.
Step-by-Step Guide to Jump Starting a Car
Follow these steps carefully to ensure a safe and successful jump start. Rushing or skipping steps can result in electrical damage or injury.
- Park the vehicles close but not touching. Position the donor car so both batteries are accessible, ideally within cable reach. Turn off both engines, shift into park (or neutral), and engage the parking brakes.
- Turn off all electronics. Disable headlights, radio, climate control, and any accessories in both cars to prevent voltage surges during connection.
- Identify battery terminals. Locate the positive (+) and negative (–) terminals on both batteries. They’re usually color-coded red (positive) and black (negative). If corroded, gently clean the terminals with a wire brush or cloth.
- Connect the red (positive) clamp to your dead battery. Attach one end of the red cable to the positive terminal of the dead battery.
- Connect the other red clamp to the donor battery’s positive terminal. This links the two batteries in parallel.
- Attach the black (negative) clamp to the donor battery’s negative terminal. This completes the circuit back to the donor vehicle.
- Connect the final black clamp to an unpainted metal surface in your car’s engine bay. Choose a sturdy part like a bolt or bracket away from the battery. This grounds the system and reduces spark risk near hydrogen gas emitted by the battery.
- Start the donor vehicle and let it run for 2–3 minutes. This stabilizes the electrical system and allows charge transfer.
- Attempt to start your car. Turn the key or press the start button. If it doesn’t start immediately, wait another minute and try again. Avoid cranking for more than 10 seconds at a time.
- Once started, keep the engine running for at least 15–20 minutes. This allows the alternator to begin recharging the battery. Driving is better than idling for effective charging.
- Disconnect the cables in reverse order. Remove the black clamp from your car’s ground point, then from the donor battery. Next, remove the red clamp from the donor battery, and finally from your car’s battery.
Store the cables properly—coiled neatly without kinks—and check them periodically for frayed insulation or damaged clamps.
Do’s and Don’ts During a Jump Start
To reinforce best practices, here’s a clear comparison of correct and incorrect actions.
| Do | Don’t |
|---|---|
| Use thick, undamaged jumper cables | Use thin, worn-out, or tangled cables |
| Connect in the correct sequence: Red to dead, red to donor, black to donor, black to ground | Reverse the order or connect both blacks to batteries directly |
| Let the donor car idle before starting your engine | Rev the donor engine excessively; moderate RPM is sufficient |
| Wear eye protection and avoid leaning over the battery | Smoke, use lighters, or create sparks near the engine bay |
| Drive your car for at least 20 minutes after the jump | Turn off the engine immediately after starting |
Real-Life Scenario: Sarah’s First Jump Start
Sarah, a college freshman, left her headlights on after a late-night study session. The next morning, her car made a clicking sound but wouldn’t start. She called a friend who arrived with jumper cables.
Following a quick YouTube tutorial on speakerphone, they positioned the cars safely and connected the cables step by step. Sarah was nervous about causing damage, but her friend emphasized grounding the final clamp on the engine block instead of the battery terminal. After a few tries, the engine turned over. Sarah drove straight to an auto parts store, where a technician tested her battery and confirmed it was weak but still functional. She replaced it two weeks later, but the jump start got her to class on time—and boosted her confidence behind the wheel.
This example shows how basic knowledge, calm execution, and proper tools can turn a stressful situation into a learning experience.
Troubleshooting: What If the Car Still Won’t Start?
If your car doesn’t start after following the correct procedure, consider these possibilities:
- Battery is too far gone: Some batteries cannot accept a charge if deeply discharged or internally damaged.
- Cables aren’t conducting: Poor contact, corrosion, or low-quality cables can interrupt current flow.
- Alternator failure: Even if the car starts, a failing alternator won’t recharge the battery, leading to repeated issues.
- Starter motor or ignition problem: A clicking noise without cranking may indicate a starter issue, not a battery problem.
In such cases, professional diagnosis is recommended. Many auto shops offer free battery and charging system tests.
Tip: If you rely on jump starts frequently, your battery likely needs replacement. Continuing to jump-start a failing battery risks damaging sensitive electronics in your car.Frequently Asked Questions
Can jump starting damage my car’s electronics?
Yes—if done incorrectly. Connecting cables in the wrong order or creating a short circuit can send voltage spikes through the electrical system, potentially harming computers, sensors, or infotainment units. Always follow the proper sequence and avoid letting clamps touch each other while connected.
Is it safe to jump start a car in the rain?
Generally, yes—but with caution. Water increases conductivity and slip hazards. Ensure cable insulation is intact, connections are secure, and you’re standing on dry ground if possible. Cover the battery area with a plastic sheet if heavy rain persists. Modern vehicles are well-insulated, but minimizing exposure is wise.
How long should I drive after a jump start?
Drive for at least 20–30 minutes at highway speeds to adequately recharge the battery. Short trips or stop-and-go traffic may not provide enough charge, leading to another dead battery the next time you park.
Final Checklist Before You Go
Keep this concise checklist handy—either saved digitally or printed in your glove compartment—for quick reference during emergencies.
- Preparation:
- ✔ Jumper cables or portable jump starter available
- ✔ Second vehicle or power source ready
- ✔ Safety gear (gloves, glasses) accessible
- Connection Sequence:
- ✔ Red to dead battery (+)
- ✔ Red to donor battery (+)
- ✔ Black to donor battery (–)
- ✔ Black to grounded metal (not the dead battery)
- After Starting:
- ✔ Run engine for 15+ minutes or drive
- ✔ Disconnect cables in reverse order
- ✔ Schedule battery test if issue recurs
Stay Prepared, Stay Confident
Jump starting a car is a practical skill that empowers new drivers to handle unexpected setbacks. While modern vehicles are reliable, batteries fail when you least expect it. By understanding the process, respecting the risks, and acting methodically, you can restore power safely and efficiently. Don’t wait for an emergency to learn this skill—review the steps now, practice with a trusted adult if possible, and keep your emergency kit stocked.
💬 Have a jump start story or tip to share? Leave a comment below and help fellow drivers stay prepared on the road.