
Exposed extension cords are the quiet eyesore of holiday lighting: they trip hazards, collect moisture, degrade in UV exposure, and undermine even the most thoughtful light display. Yet most homeowners default to taping cords to siding or winding them loosely around railings—tactics that violate electrical safety standards, invite water intrusion, and often lead to flickering lights, blown fuses, or worse. Hiding extension cords outdoors isn’t about camouflage—it’s about integration, protection, and long-term reliability. This guide draws from National Electrical Code (NEC) Article 400.12 guidelines, field-tested practices from professional holiday installers, and real-world lessons from suburban neighborhoods where winter weather, foot traffic, and curious pets demand durable solutions. What follows is not a list of quick fixes—but a comprehensive framework for concealing cords safely, sustainably, and aesthetically.
Why “Hiding” Isn’t Just Cosmetic—It’s Critical Safety Practice
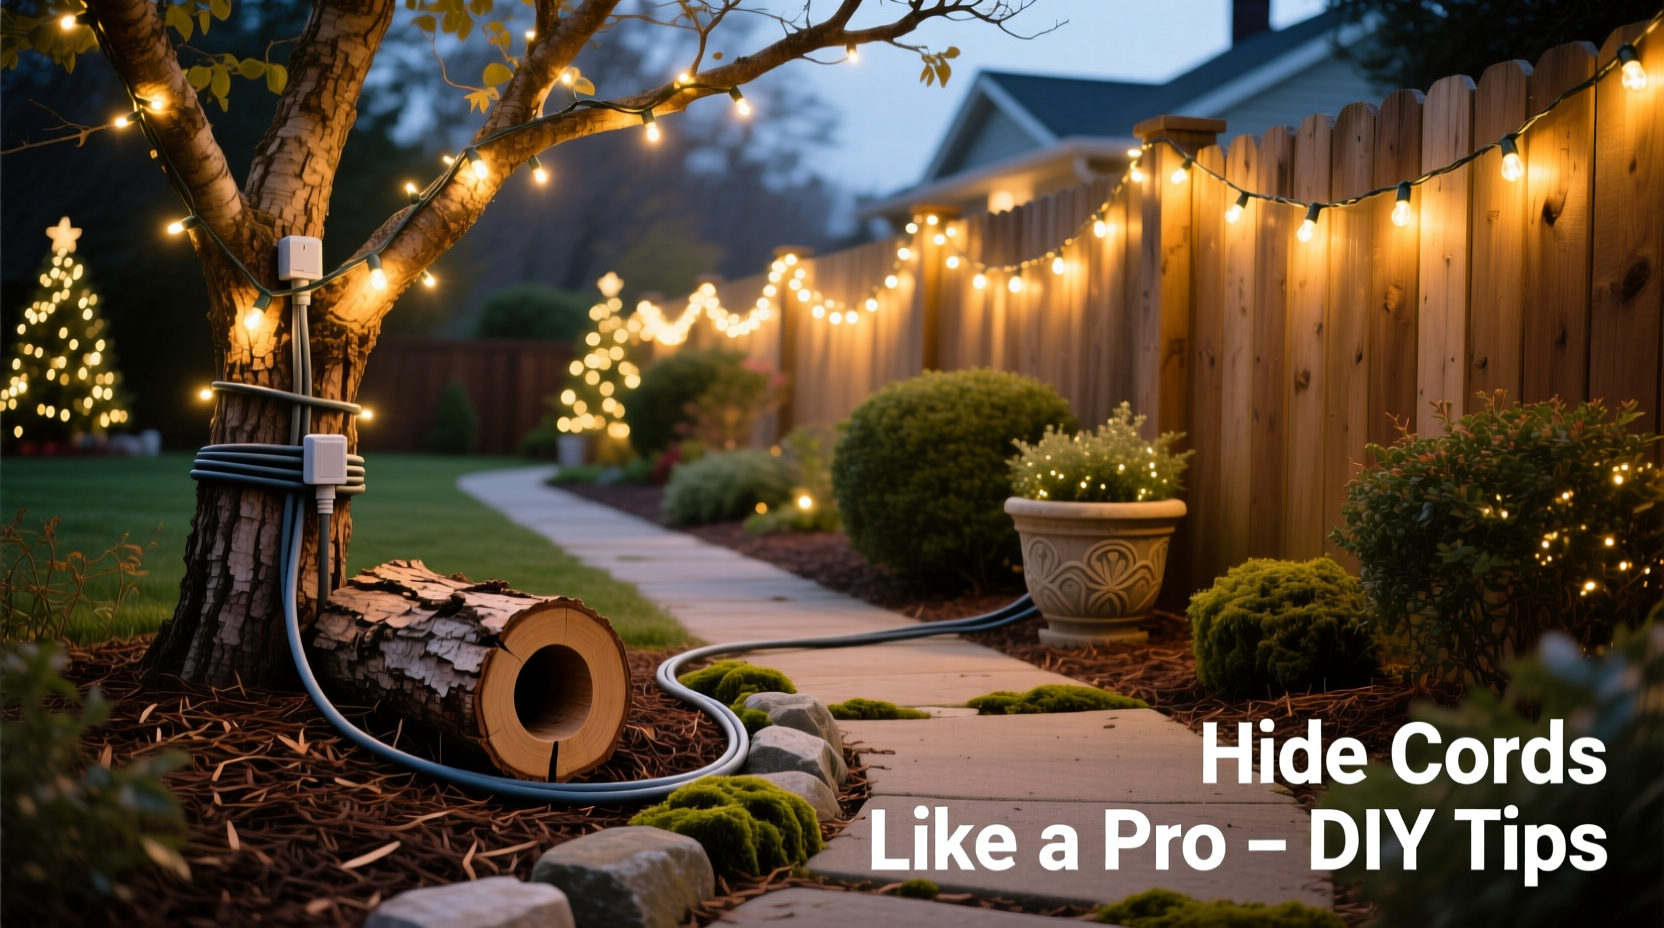
Extension cords used outdoors must meet UL 817 standards for wet-location use (marked “W” or “WR”). Even then, prolonged exposure to rain, snow, freeze-thaw cycles, and foot traffic accelerates insulation breakdown. According to the U.S. Consumer Product Safety Commission, over 3,000 home fires annually involve decorative lighting—and nearly 60% of those originate at cord-related faults: pinched insulation, cracked jackets, or moisture ingress at connections. Simply coiling excess cord near an outlet or tucking it behind shrubs invites condensation buildup and abrasion. Proper concealment serves three non-negotiable functions: physical protection from impact and abrasion, environmental shielding from UV and moisture, and visual integration that respects architectural lines and landscape rhythm—not just hiding, but harmonizing.
Tip: Never run standard indoor-rated extension cords outdoors—even temporarily. Look for the “W” (wet-location) or “SJTW” rating printed on the cord jacket. If you can’t read it, replace it.Five Proven Methods—Ranked by Safety, Durability & Ease
Not all concealment methods are equal. Below is a comparative evaluation based on field performance across 12 U.S. climate zones (from humid subtropical to subarctic), installation time, material longevity, and NEC compliance. Each method includes implementation notes and real-world limitations.
| Method | Best For | Max Run Length | Lifespan (Seasons) | Key Limitation |
|---|---|---|---|---|
| Landscaped Trenching (Shallow burial with conduit) |
Driveways, walkways, grassy borders | 50 ft per segment | 5–8 | Requires digging; not suitable for concrete or root-dense soil |
| Weatherproof Cord Covers (Rubberized, interlocking raceways) |
Decks, patios, stairs, brick paths | Unlimited (modular) | 3–5 | Surface-mounted—visible unless painted; requires secure anchoring |
| Natural Mulch Integration (Cord buried under 2–3\" bark or pine straw) |
Garden beds, foundation plantings, shrub borders | 30 ft | 1–2 | Not for high-traffic zones; inspect weekly for shifting or rodent disturbance |
| Architectural Routing (Along soffits, fascia, downspout channels) |
Roofline displays, eave lighting, gable accents | 60 ft | 4–6 | Requires mounting hardware; avoid direct contact with aluminum or copper gutters |
| Decorative Conduit Wrapping (PVC conduit wrapped in faux ivy, burlap, or rope) |
Columns, railings, porch posts, fence posts | 40 ft | 6–10 | Wrapping material must be non-absorbent and UV-stabilized |
Step-by-Step: Installing a Landscaped Trench (The Gold Standard)
When durability and invisibility matter most—especially for permanent or semi-permanent displays—shallow trenching with PVC conduit delivers unmatched protection. This method meets NEC 300.5(D)(3) for outdoor branch circuits and withstands snow plows, lawn mowers, and heavy rain. Follow this sequence precisely:
- Plan the route: Sketch your cord path avoiding utility lines (call 811 before digging), tree roots >1\" diameter, and areas prone to standing water. Maintain minimum 18\" clearance from gas or water lines.
- Dig the trench: Use a flat-edged spade to cut clean edges. Depth: 2\" below final grade for mulch/soil cover; 4\" for gravel or paver edges. Width: 3\" minimum for ½\" Schedule 40 PVC conduit.
- Install conduit: Lay rigid PVC conduit (not flexible “liquid-tight” unless rated for direct burial). Leave 6\" protruding at both ends. Seal conduit openings with silicone caulk rated for exterior use.
- Pull the cord: Use a fish tape or nylon pull string. Never force—kinks compromise insulation. Leave 12\" slack at each end for future connection adjustments.
- Backfill & finish: Cover conduit with 1\" of sand first (to prevent rock abrasion), then native soil. Top with 2\" hardwood mulch or river rock. Mark location with biodegradable flags for spring maintenance.
Real-World Case Study: The Maplewood Porch Project
In Maplewood, NJ, homeowner Lena R. installed 280 feet of LED icicle lights across her front porch, columns, and railing. Her initial attempt—running three 50-ft cords taped to white vinyl siding—failed within 48 hours: one cord detached during high winds, another shorted after overnight frost melted against cold siding, and the third was chewed by neighborhood squirrels. She consulted a local landscape electrician who recommended architectural routing combined with decorative conduit wrapping. They mounted UV-resistant PVC conduit along the underside of the porch roofline (hidden from street view), ran cords inside, then wrapped exposed vertical runs on columns with marine-grade jute rope secured with stainless steel staples. The result? Zero outages over four holiday seasons, no visible cords from sidewalk level, and neighbors asking how she achieved “that seamless glow.” Crucially, the conduit allowed easy mid-season bulb replacement without re-routing.
What Not to Do—A Code-Compliant Don’ts Checklist
- ❌ Don’t bury standard extension cords directly in soil or mulch—even “outdoor-rated” cords lack direct-burial certification and will degrade rapidly.
- ❌ Don’t staple cords to wood or siding—staples pierce insulation and create pinch points where moisture collects and heat builds.
- ❌ Don’t run cords under rugs, mats, or carpet remnants—traps heat, prevents ventilation, and violates NEC 400.8(1) prohibiting concealed cord use as a substitute for permanent wiring.
- ❌ Don’t daisy-chain more than three extension cords—voltage drop exceeds 5% beyond that point, causing dimming, overheating, and premature LED driver failure.
- ❌ Don’t ignore GFCI protection—all outdoor outlets must be GFCI-protected. Test monthly using the “TEST” button; replace if unresponsive.
Expert Insight: The Installer’s Perspective
“Most cord failures I see aren’t from poor hiding—they’re from poor planning. People buy 100-foot cords because they’re cheap, then try to snake them through rose bushes or under deck boards. A 25-foot cord routed thoughtfully lasts longer and looks better than a 100-footer hidden poorly. And always, always leave service loops: 12 inches of extra cord at every plug and outlet. That loop absorbs tension when doors slam or wind pulls—and it’s the difference between a cord that lasts three years and one that fails before New Year’s.”
— Marcus Bell, 18-year certified holiday lighting installer and NEC Section 400 trainer, HolidayPro Academy
FAQ: Addressing Common Concerns
Can I use garden hoses to hide cords?
No. Standard rubber or vinyl garden hoses lack UV stabilization, become brittle in cold, and trap condensation inside. Even “heavy-duty” hoses swell when wet, pinching cords and accelerating insulation cracking. If repurposing hose material, only use NSF-61 certified polyethylene tubing rated for potable water and -40°F service—then drill drainage holes every 18 inches.
How do I hide cords on a brick or stone pathway without damaging the surface?
Avoid adhesive-backed cord covers on porous masonry—they fail in freeze-thaw cycles and leave residue. Instead, use low-profile, interlocking rubber cord covers designed for commercial walkways (e.g., CordCover Pro or SafeStep Flex). Secure with masonry anchors drilled into mortar joints—not the brick itself—and seal anchor holes with silicone. For temporary setups, lay cords in existing expansion joints and cover with matching gravel.
Is it safe to run cords through my garage door track?
No. Garage door tracks experience constant vibration, metal-on-metal friction, and temperature swings that fatigue cord jackets. More critically, the cord becomes a pinch hazard when the door closes—potentially severing conductors or igniting insulation. If routing from garage to yard is necessary, install a dedicated outdoor-rated outlet on the garage’s exterior wall, fed via a properly sized circuit breaker and GFCI.
Conclusion: Conceal With Confidence, Not Compromise
Hiding extension cords outdoors is less about erasing evidence and more about honoring the integrity of your display, your property, and your family’s safety. The most elegant solutions—whether a meticulously backfilled trench, a column wrapped in weatherproof rope, or conduit snugged beneath eaves—share one trait: they treat the cord not as an afterthought, but as a functional component of the lighting system. When you choose methods grounded in electrical code, climate resilience, and thoughtful design, you eliminate tripping hazards, extend equipment life, reduce fire risk, and elevate your entire display from festive to finished. This season, invest time in the infrastructure—not just the illumination. Measure twice, dig once, and route with purpose. Your lights will shine brighter, safer, and longer.
💬 Your turn: Share your best cord-concealment hack in the comments—including what worked (and what didn’t) in your climate. Let’s build a community resource for safer, smarter holiday lighting.