Every hiker knows the dread of stopping mid-trail because of a hot spot turning into a full-blown blister. On long-distance hikes, foot health is not just comfort—it’s performance. Blisters can derail multi-day treks, compromise balance, and lead to infections if not managed properly. While socks and gaiters play a role, the foundation of blister prevention starts with your hiking boots. The right pair minimizes friction, supports proper gait mechanics, and adapts to your foot’s unique shape. Choosing boots solely based on appearance or price often leads to pain. Instead, focus on fit, construction, and compatibility with your hiking style.
Understand the Root Causes of Hiking Blisters
Blisters form when repeated friction damages layers of skin, causing fluid to accumulate as a protective response. In hiking, this friction usually stems from three main sources: poor boot fit, moisture buildup, and movement inside the shoe. When your heel slips with each step or your toes repeatedly hit the front of the boot, micro-tears develop in the skin. Combine that with sweat-soaked socks, and you’ve created the perfect environment for blisters to form—especially on inclines, descents, or uneven terrain.
It's not always about tightness. A boot that’s too loose allows sliding; one that’s too tight creates pressure points. Both scenarios lead to irritation. Additionally, materials matter: stiff leather may protect rugged terrain but requires longer break-in periods, while synthetic uppers offer quicker adaptability but may retain more heat.
Tip: Blisters often start at the ball of the foot, heels, or little toes—areas most prone to rubbing. Pay extra attention to fit in these zones during your boot trial.Key Features of Blister-Preventing Hiking Boots
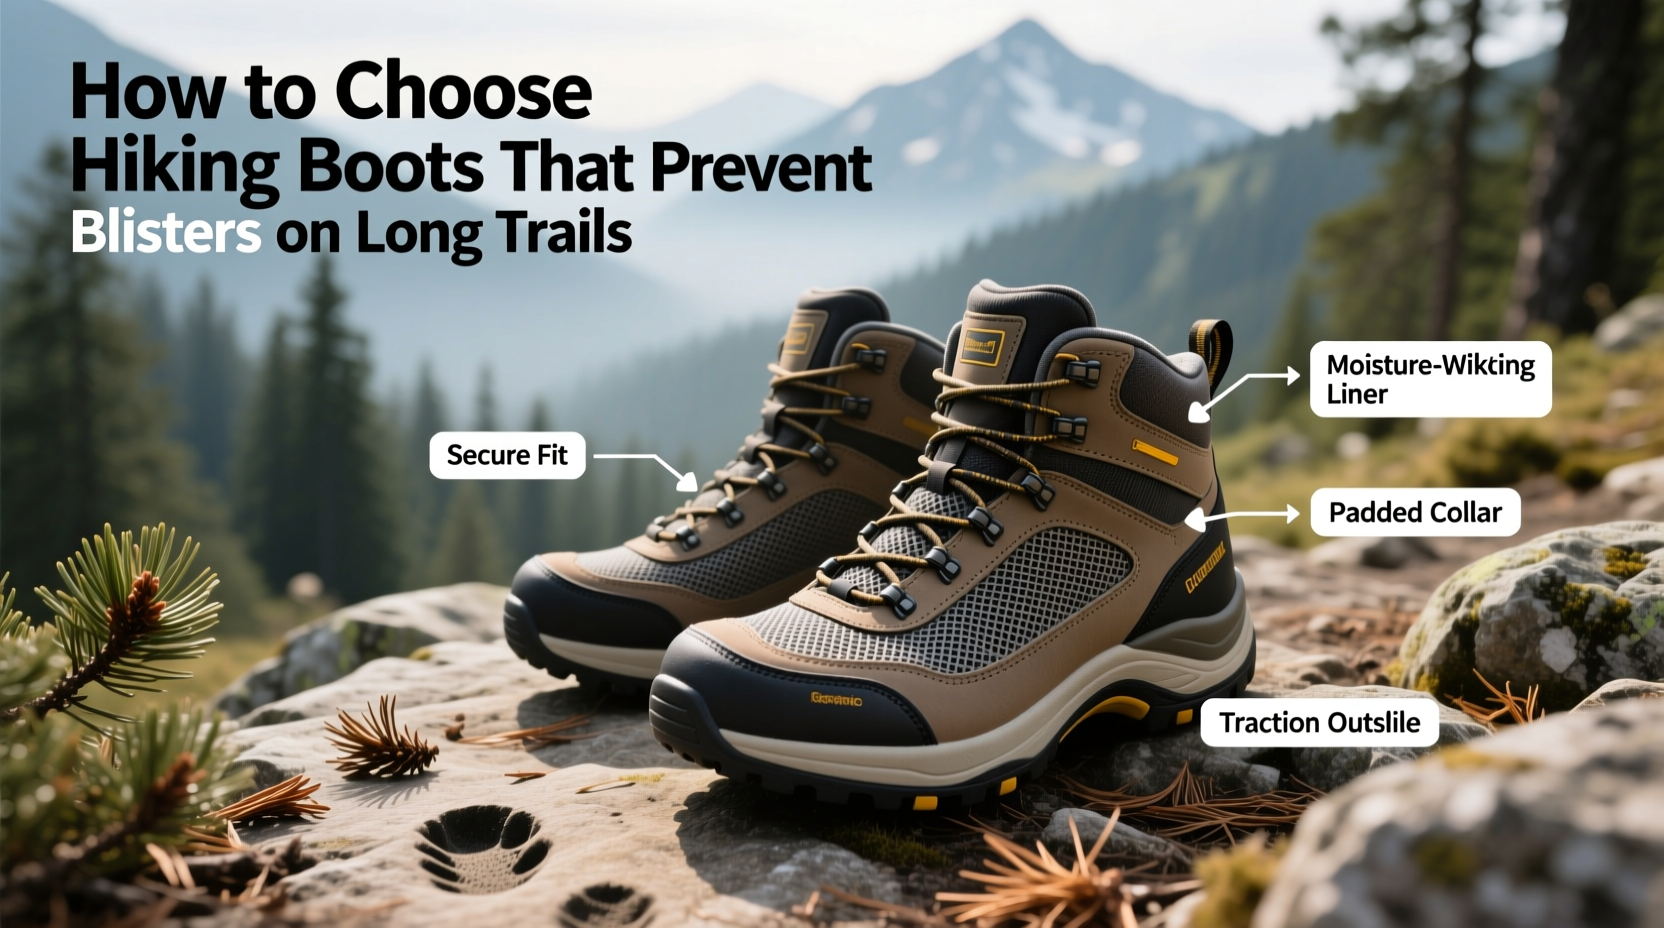
Selecting boots that reduce blister risk means prioritizing engineering over aesthetics. Look for specific design elements proven to enhance stability and minimize internal foot movement.
- Anatomical Last Shape: Boots molded to match natural foot contours reduce pressure points. Some brands offer wide, narrow, or women-specific lasts.
- Heel Lockdown: A secure heel cup prevents vertical lift, which causes Achilles irritation. Lacing systems that cinch the ankle independently help maintain this lockdown.
- Rigid Midsole: A firm midsole reduces foot fatigue and torsion, limiting muscle strain that alters your gait and increases friction.
- Ventilation Zones: Breathable mesh panels or perforated linings wick moisture, reducing skin softening and slip.
- Gusseted Tongue: Prevents debris and laces from pressing directly on the top of the foot, eliminating another common friction point.
Modern hiking boots also integrate technologies like EVA foam cushioning, TPU shanks for arch support, and seamless interior linings. These features collectively stabilize the foot, absorb impact, and eliminate internal seams that rub against sensitive skin.
“Over 70% of hikers who report chronic blisters are wearing boots with inadequate heel retention. It’s not about breaking them in—it’s about starting with the right structure.” — Dr. Lena Torres, Podiatrist & Outdoor Medicine Specialist
Your Boot Selection Step-by-Step Guide
Finding the ideal blister-resistant boot isn’t a one-time decision—it’s a process involving research, testing, and validation. Follow this timeline to make a confident choice before hitting the trail.
- Assess Your Terrain and Load (Week 1): Light day hikes demand less support than backpacking across rocky ridges. Match boot height (low-cut, mid, high-top) and stiffness to your expected conditions.
- Measure Your Feet Accurately (Week 1): Feet swell during activity. Measure both length and width at the end of the day, standing on a flat surface. Use Brannock device measurements if possible.
- Research Brands with Proven Fit Systems (Week 2): Brands like Lowa, Salomon, and Scarpa use 3D-molded lasts known for consistent sizing and anatomical shaping. Read user reviews focused on “heel slip” and “toe room.”
- Try Boots In-Person with Hiking Socks (Week 3): Never buy online without prior fitting. Wear the same socks you plan to hike in. Walk on an incline ramp if available. Wiggle room at the toe should be about a thumb’s width.
- Test on Short Trails (Week 4): Take new boots on two or three short hikes with a loaded pack. Check for hot spots, numbness, or swelling after each outing.
- Adjust Lacing and Insoles (Ongoing): Replace stock insoles with supportive orthotics if needed. Experiment with ladder lacing or loop lacing to relieve pressure on insteps or heels.
Do’s and Don’ts When Fitting Hiking Boots
| Do | Don’t |
|---|---|
| Fit boots later in the day when feet are slightly swollen | Size down to “prevent slippage”—this increases pressure |
| Wear your actual hiking socks during fitting | Trust boxy retail sizes—focus on feel, not number |
| Walk on a slope or stairs during try-on | Ignore heel lift—even 5mm can cause blisters over miles |
| Check toe clearance when going downhill | Break in boots on a long trek—start with moderate hikes |
| Re-evaluate fit after 10–15 miles of wear | Assume all models from a brand fit the same |
The Role of Socks and Lacing in Blister Prevention
No boot works optimally without the right sock system. Merino wool blends remain the gold standard due to their moisture-wicking, temperature-regulating, and antimicrobial properties. Avoid cotton at all costs—it retains sweat and increases friction dramatically when wet.
Consider double-layer socks or liner socks. The inner layer moves with your foot, while the outer sock moves with the boot, creating a shear plane between layers instead of between skin and fabric. This significantly reduces epidermal damage.
Lacing technique is equally critical. If your heel lifts, use a heel lock lace (also called the runner’s loop). Here’s how:
- Lace normally up to the second-to-last eyelet.
- Create a loop by bringing each lace end back through the same side eyelet.
- Cross the laces over and thread them through the opposite loops.
- Pull tight and tie as usual.
This cinches the ankle collar snugly without over-tightening the forefoot, maintaining circulation and comfort.
Tip: Carry spare laces on long hikes. Elastic or speed laces can simplify adjustments during temperature changes that affect foot swelling.Real-World Example: Sarah’s Appalachian Trail Prep
Sarah, an experienced day hiker, decided to tackle a 100-mile section of the Appalachian Trail. She bought a popular lightweight boot online based on reviews and began training. By mile 20 of her first long hike, she developed painful blisters on both heels and the base of her little toes.
She returned the boots and visited a specialty outdoor retailer. There, staff measured her feet, observed her gait, and noted her tendency to pronate slightly. They recommended a stiffer, higher-cut boot with a molded heel cup and motion control features. She tried three pairs with her merino hiking socks and tested them on a store treadmill set to an incline.
The final choice had a slightly roomier toe box and used a dual-density midsole. After a two-week break-in period—including progressively longer walks with her loaded pack—she completed her 100-mile stretch without a single blister. Her key takeaway? “The best boot wasn’t the lightest or cheapest. It was the one that held my foot exactly where it needed to be, mile after mile.”
Essential Checklist Before Buying Hiking Boots
Use this checklist to ensure your next pair supports blister-free hiking:
- ✅ Feet measured professionally or with a Brannock device
- ✅ Trying boots in the afternoon with hiking socks
- ✅ Testing on an incline or stairs for heel lift
- ✅ Checking toe space when simulating downhill walking
- ✅ Confirming no pinching on ankle bones or bunions
- ✅ Evaluating breathability and weight for intended use
- ✅ Planning a 10–15 mile break-in period on varied terrain
- ✅ Pairing with moisture-wicking, non-cotton socks
- ✅ Learning advanced lacing techniques for problem areas
- ✅ Considering aftermarket insoles for added support
Frequently Asked Questions
Can I prevent blisters with tape or lubricants instead of better boots?
You can manage early hot spots with products like leukotape, moleskin, or anti-chafe balms, but these are temporary fixes. Relying on them doesn’t address the root cause—poor fit or excessive movement. Overuse of lubricants can soften skin, making it more vulnerable. Prevention starts with proper footwear, not patches.
How long should I break in new hiking boots?
Aim for 10 to 15 miles of gradual wear across several days. Start with short, flat walks and progress to uneven terrain with a daypack. This allows materials to conform to your foot while identifying potential pressure points before committing to a long trail.
Are waterproof linings like Gore-Tex helpful or harmful for blister prevention?
Gore-Tex keeps feet dry in wet conditions, but it reduces breathability in heat. If you’re hiking in humid or warm climates, your feet may sweat more inside a waterproof boot, increasing moisture-related friction. Consider non-waterproof, breathable models for dry environments. For mixed conditions, removable liners or hybrid membranes offer flexibility.
Final Thoughts: Invest in Foot Health Like You Do in Gear
Hiking boots are the most personal piece of outdoor equipment you’ll own. Unlike tents or stoves, they must align perfectly with your biomechanics. Blisters aren’t a rite of passage—they’re a warning sign of mismatched gear. Taking time to select boots that fit well, support your stride, and work with your socks isn’t overkill; it’s essential preparation.
Remember, comfort isn’t just about cushioning. It’s about stability, precision, and minimizing variables that lead to injury. Whether you're hiking a weekend trail or preparing for a thru-hike, your feet carry you every step of the way. Treat them with the care they deserve by choosing boots designed to protect, not punish.
🚀 Ready to hit the trail blister-free? Revisit your current boots using the checklist above, schedule a professional fitting, and share your experience with fellow hikers. Your next adventure should be remembered for the views—not the foot pain.