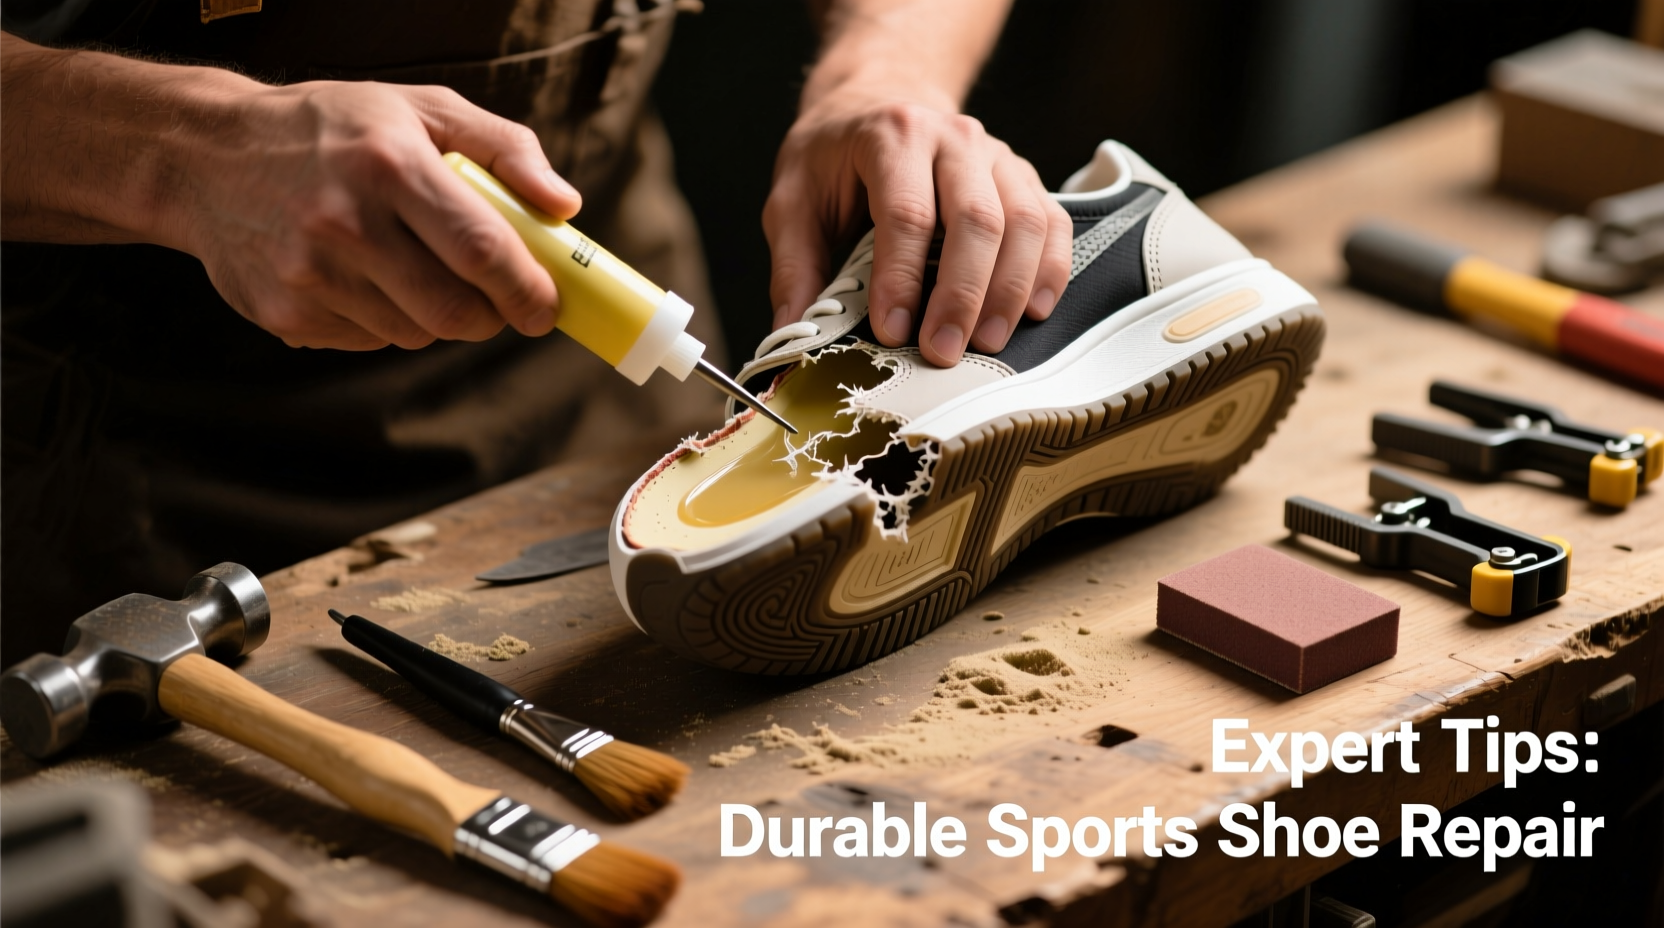
Worn-out soles, detached midsoles, or cracked uppers don’t mean your favorite pair of sports shoes has reached the end of its life. With the right adhesive and technique, you can perform a repair that rivals factory standards. Whether you're a runner, athlete, or simply someone who values durability in footwear, mastering the art of gluing sports shoes is both economical and sustainable. This guide delivers actionable insights from cobblers, material scientists, and long-term users who have perfected at-home and professional shoe restoration.
Understanding Shoe Materials and Adhesion Needs
Sports shoes are complex composites made from rubber, EVA foam, synthetic mesh, leather, and thermoplastic polyurethane (TPU). Each material reacts differently to adhesives. Using a one-size-fits-all glue often leads to weak bonds or rapid failure under stress. The key is matching the adhesive to the materials being joined.
Rubber outsoles require flexible, impact-resistant bonding agents. Foam midsoles need adhesives that won’t degrade soft polymers. Textile uppers benefit from precision application to avoid staining. Ignoring these differences results in peeling seams and compromised support—especially during high-impact activities like running or jumping.
“Most failed DIY shoe repairs stem not from poor technique but from using the wrong glue. Match the chemistry to the material.” — Rafael Mendez, Master Canner & Footwear Restoration SpecialistTip: Always clean both surfaces with isopropyl alcohol before applying any adhesive. Oils, sweat, and dust dramatically reduce bond strength.
Choosing the Right Adhesive: A Comparative Guide
Not all glues are created equal. While household superglue may seem convenient, it becomes brittle over time and fails under repeated flexing. For lasting results, select industrial-grade adhesives designed specifically for footwear.
| Adhesive Type | Best For | Drying Time | Durability | Limitations |
|---|---|---|---|---|
| Barge All-Purpose Cement | Rubber, leather, canvas | 15–30 min (clamp required) | Excellent – waterproof, flexible | Strong odor; requires ventilation |
| Shoe Goo | Soles, heel caps, minor cracks | 24 hours (full cure) | High – fills gaps, remains flexible | Thick consistency; messy application |
| Loctite Ultra Gel Control | Small punctures, fabric-to-rubber | 5–10 minutes | Moderate – less flexible than cements | Brittle over time under constant flex |
| Evostik Flex & Bond | EVA foam, synthetic uppers | 20–40 min | Very high – elastic bond | Harder to find in retail stores |
For most sports shoe repairs involving sole separation, Barge Cement or Evostik are top choices due to their flexibility and resistance to moisture and temperature changes. Shoe Goo excels when rebuilding worn heel areas or sealing splits.
Step-by-Step: Professional-Quality Glue Repair Process
A successful repair isn't just about slathering glue and pressing parts together. It involves preparation, clamping, and patience. Follow this sequence for reliable results:
- Disassemble if necessary: Remove laces and insoles. If possible, gently pry apart the separated layers using a plastic spatula or spoon edge.
- Clean thoroughly: Use a stiff brush and isopropyl alcohol (70% or higher) to remove dirt, oils, and old adhesive residue. Let dry completely.
- Roughen smooth surfaces: Lightly sand rubber or plastic areas with medium-grit sandpaper (120–180 grit) to increase surface area for bonding.
- Apply adhesive evenly: Using a small brush or applicator, coat both surfaces thinly. Too much glue creates a slippery layer that weakens the bond.
- Wait for tackiness: Most cements require a “flash-off” period (5–15 minutes) where solvents evaporate and the glue becomes sticky but not wet.
- Press and clamp: Align the pieces precisely and press firmly. Use rubber bands, clamps, or heavy books to hold them in place for at least 4–6 hours.
- Cure fully: Allow 24 hours before light use, 48 hours before intense activity. Some epoxies take up to 72 hours to reach maximum strength.
Real-World Example: Reviving a Marathon Training Shoe
Jamal, a long-distance runner from Portland, noticed his trusted training shoes’ outsoles beginning to lift after 350 miles. Rather than replace them prematurely, he followed a structured repair process. He cleaned the separation line with alcohol, sanded the edges lightly, applied Barge Cement to both the midsole and outsole, allowed 10 minutes of flash time, then clamped the shoe overnight using padded spring clamps. After 48 hours of curing, he resumed training. The shoes lasted another 180 miles without further issues—extending their lifespan by nearly 50%.
This case illustrates that timely intervention with proper materials can preserve performance and save money over time.
Common Mistakes and How to Avoid Them
- Skipping surface prep: Dirt or grease prevents molecular adhesion. Always clean and dry surfaces first.
- Using too much glue: Excess adhesive oozes out and creates weak spots. Apply thin, even coats.
- Reassembling too soon: Bonding requires time. Rushing leads to misalignment and premature failure.
- Ignoring environmental conditions: Humidity and cold slow curing. Work in a warm, dry space (ideally 68–77°F).
- Walking on uncured shoes: Even if the surface feels dry, internal bonds may still be forming. Wait the full recommended time.
“Think of shoe glue like concrete—it sets hard, but only if given the right conditions and time.” — Dr. Lena Park, Polymer Chemist at Advanced Footwear Labs
Essential Checklist for Durable Shoe Repairs
✅ Your Shoe Gluing Repair Checklist:- Identify materials involved (rubber, foam, fabric, etc.)
- Select appropriate adhesive based on material type
- Clean both bonding surfaces with isopropyl alcohol
- Sand smooth surfaces lightly for better grip
- Apply thin, even layer of adhesive to both sides
- Allow proper flash-off time (check product instructions)
- Align components carefully before pressure application
- Clamp securely for minimum 6 hours
- Cure fully (24–72 hours) before resuming use
- Inspect bond weekly during initial use phase
Frequently Asked Questions
Can I glue sports shoes with super glue?
Standard cyanoacrylate (super glue) is not recommended for sole repairs. It dries rigid and fractures under repeated flexing. While useful for small fabric tears or eyelet fixes, it lacks the elasticity needed for structural shoe bonding.
How long should I wait before wearing repaired shoes?
Wait at least 24 hours for light walking, but 48 hours is safer for running or athletic use. Full chemical cure may take up to 72 hours depending on humidity and adhesive type.
Is it worth repairing expensive sports shoes?
Absolutely. High-end athletic shoes often cost $150+. A $10 tube of quality adhesive can extend their usable life by months, especially if the upper is intact and only the sole has degraded. From both economic and environmental standpoints, repair is almost always preferable to replacement.
Final Thoughts: Build Skill, Save Shoes, Reduce Waste
Learning how to properly glue sports shoes transforms you from a passive consumer into an active caretaker of your gear. Every successful repair saves money, reduces landfill waste, and preserves the comfort of a broken-in fit. With practice, the process becomes faster and more intuitive. Start with older pairs to build confidence, then apply your skills to high-value footwear. The techniques outlined here are used daily by professionals—but now they’re within your reach.
💬 Have a shoe repair success story or tip? Share your experience in the comments and inspire others to repair, not replace!