Inflating a swimming tube is typically a quick task when you have an electric or manual pump on hand. But what happens when you’re at the pool, lake, or beach and realize you’ve forgotten your pump? Or perhaps the battery on your electric inflator died just as you were about to set up? Don’t let a missing pump ruin your day. There are several reliable, equipment-free methods to inflate a swimming tube using only everyday items or physical effort. This guide walks through proven techniques, safety considerations, and smart tips to get your tube ready—no pump required.
Why You Might Need to Inflate Without a Pump
Pumps are convenient, but they aren’t always accessible. Travelers often pack light and may skip bringing bulky inflators. Families at public pools might not be allowed to use electrical devices. In emergencies or spontaneous outings, improvisation becomes essential. Knowing how to inflate manually ensures you’re never stranded with a flat tube. Plus, these skills build self-reliance and can be useful in outdoor adventures where gear fails or supplies run short.
Tip: Always check the valve type on your swimming tube before attempting inflation. Most modern tubes use either Schrader valves (like bike tires) or pinch-style air-release valves, which affect compatibility with certain methods.Method 1: Mouth Inflation – The Direct Approach
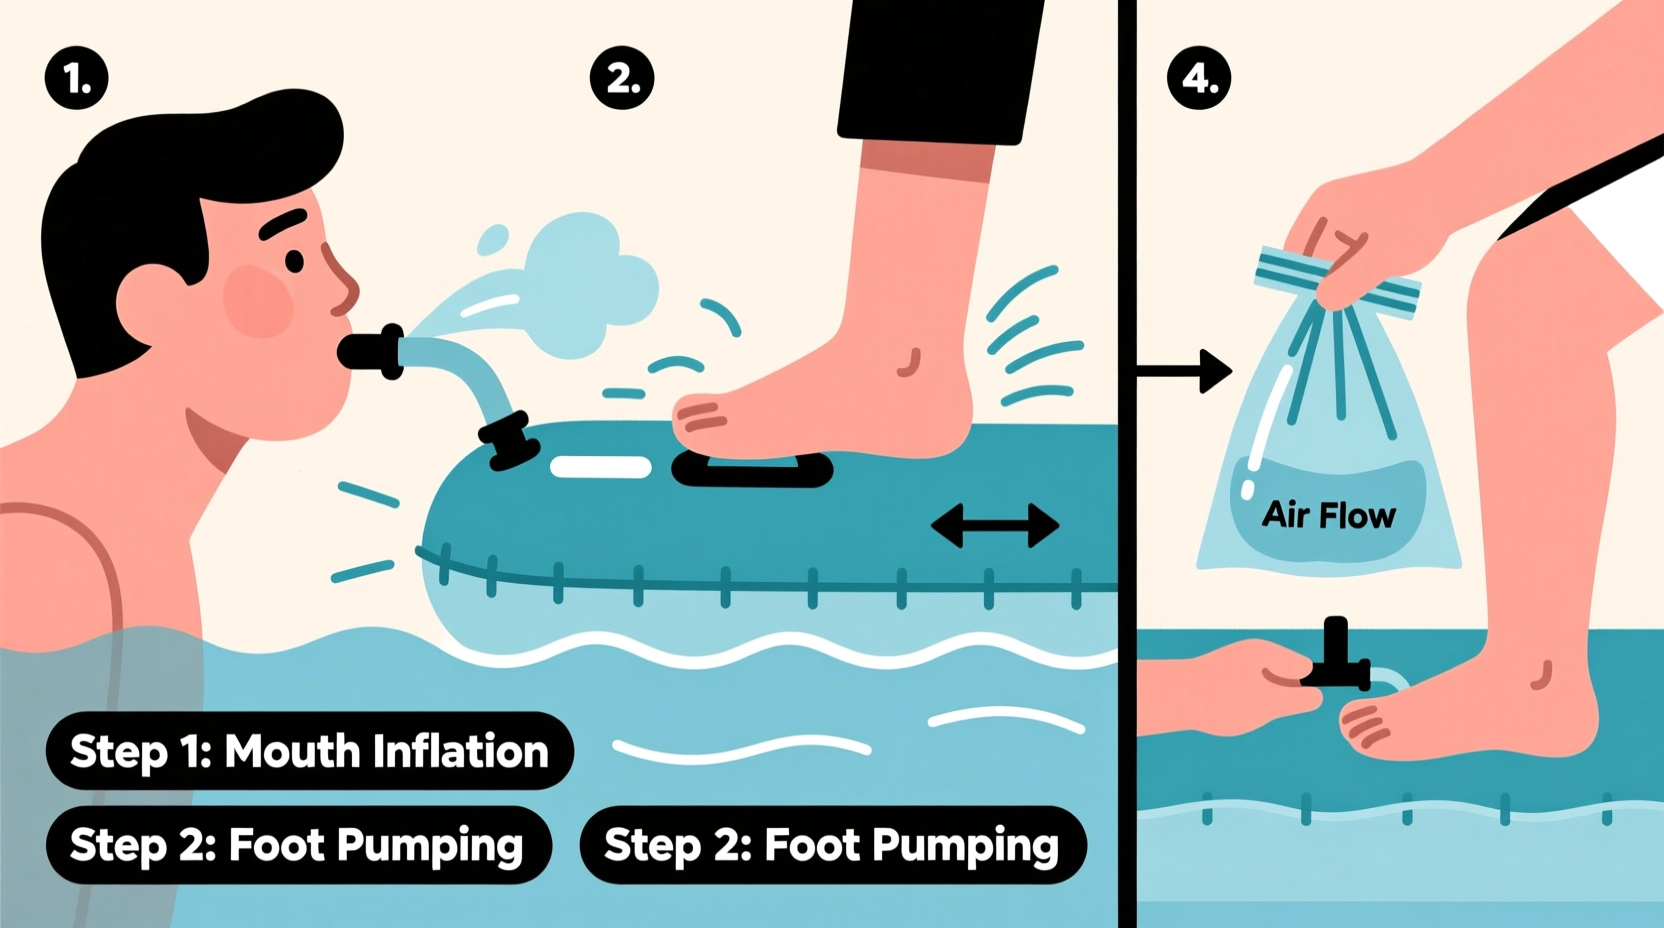
The most straightforward way to inflate a swimming tube without tools is by blowing air directly into it. While simple, this method requires stamina and care to avoid overexertion or contamination.
- Locate the inflation valve and open it fully.
- Moisten your lips slightly to create a better seal around the valve nozzle.
- Breathe in deeply, then press your mouth firmly over the valve.
- Exhale steadily and forcefully into the tube.
- Repeat until the tube reaches desired firmness—usually 80–90% full to allow for expansion in warm conditions.
- Quickly close the valve once inflated to prevent air leakage.
This method works best for smaller tubes like child-sized rings or inflatable arm bands. For larger tubes, multiple people can take turns to reduce fatigue.
“While mouth inflation is effective, it introduces moisture and bacteria into the tube, which can degrade internal materials over time.” — Dr. Alan Reeves, Materials Scientist specializing in PVC durability
Method 2: Plastic Bag Air Compression Technique
A plastic bag acts as a makeshift bellows, allowing you to compress ambient air into the tube efficiently. This technique reduces physical strain and avoids direct contact with the valve.
Step-by-Step Guide Using a Plastic Bag
- Gather a sturdy plastic grocery bag or trash bag (larger bags work better).
- Open the tube’s inflation valve.
- Widen the opening of the plastic bag and place it securely over the valve.
- Seal the edges of the bag around the valve with one hand to prevent air escape.
- With the other hand, push the sides of the bag inward, forcing air through the valve into the tube.
- Remove the bag, quickly close the valve, then repeat the process until the tube is sufficiently inflated.
This method is ideal for medium-sized tubes and is especially useful for children or those with limited lung capacity. It’s also hygienic since there’s no direct mouth contact.
Tip: Use a rigid funnel made from a cut plastic bottle to help channel air more efficiently from the bag into the valve.Method 3: Hair Dryer or Fan-Assisted Inflation
If you're near an indoor power source, a hair dryer on its cool setting can serve as a powerful air blower. Even a strong household fan can assist when used creatively.
Using a Hair Dryer (Cool Setting Only)
- Ensure the hair dryer does not produce heat—warm air can weaken PVC material.
- Attach a cardboard tube or plastic funnel to the nozzle to concentrate airflow.
- Seal the dryer’s output tightly around the tube’s valve.
- Turn on the dryer and let it fill the tube for 1–3 minutes depending on size.
- Close the valve immediately after disconnecting.
This method is fast and effective for large tubes such as double loungers or donut-shaped floats. However, it's limited to indoor or powered outdoor settings like campgrounds with electricity.
Comparative Overview: Inflation Methods at a Glance
| Method | Time Required | Physical Effort | Equipment Needed | Best For |
|---|---|---|---|---|
| Mouth Inflation | 5–15 minutes | High | None | Small tubes, emergency use |
| Plastic Bag | 4–10 minutes | Medium | One plastic bag | Medium tubes, family use |
| Hair Dryer (Cool) | 2–5 minutes | Low | Hair dryer, optional funnel | Large tubes, indoor settings |
| Fan + Bag Funnel | 8–12 minutes | Low-Medium | Fan, plastic bag, tape | Camping, group use |
Real-World Example: Beach Day Rescue
Jamie arrived at a lakeside park with friends, eager to float on her new inflatable swan. She unpacked everything—towels, snacks, sunscreen—but realized she’d left her hand pump in the car at home. With no stores nearby, she considered giving up. Then she remembered seeing a tutorial online using a plastic bag. She grabbed a sandwich bag from her cooler, widened the opening, and taped it to the end of a water bottle to create a makeshift nozzle. By sealing it over the valve and squeezing repeatedly, she fully inflated the swan in under ten minutes. Her friends followed suit, and the group spent hours enjoying the water—all thanks to a simple, improvised solution.
Safety and Maintenance Tips After Manual Inflation
Manual inflation methods can stress valves or introduce contaminants. To extend your tube’s life:
- Never overinflate—PVC expands in heat and may burst if filled to maximum indoors.
- Rinse valves with fresh water after mouth inflation to remove saliva residue.
- Inspect the seam and valve area for bulges or leaks before entering water.
- Deflate and dry thoroughly after use to prevent mold growth inside the chamber.
FAQ: Common Questions About Pump-Free Inflation
Can I use a vacuum cleaner to inflate a swimming tube?
Yes, but only if it has a “blow” function. Most shop vacs offer reverse airflow. Attach the hose to the inflation valve securely and turn on the blow setting. Avoid using household upright vacuums, as they lack this feature and may suck in debris that damages the tube.
Is it safe to use compressed air from a gas station?
No. Gas station air compressors deliver high-pressure air meant for tires, not thin-walled inflatables. The sudden force can rupture a swimming tube instantly. Never use them unless you have a pressure regulator below 2 PSI, which is rare in public stations.
How do I know when the tube is fully inflated without a gauge?
Press the surface firmly with your palm. A properly inflated tube should feel taut but still slightly yielding, like a firm balloon. If dents remain after pressing, add more air. If it feels rock-hard, release a small amount to avoid bursting in sunlight.
Checklist: How to Inflate a Swimming Tube Without a Pump
- ✔ Identify the valve type and ensure it opens smoothly.
- ✔ Choose your method based on available tools and tube size.
- ✔ Prepare materials (plastic bag, funnel, hair dryer, etc.).
- ✔ Create an airtight seal between your tool and the valve.
- ✔ Inflate gradually, checking firmness every few cycles.
- ✔ Close the valve securely once done.
- ✔ Inspect for leaks before first use.
Final Thoughts: Be Prepared, Stay Flexible
Forgetting a pump doesn’t have to mean missing out on fun. With basic knowledge and common items, you can inflate any swimming tube effectively and safely. These techniques empower you to adapt to unexpected situations while protecting your gear. Whether you're parenting at a splash pad, camping off-grid, or enjoying a spontaneous swim, being resourceful makes all the difference.
💬 Have a creative inflation hack we didn’t mention? Share your experience in the comments and help others enjoy carefree floating—no pump needed!