
Hiking is as much about endurance as it is about preparation. While most focus on gear, hydration, and navigation, one often overlooked detail can make or break a trek: how your shoes are laced. Improper lacing leads to pressure points, heel slippage, and—most commonly—blisters. The good news? With the right lacing techniques, you can eliminate discomfort, enhance stability, and keep your feet in peak condition mile after mile.
It’s not just about pulling the laces tight. Different foot shapes, terrain types, and hike durations require tailored approaches. From preventing toe jam on descents to securing a narrow heel, strategic lacing adjusts fit dynamically. Below are proven methods backed by podiatrists, outdoor educators, and long-distance hikers.
The Science Behind Blisters and Lacing
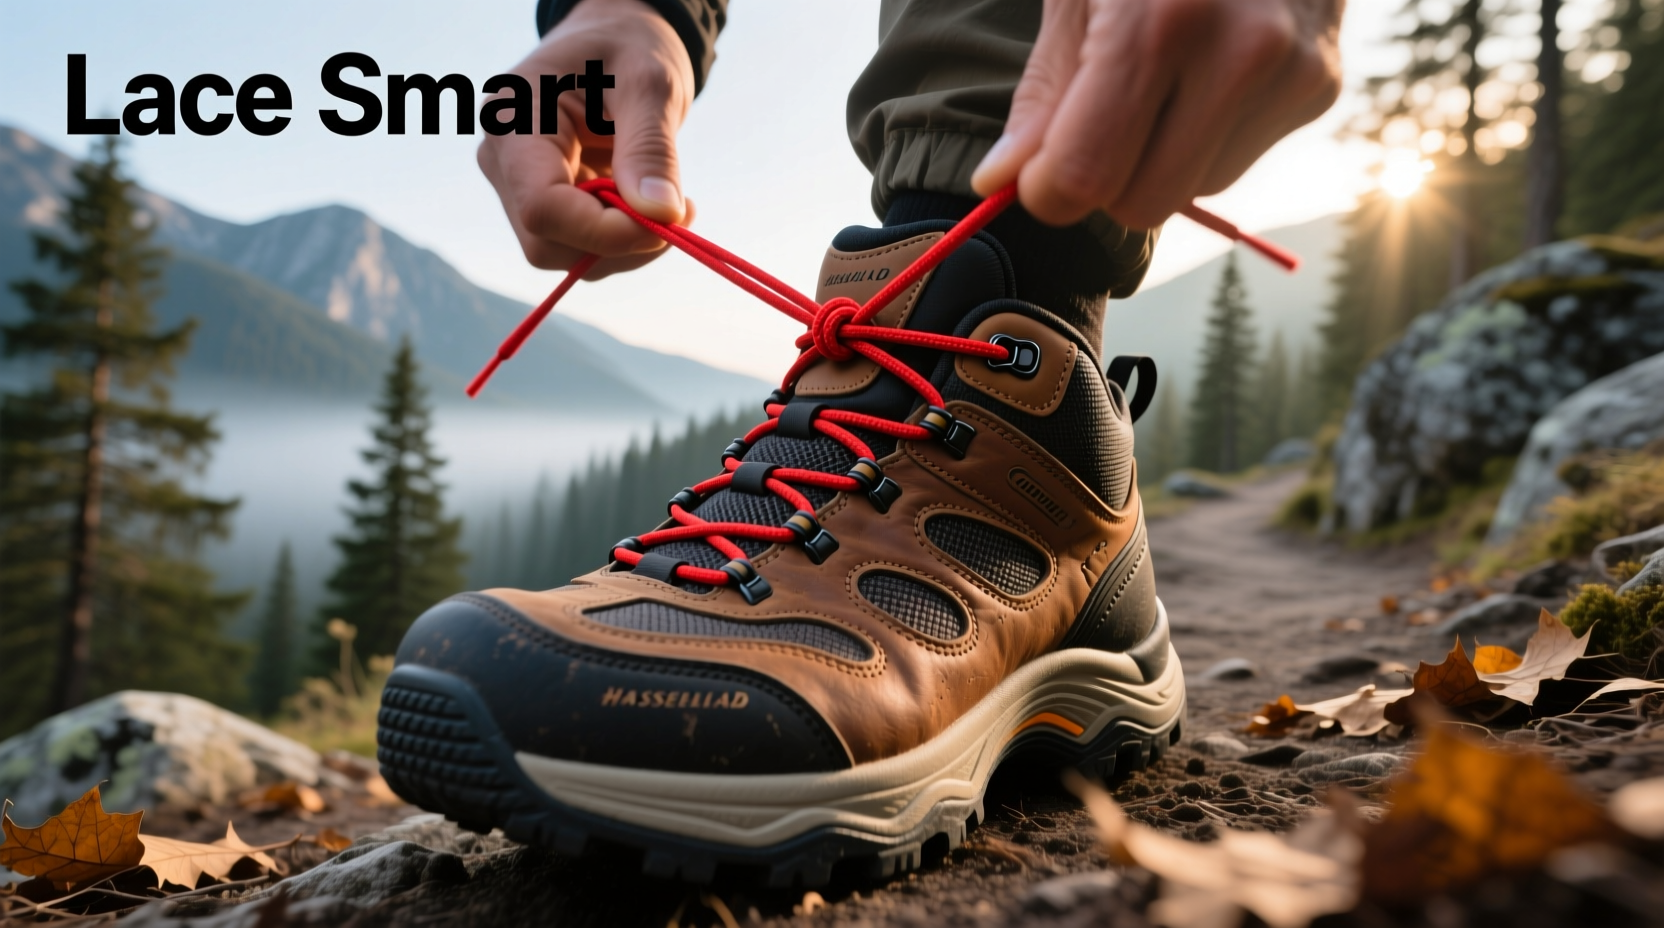
Blisters form when friction, moisture, and pressure combine over time. Ill-fitting footwear amplifies this, but even well-sized shoes can cause hot spots if laced incorrectly. The foot swells during activity, especially on long hikes, and movement inside the shoe creates micro-tears in the skin. Proper lacing minimizes internal motion while maintaining circulation.
Dr. Lena Torres, a sports podiatrist specializing in outdoor athletes, explains:
“Most hikers assume their shoes are the problem when it’s actually the fit. A 2022 study in the Journal of Foot and Ankle Research found that 68% of blister cases were linked to improper lacing—not poor shoe selection.” — Dr. Lena Torres, DPM
The key is differential tension: applying more pressure where support is needed (like the midfoot) and less where circulation and flexibility matter (such as the forefoot).
Step-by-Step Guide to Five Essential Lacing Techniques
Each technique targets a specific issue. Master these, and you’ll adapt your fit on the fly—no need to carry multiple pairs of shoes.
1. Heel Lock Lacing (aka “Runner’s Loop”)
Prevents heel slippage, crucial on steep descents.
- Lace normally up to the second-to-last eyelet.
- Instead of crossing, thread each lace straight up through the top eyelet on the same side, creating a loop.
- Cross the laces over and feed each through the opposite loop.
- Pull tight and tie as usual.
2. Window Lacing (for Pressure Relief)
Relieves pressure on the top of the foot, ideal for those with high arches or swelling.
- Lace normally until you reach the area causing discomfort.
- Skip the next set of eyelets horizontally, leaving a “window” open.
- Continue lacing above the gap.
- Ensure surrounding sections are snug to maintain stability.
3. Parallel Lacing (Even Pressure Distribution)
Best for narrow feet or shoes that feel too loose across the instep.
- Start at the bottom and cross laces normally.
- At the next row, run both laces straight up the same side.
- Then cross again to create parallel vertical segments.
- Repeat until the top.
This method increases contact along the medial and lateral sides, reducing foot roll and improving control.
4. Surgeon’s Knot Lacing (Secure, Non-Slip Tie)
Not a lacing pattern, but a tying method that prevents loosening.
- After lacing, make a standard bow.
- Before forming the loops, wrap the laces around each other twice instead of once.
- Proceed with the bow.
This adds friction, keeping laces tight without needing constant retying.
5. Toe-Relief Lacing (Descents & Swelling)
Prevents toes from slamming into the front of the shoe on downhill stretches.
- Lace normally up to the third eyelet.
- Skip the next set and continue lacing from the fourth.
- Leave the bottom section loose but secured.
This creates extra space in the toe box while keeping the midfoot locked down.
Do’s and Don’ts of Hiking Shoe Lacing
| Do’s | Don’ts |
|---|---|
| Do adjust lacing based on terrain (e.g., use heel lock on descents). | Don’t lace too tightly across the top of the foot—this restricts circulation. |
| Do re-lace mid-hike if you feel hot spots developing. | Don’t ignore early signs of friction; address them immediately. |
| Do pair proper lacing with moisture-wicking socks. | Don’t rely solely on insoles to fix lacing-related issues. |
| Do test new techniques during short walks before long hikes. | Don’t use overly complex patterns that compromise structural integrity. |
Real Example: Sarah’s 20-Mile Trail Challenge
Sarah, an experienced day hiker, attempted her first 20-mile loop in the Sierra Nevada. Despite breaking in her boots, she developed painful blisters on both heels by mile eight. She stopped, removed her shoes, and noticed excessive heel lift. Using a headlamp and a printed guide from her app, she applied the heel lock technique.
She rerouted the laces using the runner’s loop method, tightened securely, and continued. Not only did the pain subside, but she completed the hike without further issues. “I thought my boots were the problem,” she said later. “But it was just how I’d been lacing them. Now I use the heel lock every time I go downhill.”
Checklist: Optimize Your Lacing Before Every Hike
- Inspect laces for fraying or wear; replace if necessary.
- Determine your foot’s primary concern: heel slip, pressure points, or toe bruising.
- Select the appropriate lacing method from the five above.
- Test the fit by walking uphill, downhill, and on uneven ground.
- Carry spare laces or a small repair kit for emergencies.
- Reassess tension every 3–5 miles, especially during elevation changes.
Frequently Asked Questions
How tight should hiking shoes be laced?
The shoe should hold your foot securely without cutting off circulation. You should be able to wiggle your toes freely, and there should be no pinching across the instep. If your foot feels numb or develops a hot spot within 20 minutes, loosen the upper eyelets.
Can lacing techniques really prevent blisters?
Absolutely. Blisters are rarely caused by shoes alone. A 2020 field study by the American Hiking Society showed that hikers who used targeted lacing techniques reported 57% fewer blisters over a 100-mile trek compared to those using standard crisscross lacing.
What type of laces work best for these techniques?
Flat, non-slip laces (like polyester or waxed cotton) hold knots better than round or nylon ones. Avoid elastic laces unless you’re using them in combination with traditional lacing for minor adjustments. Grip-friendly textures help when adjusting on the trail.
Final Thoughts: Lace Smart, Hike Longer
Your feet are your foundation on the trail. No amount of cushioning or waterproofing can compensate for poor lacing. By understanding how tension affects fit, you gain precise control over comfort and performance. These techniques aren’t just fixes—they’re proactive tools that elevate your entire hiking experience.
Next time you lace up, think beyond the knot. Consider your route, your foot shape, and the conditions ahead. A minute spent adjusting your lacing could save hours of pain. Try one new method on your next outing. Refine it. Make it yours.
💬 Have a lacing trick that saved your hike? Share your story in the comments and help fellow adventurers walk farther, smarter, and blister-free.