Types of Backgrounds for DIY Light Tent Photography
A DIY light tent for product photography is a cost-effective, at-home solution that functions like a professional lightbox, ideal for capturing small items such as jewelry, watches, cosmetics, and handmade goods. By diffusing light evenly around the subject, a light tent eliminates harsh shadows, minimizes glare, and ensures consistent illumination—resulting in crisp, professional-quality images perfect for e-commerce, social media, or branding.
Selecting the right background is crucial to enhancing your product’s visual appeal. The background sets the tone, influences perceived value, and directs viewer attention. Below is a detailed breakdown of the most common and effective background types used in DIY light tent setups.
White Backgrounds
The most popular choice for product photography, white backgrounds create a clean, bright, and minimalist aesthetic that emphasizes the subject.
Advantages
- Creates a professional, polished look
- Ideal for e-commerce and catalog listings
- Maximizes light diffusion and even exposure
- Easy to edit and remove in post-processing (ideal for clipping paths)
- Universally accepted by marketplaces like Amazon, Etsy, and Shopify
Limitations
- Can appear flat without proper lighting
- Shows dust and smudges easily
- May require overexposure correction if too bright
Best for: Jewelry, electronics, cosmetics, apparel, and any product needing a clean, commercial look
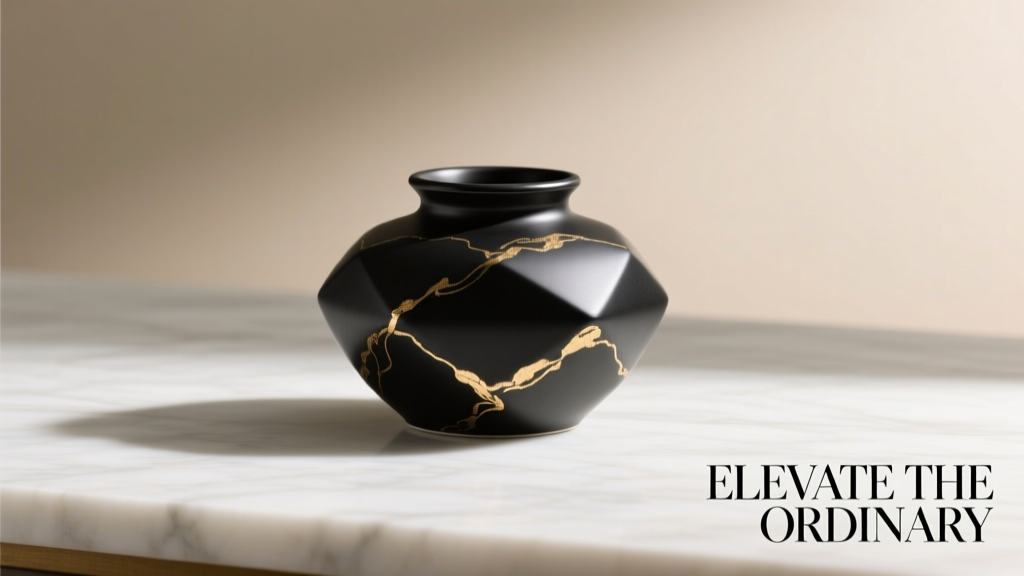
Black Backgrounds
Offers a dramatic, high-contrast backdrop that makes light-colored or reflective products stand out with a premium feel.
Advantages
- Creates a luxurious, high-end aesthetic
- Enhances contrast for shiny or metallic items
- Hides light tent reflections at the edges
- Perfect for moody or artistic product presentations
- Reduces visual clutter and distractions
Limitations
- Requires precise lighting to avoid underexposure
- Dark products may blend into the background
- Less suitable for platforms requiring white backgrounds
Best for: Luxury watches, silver/gold jewelry, electronics, glassware, and reflective surfaces
Colored Backgrounds
Adds vibrancy and brand-specific flair, allowing for creative expression and emotional engagement with the viewer.
Advantages
- Supports brand identity and seasonal campaigns
- Evokes emotions (e.g., blue for trust, red for excitement)
- Great for lifestyle and social media content
- Helps products stand out in crowded feeds
- Works well with themed product launches
Limitations
- Color must complement—not compete with—the product
- May not be suitable for standard e-commerce listings
- Requires color calibration to avoid distortion
Best for: Toys, fashion items, seasonal products, and branded promotional content
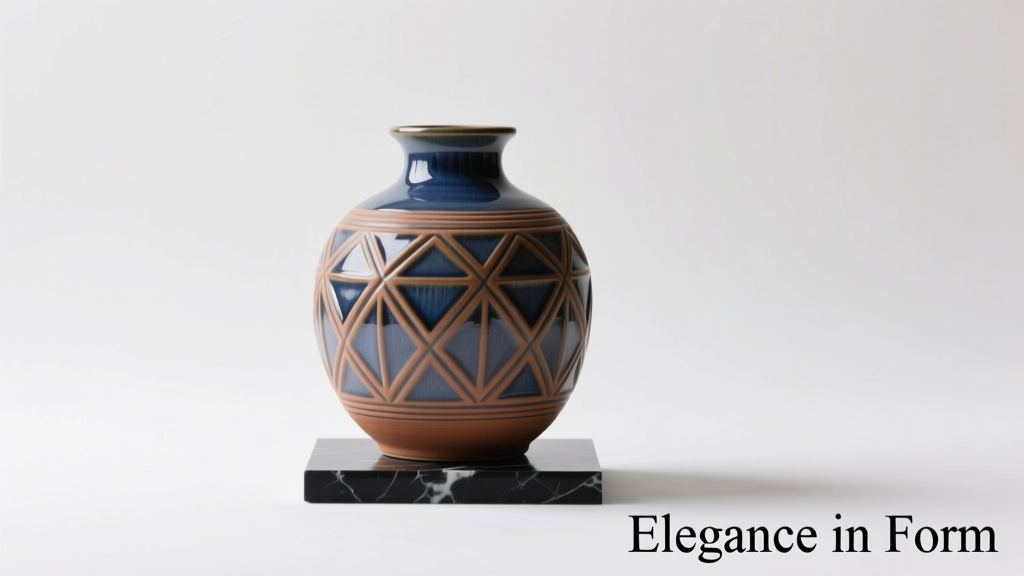
Textured & Gradient Backgrounds
Introduces depth and visual interest through materials like wood, marble, or smooth color transitions.
Advantages
- Adds realism and tactile appeal
- Ideal for artisanal, handmade, or natural products
- Gradient backgrounds provide dynamic visual flow
- Textured backdrops enhance storytelling and context
- Great for editorial-style or Instagram-ready shots
Limitations
- Can distract from the product if too busy
- More challenging to light evenly
- Limited reusability across different product types
Best for: Handmade crafts, organic goods, candles, home decor, and premium lifestyle products
| Background Type | Visual Style | Best Lighting | Editing Needs | Top Use Cases |
|---|---|---|---|---|
| White | Clean, minimalist, professional | Even, diffused lighting | Low (easy to white-balance) | E-commerce, catalogs, Amazon listings |
| Black | Dramatic, luxurious, high-contrast | Controlled highlights, minimal spill | Moderate (exposure correction) | Premium products, jewelry, reflective items |
| Colored | Vibrant, expressive, thematic | Balanced to avoid color cast | Moderate (color accuracy) | Social media, branding, seasonal promotions |
| Textured/Gradient | Artistic, dynamic, immersive | Directional with soft fill | High (background consistency) | Lifestyle shots, editorial content, handmade goods |
Pro Tip: When using colored or textured backdrops in a light tent, slightly angle the background to create a seamless curve (a "sweep")—this eliminates harsh corners and gives a studio-quality, floating effect. Also, ensure your backdrop material is wrinkle-free and properly secured to avoid shadows and uneven lighting.
Ultimately, the best background depends on your product, brand identity, and intended use. For maximum versatility, start with a white background and experiment with darker or textured options as your photography skills grow. With a well-lit DIY light tent and the right backdrop, even amateur photographers can produce stunning, professional-grade product images.
Features, Functions, and Uses of a DIY Light Tent
A DIY light tent is an essential tool for photographers, hobbyists, and small business owners seeking professional-quality lighting on a budget. By diffusing light evenly around a subject, it eliminates harsh shadows and glare, making it ideal for product, macro, and still-life photography. Whether you're building one from scratch or purchasing a kit, understanding its features, functions, and applications can significantly enhance your imaging results.
Key Features of a DIY Light Tent
Diffused Lighting System
The primary feature of any light tent is its ability to provide soft, even illumination. Light enters through translucent panels and bounces gently within the enclosed space, creating a uniform glow across the subject. This diffusion minimizes hotspots and ensures that every angle of the object is clearly visible, closely replicating natural daylight conditions.
This is particularly beneficial for capturing textures, colors, and fine details without overexposure or underexposure in certain areas. For DIY setups, white fabric or tracing paper is often used to achieve this effect cost-effectively.
Compact and Portable Design
Most DIY light tents are designed to be lightweight and collapsible, making them easy to assemble, disassemble, and store. Their small footprint makes them perfect for home studios, apartment setups, or mobile photography sessions.
Constructed from materials like PVC frames and fabric covers, these tents can be quickly set up on a table or desk. Their portability allows photographers to maintain consistent lighting quality whether shooting indoors, at craft fairs, or during pop-up sales events.
Translucent Fabric Walls
The walls of a light tent are typically made from semi-transparent materials such as white polyester, silk, or diffusion paper. These materials allow light to pass through while scattering it evenly, preventing direct beams from hitting the subject.
Unlike solid backdrops or open lighting, this soft diffusion creates a glowing, shadow-free environment ideal for delicate items like jewelry, glassware, or cosmetics. In DIY versions, household items like printer paper or white bed sheets can be creatively repurposed to mimic this effect.
Core Functions of a Light Tent
Shadow Control
One of the most critical functions of a light tent is minimizing shadows. By surrounding the subject with diffused light from multiple angles, it eliminates hard edges and dark areas that can distort the appearance of a product.
This is especially important when photographing three-dimensional objects, where uneven lighting could obscure important features. The result is clean, crisp images with balanced contrast—perfect for online marketplaces and catalogs.
Elimination of Reflections
Shiny surfaces such as metal, plastic, or glass are prone to unwanted reflections and glare. A light tent reduces these by softening the light source and distributing it uniformly, avoiding concentrated highlights.
For items like smartphones, watches, or bottles, this means fewer post-processing edits and more accurate color representation. DIY users can enhance this effect by using LED panels with adjustable brightness or placing additional diffusion layers between the lights and the tent.
Consistent Results Across Shoots
Light tents offer repeatability—a crucial advantage for businesses managing large inventories. Once the lighting setup is optimized, photographers can capture hundreds of products under identical conditions, ensuring visual consistency.
This uniformity strengthens brand identity in e-commerce, advertising, and social media content. For DIY users, marking light positions and using timers or remote triggers can further standardize results across multiple sessions.
Common Uses and Applications
| Application | Recommended Setup | Tips for Best Results |
|---|---|---|
| Product Photography | Two LED panels (left & right), white backdrop | Use a tripod, shoot in RAW, and disable flash to avoid glare |
| Macro Photography | Ring light or small LEDs inside mini tent | Focus manually, use high f-stop (f/11+), and stabilize camera |
| Still-Life (Food/Flowers) | Natural light + tent for diffusion | Shoot near a window, use warm white LEDs, and adjust white balance |
Important: While DIY light tents are cost-effective, ensure all materials are fire-resistant and kept at a safe distance from light sources—especially incandescent or halogen bulbs. Always test your setup before a full shoot, and clean the interior surfaces regularly to maintain optimal light diffusion. Consistency, safety, and attention to detail will yield the best photographic results.
How To Choose A DIY Light Tent
Selecting the right DIY light tent is essential for achieving professional-quality product photography. Whether you're a hobbyist or a small business owner, understanding the key features and trade-offs will help you capture crisp, evenly lit images with minimal shadows and glare. Below are the most important factors to consider when choosing a light tent that meets your specific needs.
Size & Product Fit
The size of your light tent should match the dimensions of the products you plan to photograph. A properly sized tent ensures full coverage and optimal lighting distribution.
- Small tents (12–24 inches): Ideal for jewelry, cosmetics, electronics, and other compact items. Their compact design makes them easy to store and transport.
- Medium tents (24–36 inches): Perfect for books, shoes, small appliances, and apparel. Offers a balance between space and lighting control.
- Large tents (36+ inches): Necessary for bulky items like bags, helmets, or miniature furniture. May require additional lighting to maintain even illumination.
Pro tip: Choose a tent slightly larger than your biggest product to allow room for camera angles and lighting adjustments.
Material Quality & Light Diffusion
The fabric used in the tent directly affects light quality. High-quality materials diffuse light evenly, minimizing harsh shadows and hotspots.
- Look for tents made from translucent white nylon or premium diffusing cloth that softens and spreads light uniformly.
- Avoid tents with thin, wrinkled, or non-uniform fabric, as these can create uneven lighting patterns or visible texture in photos.
- Double-layered diffusion panels offer superior light control and reduce glare on reflective surfaces.
- Reinforced stitching and durable frames ensure longevity, especially with frequent use.
Key insight: Smooth, wrinkle-resistant fabric is critical for consistent, shadow-free lighting.
Portability & Setup Ease
If you plan to shoot in multiple locations or travel with your gear, portability is a major consideration.
- Many DIY light tents feature collapsible wire frames or pop-up designs that assemble in seconds without tools.
- Lightweight materials and compact carrying bags make transportation convenient for on-location shoots.
- Check for stability—some lightweight tents may wobble or shift during use, especially in drafty environments.
- Quick-disassembly features allow for efficient storage and reuse.
Smart choice: Opt for a tent with a foldable frame and included storage pouch for maximum convenience.
Lighting Compatibility & Flexibility
A light tent is only as effective as the lighting setup it supports. Consider how well it integrates with your current or planned lighting.
- Most tents work best with LED panel lights or softboxes placed outside the tent’s side or top openings.
- Look for tents with multiple access ports (side, top, back) to position lights and cameras without compromising the enclosed lighting environment.
- Some models include built-in reflectors or adjustable diffusers to fine-tune light intensity and direction.
- Natural light can be used, but artificial lighting provides consistent results in any environment.
Expert tip: Use two lights (key and fill) at 45-degree angles for balanced, professional-grade illumination.
Budget & Value
DIY light tents range from budget-friendly kits to premium setups. Your choice should align with your usage frequency and quality expectations.
- Entry-level ($15–$30): Great for beginners or occasional use. May have thinner fabric and basic frames but still deliver decent results.
- Mid-range ($30–$60): Offers better materials, improved diffusion, and added features like adjustable brightness or color temperature settings.
- Premium ($60+): Designed for professionals with durable construction, advanced diffusion layers, and compatibility with studio lighting systems.
- Consider the total cost of ownership—higher-quality tents last longer and reduce the need for re-shoots due to poor lighting.
Value insight: Investing in a mid-tier tent often provides the best balance of performance and durability.
Additional Features & Customization
Some light tents go beyond the basics to offer enhanced functionality and creative control.
- Removable backdrops: Allow switching between white, black, or colored backgrounds for different product presentations.
- Adjustable brightness controls: Found in integrated LED tents, enabling real-time light tuning.
- Color accuracy: High-end tents maintain true color representation, crucial for e-commerce and branding.
- Camera mounts or tripod compatibility: Help stabilize your device for sharper images and consistent framing.
Creative advantage: Choose a tent with interchangeable backgrounds and lighting ports for maximum versatility.
Professional Recommendation: For most DIY photographers, a mid-sized, well-constructed light tent with good diffusion fabric and multiple lighting ports offers the best return on investment. Pair it with adjustable LED lights and a smartphone or DSLR on a tripod for studio-quality results. Always test your setup with a few trial shots to fine-tune light placement and exposure settings before finalizing your product images.
| User Type | Recommended Tent Size | Material Quality | Budget Range | Ideal Use Case |
|---|---|---|---|---|
| Hobbyist / Beginner | 12–24 inches | Basic translucent fabric | $15–$30 | Jewelry, small crafts, social media content |
| Small Business Owner | 24–36 inches | Double-layer diffusion | $30–$50 | E-commerce product photos, apparel, accessories |
| Professional Photographer | 36+ inches | Premium diffusing cloth + reflectors | $50–$100+ | Commercial shoots, high-volume product photography |
| Travel / On-Location Shooter | Collapsible 20–30 inch | Lightweight, wrinkle-resistant | $25–$45 | Mobile product shoots, pop-up stores, events |
Final Tips for Optimal Results
- White Balance: Set your camera’s white balance manually to avoid color casts from artificial lighting.
- Minimize Shadows: Position lights symmetrically and use reflectors inside the tent to bounce light onto shadowed areas.
- Clean Surfaces: Wipe down the tent’s interior regularly to prevent dust and smudges from appearing in photos.
- Use a Tripod: Ensures consistent framing and allows for longer exposures without blur.
- Test Before Shooting: Take sample photos to check for hotspots, uneven lighting, or unwanted reflections.
Q and A: Essential Guide to Light Tents and Product Photography
Understanding the fundamentals of lighting and background setup is crucial for achieving professional-quality product photography. This comprehensive Q&A guide explores key concepts such as light diffusion, background selection, DIY solutions, and techniques for softening harsh lighting. Whether you're a beginner setting up your first product shoot or looking to refine your existing setup, these insights will help you capture crisp, visually appealing images that highlight your products effectively.
Q1. What is the function of a light tent in photography?
A1: A light tent serves as a controlled lighting environment that diffuses light evenly across the surface of a product. By surrounding the subject with translucent material, it scatters direct light sources—such as studio lights, lamps, or natural sunlight—minimizing harsh shadows, hotspots, and distracting reflections. This even illumination is especially important for photographing reflective or glossy items like electronics, glassware, or jewelry, where inconsistent lighting can obscure details. The result is a clean, high-quality image with balanced exposure and accurate texture representation, ideal for e-commerce and marketing use.
Pro Tip: For best results, use two light sources positioned at 45-degree angles to the light tent to achieve symmetrical lighting without underexposing one side of the product.
Q2. Why is a white background used in product photography?
A2: A white background is widely used in product photography because it creates a clean, minimalist, and professional aesthetic that allows the product to be the focal point. It provides a neutral backdrop that prevents color contamination and ensures accurate color reproduction, which is essential for customer trust and brand consistency. Additionally, white backgrounds are preferred by major online marketplaces (like Amazon, eBay, and Shopify) as they support a cohesive, clutter-free shopping experience. They also simplify post-processing, making it easier to remove or replace the background during image editing for various marketing applications.
Note: To maintain a pure white background, ensure it is well-lit but not overexposed. Under-lighting can result in a grayish or uneven backdrop, while proper illumination helps achieve a seamless, studio-quality look.
Q3. What can a DIY light tent be made of?
A3: A DIY light tent can be constructed using affordable and readily available materials. The frame is typically built from a collapsible structure such as PVC pipes, wire coat hangers, or lightweight aluminum rods, forming a cube or dome shape. The diffusing surface is made from translucent fabrics like white nylon, muslin, or polyethylene sheets—materials that allow light to pass through while scattering it evenly. Alternatives include using a white bed sheet, parchment paper, or even a cardboard box with the front removed and covered with tracing paper. These budget-friendly options are ideal for beginners or small-scale product photography needs and can deliver professional-looking results when paired with proper lighting.
DIY Insight: Reinforce corners with tape or zip ties when using wire or PVC frames to improve stability and prevent collapse during shooting.
Q4. How can harsh lighting be reduced in photography?
A4: Harsh lighting, characterized by strong contrasts and sharp shadows, can be softened using several effective techniques:
- Use a light tent or softbox: These tools diffuse direct light through translucent materials, spreading it evenly across the subject to eliminate harsh highlights and deep shadows.
- Employ reflectors: Position white foam boards, bounce cards, or professional reflectors opposite your main light source to fill in shadows with soft, indirect light.
- Shoot in shaded areas: When photographing outdoors, utilize natural shade (e.g., under an awning or tree) to benefit from ambient, diffused light without direct sun exposure.
- Use a flash diffuser: Attach a small diffuser or bounce card to your camera flash to scatter the light and reduce its intensity, preventing overexposure and harsh contrasts.
- Diffusion panels: Place sheer white fabric, diffusion gels, or professional scrims between the light source and the subject to soften the light output.
| Lighting Challenge | Solution | Recommended Tools | Best For |
|---|---|---|---|
| Harsh shadows | Diffused lighting setup | Light tent, softbox, diffusion panel | Small products, reflective surfaces |
| Uneven exposure | Bounced fill light | Reflectors, white boards | One-light setups, low-budget shoots |
| Overexposure on background | Controlled light angles | Adjustable stands, flags | E-commerce, catalog photography |
| Color distortion | Neutral lighting environment | LED panels with adjustable color temperature | Color-critical products (e.g., fashion, cosmetics) |
Final Tip: Always test your lighting setup with a few trial shots and review them on a calibrated screen. Small adjustments in light position or diffusion can significantly improve image quality.
Additional Photography Tips
- Keep your light tent clean and wrinkle-free to avoid unwanted texture in your images.
- Use a tripod to maintain consistent framing across multiple product shots.
- Shoot in RAW format to retain maximum detail for post-processing adjustments.
- Calibrate your monitor regularly to ensure accurate color representation.
- Experiment with different light temperatures (e.g., 5500K for daylight balance) to match your product’s environment.
Mastering lighting and background techniques is fundamental to creating compelling product photography. Whether you're using professional gear or a simple DIY setup, attention to light quality and consistency will dramatically improve your results. With practice and the right tools, you can produce high-resolution, visually consistent images that enhance your brand and boost customer engagement.