Every dog owner knows the importance of a reliable leash—something strong enough to handle sudden tugs, comfortable to hold, and ideally, reflective of their pet’s personality. While commercial leashes are widely available, few offer the perfect balance of strength, comfort, and personalization. That’s where a DIY climbing rope dog leash comes in. Using dynamic or static climbing rope—a material engineered to endure extreme stress and weather—you can create a leash that outperforms most store-bought versions while adding a custom touch.
This guide walks through the process of building a high-performance leash from quality climbing rope, explaining why this material is ideal, what tools you’ll need, and how to ensure both safety and aesthetic appeal. Whether you're an outdoor enthusiast, a pet parent seeking durability, or a crafter looking for a meaningful project, this build delivers results that last.
Why Climbing Rope Makes the Best Dog Leash Material
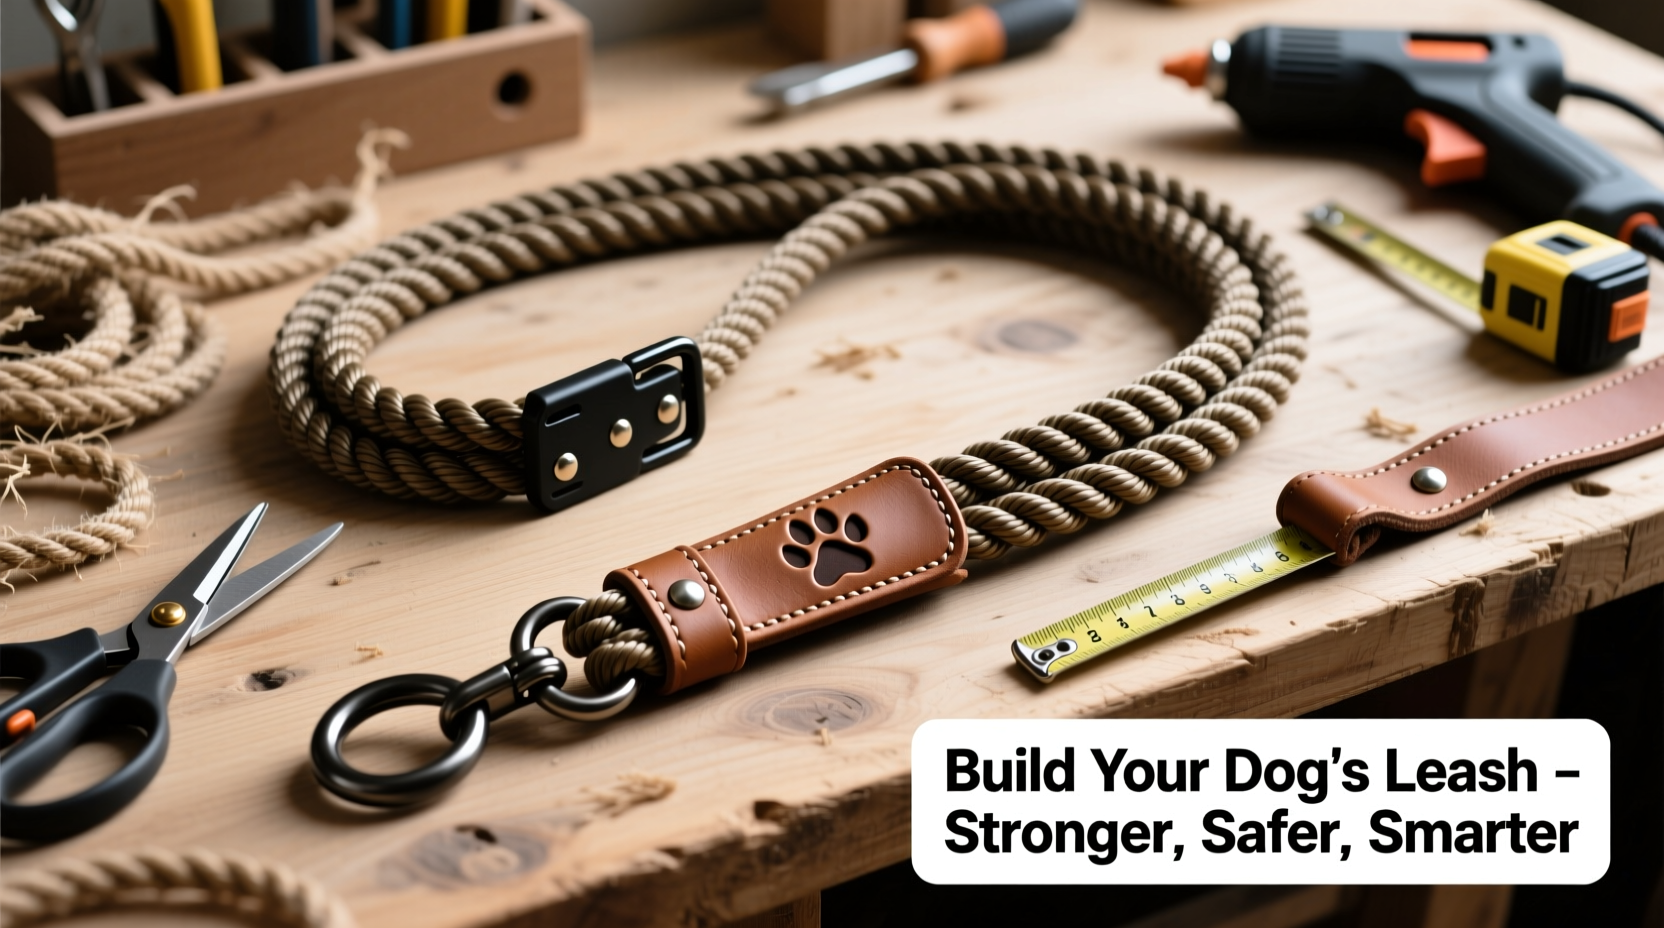
Climbing rope is designed for life-or-death situations. It undergoes rigorous testing for tensile strength, abrasion resistance, and shock absorption. Dynamic ropes stretch slightly under load, reducing strain on both climber and anchor; static ropes offer minimal stretch, ideal for hauling gear or fixed lines. For dog leashes, static climbing rope is typically preferred due to its stability and predictable behavior during pulls.
A typical 11mm static climbing rope has a minimum breaking strength of 2,000 kilograms (over 4,400 lbs), far exceeding the force any dog—even a large, energetic breed—can generate. This margin of safety ensures reliability during sudden lunges or encounters with wildlife. Additionally, climbing rope’s tightly woven nylon sheath resists fraying, UV degradation, and moisture, making it suitable for beach walks, mountain trails, or city sidewalks.
“Using certified climbing-grade materials adds a level of engineering confidence you won’t find in standard pet products.” — Jordan Lee, Outdoor Gear Designer & Pet Safety Advocate
Materials and Tools Checklist
Tip: Always source climbing rope from reputable suppliers (e.g., Sterling, Mammut, or Edelrid) and verify it meets UIAA safety standards.Before beginning, gather the following components:
- Static climbing rope – 11mm diameter, 5–6 feet in length (adjust based on preference)
- Heavy-duty metal carabiner or bolt snap – Rated for at least 2,000 lbs (climbing-rated preferred)
- Leather or rubberized grip sleeve (optional, for comfort)
- Heat source – Lighter or propane torch for sealing cut ends
- Measuring tape
- Sharp knife or rope cutter
- Sewing needle and nylon thread (if adding fabric accents)
- Masking tape – To mark cutting points
Step-by-Step Construction Guide
- Measure and Cut the Rope: Determine your desired leash length. A standard walking leash ranges from 4 to 6 feet. Mark the cut point with masking tape to prevent fraying, then slice cleanly with a sharp blade. Immediately sear the end with a lighter to melt the fibers and prevent unraveling.
- Create the Handle Loop: Fold one end of the rope back on itself to form a loop approximately 4–5 inches in diameter. This will serve as the handle. Secure it using a double fisherman’s knot or a barrel knot for maximum strength. Double-check that the knot is tight and seated properly.
- Attach the Clip: At the opposite end, tie a secure loop using a figure-eight follow-through knot, commonly used in climbing to attach ropes to harnesses. Thread the carabiner or bolt snap through this loop. Ensure the gate opens smoothly and locks securely.
- Seal All Ends: After tying knots, trim excess rope, leaving about half an inch. Heat-seal each cut end thoroughly to prevent internal core slippage over time.
- Add Comfort Features (Optional): Slide a leather sleeve or textured rubber grip over the handle section for improved ergonomics. These can be secured with strong adhesive or stitching if needed.
- Final Inspection: Test all knots under tension. Tug firmly on both ends and inspect for slippage. Confirm the carabiner functions correctly and isn’t cross-loaded when clipped.
Design Options and Customization Ideas
One of the greatest advantages of building your own leash is the ability to personalize it. Beyond function, your dog’s leash can reflect their spirit—or yours.
| Style | Description | Best For |
|---|---|---|
| Classic Solid Color | Single-color rope with metal clip | Minimalist owners, everyday use |
| Braided Two-Tone | Two ropes interwoven for visual contrast | Dogs with bold personalities |
| Glow-in-the-Dark Accent | Rope with reflective threads or added strips | Night walkers, urban environments |
| Luxury Grip Upgrade | Leather-wrapped handle with engraved tag | Gifts, show dogs, fashion-focused owners |
Common Mistakes to Avoid
Even experienced DIYers can compromise safety with small oversights. Here’s what not to do:
- Using worn or retired climbing rope: Never repurpose old climbing gear that’s been loaded in falls or exposed to sharp edges.
- Skipping the heat seal: Unsealed ends fray quickly, leading to structural weakness.
- Choosing lightweight carabiners: Keychain clips or non-locking biners may fail under stress.
- Over-tightening knots on thin rope: With sub-10mm rope, knots can slip or weaken fibers—stick to 10–11mm diameters.
Real-World Example: The Trail Hound Leash
When Sarah Thompson adopted her Australian Cattle Dog, Kai, she struggled with broken leashes during hikes in Colorado’s Rocky Mountain National Park. “He’d lunge at elk tracks, and every nylon leash snapped within weeks,” she said. After learning basic knot-tying from a climbing friend, she built a 5-foot static rope leash using bright orange 11mm rope and a locking carabiner. Three years later, it remains her go-to for trail walks. “It’s survived mud, snow, river crossings, and more squirrel chases than I can count,” she shared. “And honestly, people always ask where I bought it—it looks like something from an outdoor catalog.”
Frequently Asked Questions
Can I use dynamic climbing rope instead of static?
Yes, but with caution. Dynamic rope stretches up to 30% under load, which may feel unpredictable during walks. It’s better suited for training scenarios where shock absorption is beneficial, but static rope is generally preferred for daily use due to its stability.
How do I clean a climbing rope leash?
Hand wash with mild soap and lukewarm water. Avoid machine washing or submerging for long periods, as this can degrade the core fibers. Hang dry away from direct sunlight. Do not dry near heaters or in a dryer.
Is this leash safe for puppies or small dogs?
Absolutely. While the strength exceeds what small breeds require, the comfort and durability still benefit all dogs. Consider a shorter length or thinner grip for better handling with toy breeds.
Final Thoughts and Call to Action
Creating a dog leash from climbing rope isn’t just a craft project—it’s an investment in safety, sustainability, and personal expression. Unlike mass-produced alternatives that wear out after months, a well-made rope leash can last for years, even under rugged conditions. Plus, there’s pride in knowing exactly what your dog is attached to: no mystery plastics, weak stitching, or flimsy hardware.
With straightforward tools and time-tested knots, anyone can build a leash that performs as well as it looks. Whether you’re upgrading your current gear or crafting a gift for a fellow dog lover, this project proves that sometimes, the best solutions are simple, strong, and made by hand.
💬 Have you built your own pet gear? Share your experience, modifications, or photos in the comments—your insight could inspire others to craft smarter, safer accessories for their furry companions.