
Transforming a static Iron Man helmet into a dynamic, interactive piece of wearable tech is more than a hobby—it’s an expression of passion, engineering curiosity, and creativity. Whether you're building a prop for cosplay, a display centerpiece, or a functional augmented reality accessory, integrating lights and sounds elevates the realism and immersion. With advancements in affordable microcontrollers, compact LEDs, and voice modules, bringing Tony Stark’s iconic helmet to life has never been more accessible. The key lies not just in adding components, but in doing so with intention, precision, and flair.
Choosing the Right Lighting System
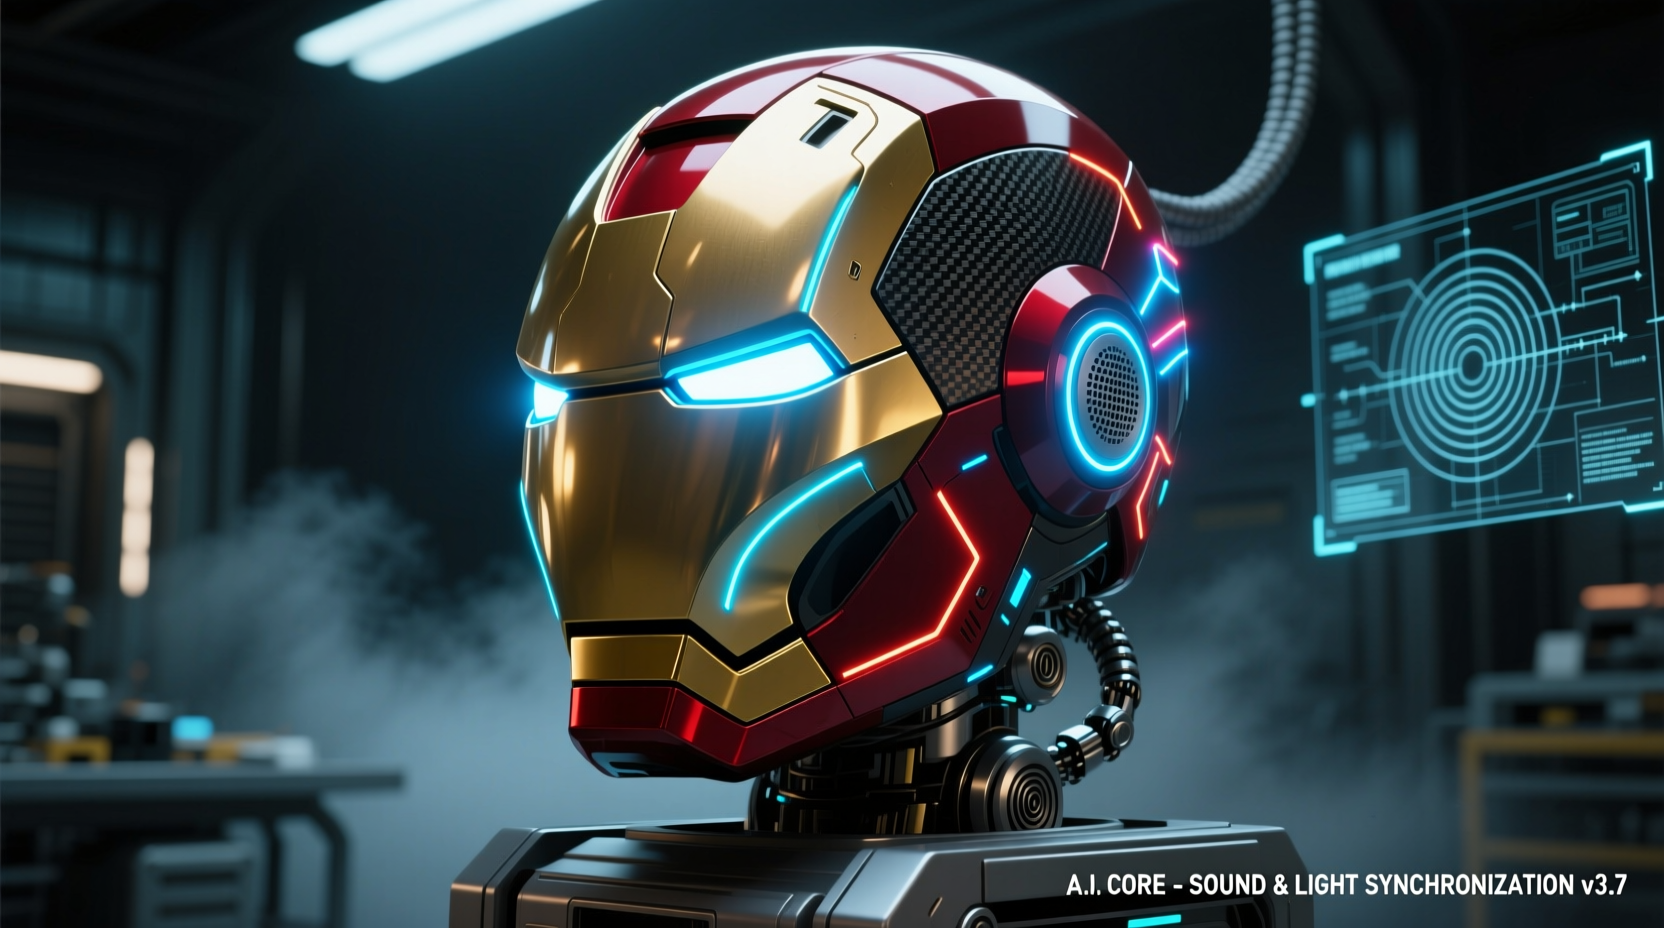
The visual identity of the Iron Man helmet hinges on its glowing elements—primarily the eyes and arc reactor. Replicating that signature red-orange glow requires strategic planning. LED strips, individually addressable LEDs (like WS2812B), and surface-mounted diodes each offer distinct advantages depending on your build’s complexity and power constraints.
For beginners, pre-wired LED strips with diffusers provide a plug-and-play solution. More advanced builders often opt for NeoPixel rings or custom-cut strips to contour precisely around the eye sockets and chest plate. These can be programmed to simulate scanning effects, pulsing energy, or even reactive lighting based on motion or sound input.
Tip: Use sandpaper or frosted spray to diffuse plastic visors for a softer, more even light spread—avoiding harsh hotspots.Power management is crucial. A 3.7V lithium polymer (LiPo) battery is ideal for portability and sufficient voltage for most LED setups. Always include a current-limiting resistor or use constant-current drivers to prevent burnout, especially when clustering multiple LEDs.
Integrating Realistic Sound Effects
No Iron Man helmet feels complete without the hum of repulsors, the whir of servos, or JARVIS’s calm AI voice. Sound brings narrative depth. To achieve this, you’ll need a small audio playback module capable of triggering clips via sensors or buttons.
The DFPlayer Mini MP3 module is widely used in prop builds due to its low cost, SD card support, and UART control compatibility with Arduino. Pre-recorded sound bites—such as arc reactor startup, flight mode activation, or weapon charging—can be stored as individual tracks and triggered by momentary switches mounted inside the helmet.
For ambient immersion, consider looping subtle background systems noise at low volume. This creates the illusion of an always-active suit. Pair this with directional mini speakers placed near the ears or chin for spatial audio, enhancing realism without overwhelming bystanders.
“Sound design is 50% of the cinematic experience. In props, it’s what separates replicas from experiences.” — Lila Tran, Prop Electronics Designer & Maker Faire Featured Artist
Step-by-Step Guide: Building a Responsive Helmet System
Follow this sequence to integrate responsive lights and sounds into your helmet safely and effectively.
- Design Your Circuit Layout: Sketch where LEDs, sensors, and speakers will go. Mark wiring paths to minimize visibility.
- Select a Microcontroller: Use an Arduino Nano or ESP32 for flexibility. The latter supports Bluetooth, enabling wireless sound triggers.
- Wire the LEDs: Solder data lines carefully, ensuring polarity is correct. Test each segment before final installation.
- Connect the Audio Module: Link the DFPlayer to the microcontroller using TX/RX pins. Load sound files onto a formatted microSD card.
- Add Triggers: Install tilt sensors, push buttons, or voice recognition modules (like the Voice Recognition V3) to activate sequences.
- Program Logic: Write code to sync light patterns with sound cues—e.g., a double-tap button triggers repulsor fire with flash and blast sound.
- Conceal Components: Mount batteries and circuit boards in hidden compartments, such as behind the neck padding or inside removable side panels.
- Test and Refine: Simulate real-world wear. Adjust volume, brightness, and response sensitivity for optimal effect.
Creative Enhancement Ideas
Go beyond basic glow and beep with these imaginative upgrades:
- Bluetooth Voice Modulation: Add a small electret microphone and a voice changer module so your voice emerges with a metallic, synthesized tone—just like Tony Stark’s in-flight comms.
- Arc Reactor Pulsation Synced to Heartbeat: Integrate a pulse sensor (like MAX30100) to make the chest reactor pulse in rhythm with your heart, creating a lifelike bio-feedback effect.
- Motion-Activated Scanning Eyes: Use an MPU-6050 accelerometer to detect head movement. When you turn your head, the eyes “scan” with a sweeping light pattern and accompanying servo-like sound.
- Proximity Detection: Install ultrasonic sensors to trigger alert modes when someone approaches, activating red warning lights and alarm tones.
- Wi-Fi Connected AI Mode: Program an ESP32 to fetch weather, time, or news updates via API and have them read aloud through a connected speaker using text-to-speech services.
Comparison Table: Component Options for Helmet Builds
| Component | Best For | Pros | Cons |
|---|---|---|---|
| Arduino Nano + DFPlayer | Beginners, reliable sound triggers | Inexpensive, easy to program, wide community support | Limited wireless capability |
| ESP32 + Bluetooth Audio | Advanced users, voice modulation | Wi-Fi/Bluetooth enabled, dual-core processing | Steeper learning curve, higher power draw |
| NeoPixel Rings (12-LED) | Eyes, circular displays | Bright, customizable colors, addressable | Requires precise coding, sensitive to voltage spikes |
| Adafruit FLORA | Wearable-focused builds | Small, sewable, USB-programmable | Limited I/O pins, less expandable |
Mini Case Study: The Animated Arc Reactor Project
Daniel Reyes, a mechanical engineer and cosplay enthusiast, wanted his Mk VII helmet to react dynamically during conventions. He integrated an ESP32 with a capacitive touch sensor embedded in the temple area. When tapped twice, the arc reactor flared brightly while playing a layered sound clip of the suit powering up. Using FastLED library animations, he programmed a ripple effect outward from the center, synced perfectly with the audio.
He later added a passive infrared (PIR) sensor to detect nearby movement, triggering a low-power “standby mode” with dimmed glow and soft system hum. Attendees frequently commented on how “alive” the helmet felt. Daniel noted that the biggest challenge was managing wire bulk, which he solved by 3D-printing internal cable channels.
Essential Checklist Before Final Assembly
- ✅ Test all LEDs and sound outputs independently
- ✅ Confirm battery life under full load (aim for 2+ hours)
- ✅ Secure all connections with heat shrink tubing or electrical tape
- ✅ Ensure switches are accessible and ergonomic
- ✅ Verify sound clarity at moderate volume
- ✅ Simulate wear: check comfort, weight balance, and heat buildup
- ✅ Waterproof critical joints if used outdoors
Frequently Asked Questions
Can I use rechargeable batteries safely inside the helmet?
Yes, but only use protected LiPo or Li-ion packs with built-in overcharge and short-circuit protection. Avoid placing batteries near heat sources or conductive materials. Charge outside the helmet to reduce fire risk.
How do I prevent feedback between microphone and speaker?
Position the microphone away from the speaker output, use directional mics, and lower speaker volume. Software-based echo cancellation is possible with advanced modules like the INMP441 paired with an ESP32.
Is programming knowledge necessary?
Basic builds can use pre-written code from GitHub repositories. However, customization—especially syncing lights and sounds—requires familiarity with Arduino IDE or similar platforms. Start with simple sketches and iterate.
Bring Your Vision to Life
Creating a truly unique Iron Man helmet isn’t about copying a movie prop—it’s about personalizing technology to reflect your ingenuity. By thoughtfully combining lighting dynamics, responsive soundscapes, and interactive features, you transform plastic and circuits into a storytelling device. Every pulse of the arc reactor, every synthesized word, becomes a testament to craftsmanship and imagination.
💬 Share your build story! Whether you’re using Arduino magic or inventing new ways to animate your helmet, your journey inspires others. Comment below or tag your project online—let’s power up the next generation of makers together.