Puff balls have long been a staple in fiber arts, from children’s crafts to high-end textile design. While traditional pom poms are charming in their simplicity, the world of three-dimensional yarn forms extends far beyond the basic round fluff. By exploring advanced shaping, layering, and textural techniques, crafters can transform simple yarn into sculptural elements for garments, home decor, and art installations. This guide reveals lesser-known methods to elevate your puff ball creations—offering precision, variety, and artistic depth that go well beyond the standard.
Understanding the Evolution from Pom Poms to Puff Balls
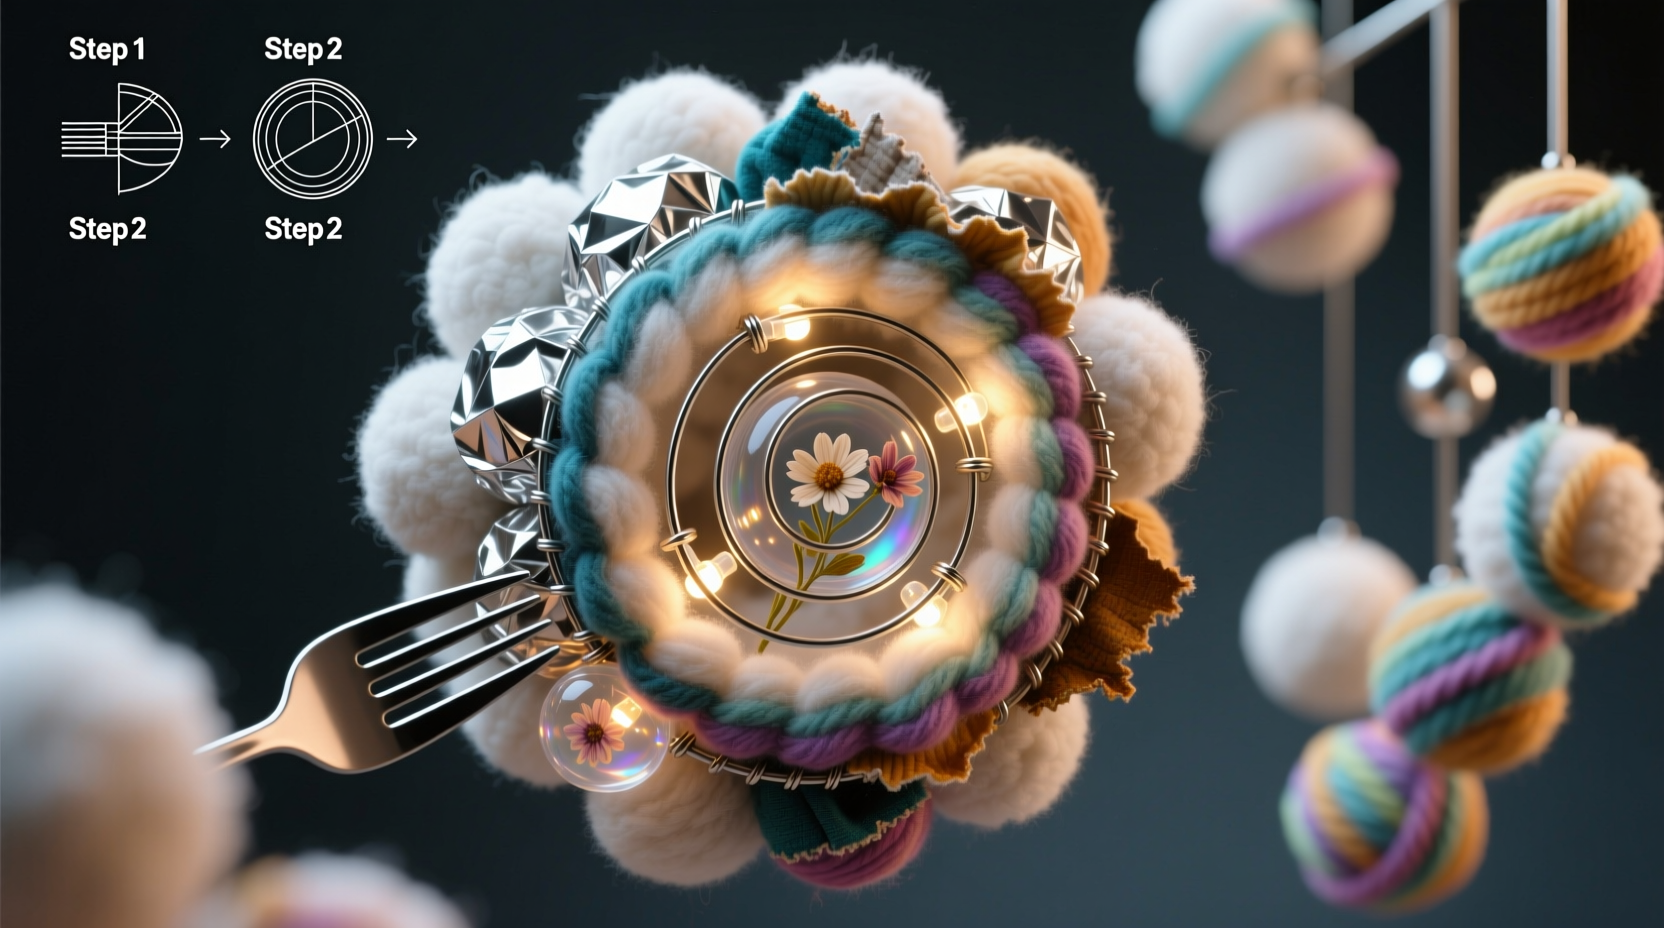
The term “pom pom” typically refers to a spherical cluster of yarn, often made using cardboard templates or commercial tools. A “puff ball,” however, implies a broader category: textured, layered, or structured yarn forms that may be flattened, elongated, or multi-component. The shift from pom poms to puff balls represents a move from uniformity to intentionality—each piece designed with purpose in mind.
Crafters working in fashion, interior design, and mixed media increasingly use puff balls as tactile accents. Their soft volume adds warmth and movement to textiles. Unlike mass-produced versions, handmade puff balls allow full control over density, size, and visual effect.
“Puff balls aren’t just decorative—they’re functional texture. When used thoughtfully, they can define silhouette, absorb sound, and even influence how light interacts with fabric.” — Lena Torres, Textile Artist & Educator
Essential Tools and Materials for Advanced Puff Ball Making
To move beyond basics, you’ll need more than just yarn and scissors. Consider these upgraded materials:
- Fine-gauge foam rings or plastic templates – Allow tighter winding and consistent sizing.
- Yarn with memory – Acrylic blends or wool work better than slippery silk or cotton for holding shape.
- Textured or novelty yarns – Chenille, bouclé, or ladder yarn add instant dimension.
- Sharp embroidery scissors – Precision trimming is essential for clean finishes.
- Wire armatures (optional) – For sculptural or hanging pieces that require internal support.
Step-by-Step Guide: Creating Layered Puff Balls
Layered puff balls mimic organic growth patterns, similar to dandelions or sea urchins. They feature concentric spheres of varying lengths and textures.
- Select two contrasting yarns: one smooth base yarn and one fluffy accent yarn.
- Create a core ball: Wind the base yarn tightly around a 3-inch foam ring 150 times. Slide off, tie securely at center with doubled thread, and trim into a compact sphere.
- Add secondary layers: Take the accent yarn and wrap it around the same ring 75 times. Do not remove yet.
- Attach to core: Slide the second winding off the ring and position it around the core like a halo. Use a tapestry needle to stitch the center binding directly onto the core’s equator.
- Repeat with shorter wraps: Make two smaller windings (50 and 25 turns) using the same accent yarn. Attach them at opposite poles of the core.
- Fluff and shape: Gently tease outer layers outward while leaving the center denser. Trim stray ends for symmetry.
The result is a dimensional puff ball with depth and movement—ideal for statement earrings, wall art, or embellishing hats.
Technique Variations for Unique Textures
Experimentation unlocks new possibilities. Try these innovative approaches:
1. The Teardrop Puff
Perfect for fringe curtains or floral centers. Wind yarn on a tapered template (like a small triangle cut from stiff card). After tying, trim one side longer than the other to create a directional flow.
2. Hollow Core Puff
For lightweight applications like mobiles or costume props. Use minimal wrapping and avoid over-trimming. The center remains loose, reducing weight without sacrificing volume.
3. Fused Multi-Ball Clusters
Combine three small puff balls by stitching them together at angles before attaching to a project. This mimics natural clusters like moss or fungi.
| Technique | Best Yarn Type | Ideal Use Case |
|---|---|---|
| Layered Puff | Wool blend + mohair | Winter scarves, knitwear accents |
| Teardrop Puff | Chenille or ribbon yarn | Drapery, bohemian jewelry |
| Hollow Core | Acrylic or cotton-poly blend | Children's toys, wall hangings |
| Fused Cluster | Mixed textures | Sculptural art, headpieces |
Real-World Example: Upcycling Sweaters into Eco-Friendly Puff Balls
In Portland, textile artist Maya Lin repurposes worn wool sweaters into sustainable puff balls for community art projects. She cuts old garments into strips, felts them slightly with warm water, then wraps them around custom wooden spools. The resulting puff balls retain irregularities—knots, colors, and weaves—that tell a story.
One installation, titled *Second Bloom*, featured 400 handmade puff balls suspended above a public garden path. Visitors noted how sunlight highlighted subtle fiber variations, creating shifting shadows throughout the day. Lin’s process proves that puff balls can be both eco-conscious and emotionally resonant.
Tip: Felting wool slightly before wrapping increases grip and reduces shedding during shaping.Checklist: Crafting Professional-Quality Puff Balls
- ☐ Choose yarn with good structure and moderate elasticity
- ☐ Use consistent tension when winding for even density
- ☐ Double-knot the center binding and reinforce with whip stitches if needed
- ☐ Trim in stages—start conservative, then refine shape gradually
- ☐ Store finished puff balls in breathable containers to prevent compression
- ☐ Label samples by yarn type and technique for future reference
Frequently Asked Questions
Can I make puff balls without a template?
Yes, though consistency will vary. You can wrap yarn around four fingers for small versions, but precision suffers. For repeatable results, invest in reusable plastic donuts or laser-cut wooden rings in multiple sizes.
How do I prevent puff balls from flattening over time?
Avoid stacking or compressing them in storage. Insert a small foam ball inside larger puff balls before final tying to maintain roundness. Also, consider lightly spraying with aerosol starch for rigid displays (not recommended for wearable items).
Are there non-yarn alternatives for puff balls?
Absolutely. Tulle netting, raffia, shredded paper, or even synthetic insulation fibers can be shaped into puff-like forms. These offer different weights and visual effects—ideal for experimental installations.
Expanding Your Creative Horizon
Puff balls are more than whimsical accents—they’re opportunities for innovation. Whether you're designing a hand-knit sweater, curating a gallery piece, or leading a craft workshop, pushing past the limits of the classic pom pom opens new avenues of expression. Texture becomes language; volume becomes voice.
Consider combining puff balls with embroidery, beadwork, or digital fabrication. Embed LED micro-lights within hollow cores for glowing centerpieces. Or attach magnet backs to turn them into modular wall art systems.
“The most memorable crafts aren’t perfect—they’re alive. A puff ball with slight asymmetry, varied fiber lengths, or unexpected material mix feels human-made, and that’s what draws people in.” — Diego Mendez, Craft Innovation Consultant
Final Thoughts and Call to Action
Making puff balls is no longer just a beginner’s exercise—it’s a gateway to advanced textile manipulation. With the right techniques, tools, and mindset, you can produce pieces that captivate through texture, form, and intention. Don’t settle for uniform spheres when you can create dynamic, expressive elements that elevate any project.
🚀 Start today: Pick one advanced technique from this guide and make three test puff balls using different yarns. Document your process and share your results online—tag a fellow crafter to continue the conversation!