Traveling brings excitement, adventure, and new experiences—but losing your passport can turn a dream trip into a nightmare. A well-made passport holder not only protects this vital document but also adds a personal touch to your travel gear. Instead of buying generic versions, why not create one yourself? With a few basic supplies and some creativity, you can craft a custom passport holder that’s both functional and stylish. These DIY solutions are ideal for travelers who value durability, sustainability, and self-expression.
Why Make Your Own Passport Holder?
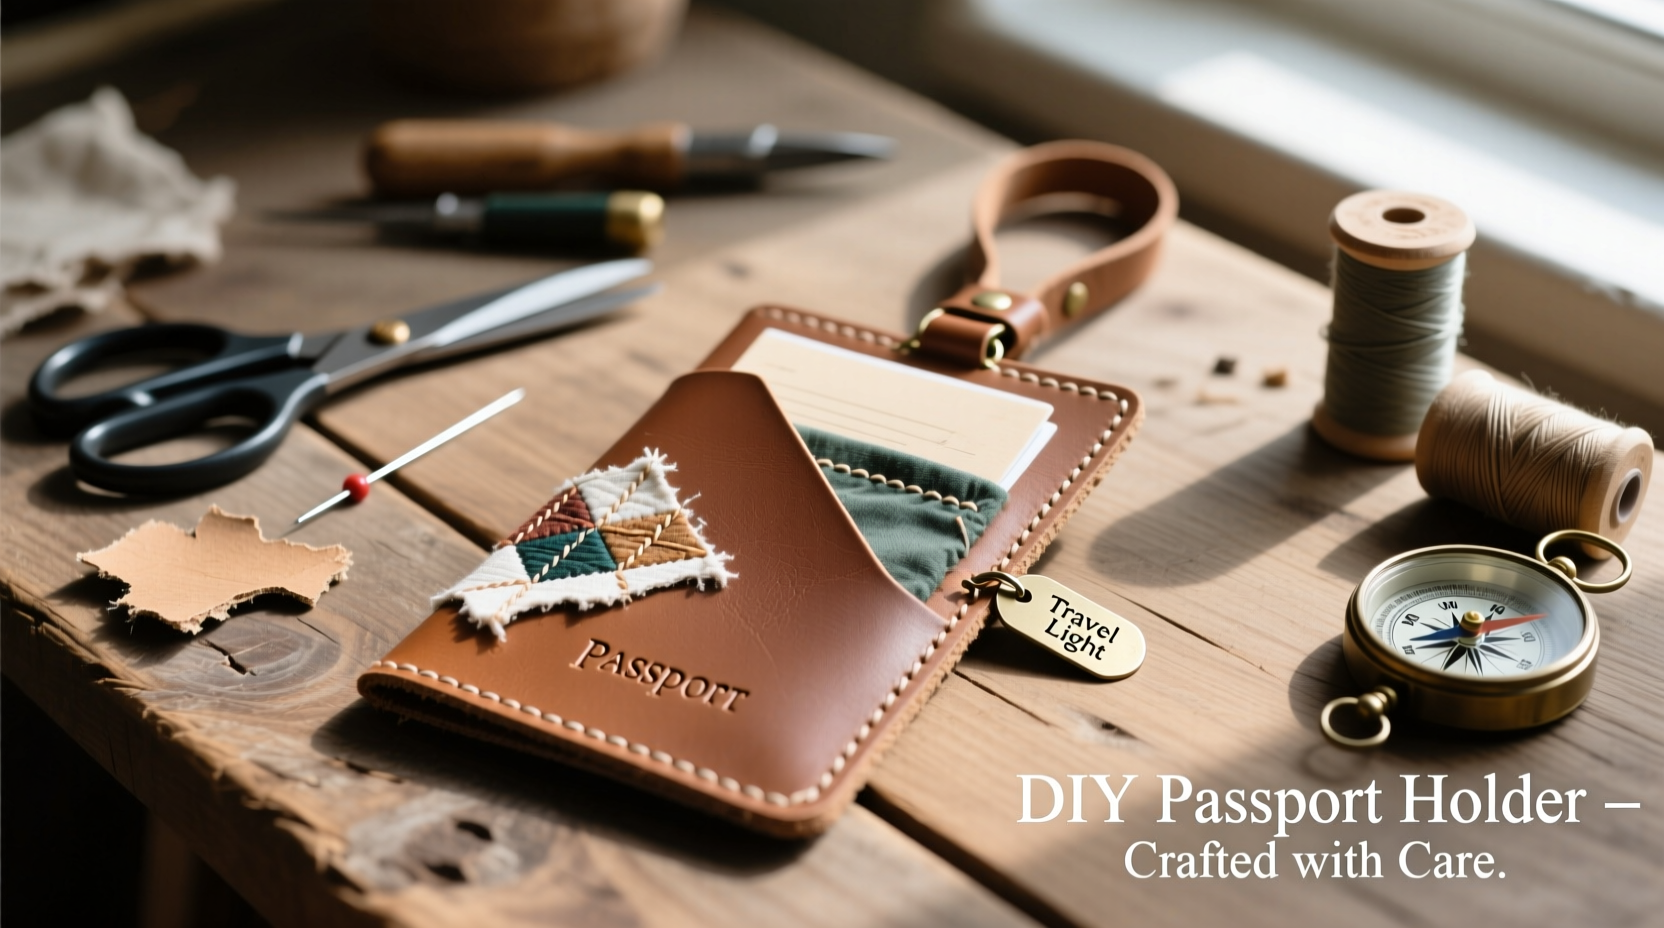
Commercial passport holders often use synthetic materials, lack personality, or wear out quickly. Crafting your own allows you to choose high-quality, long-lasting fabrics and customize features like size, compartments, closures, and aesthetics. Whether you're revamping old leather belts, repurposing denim jeans, or sewing with eco-friendly cork fabric, homemade holders reduce waste and reflect your individual style.
“Handmade accessories have a deeper connection to the user—they carry intention, care, and memory.” — Lena Patel, Sustainable Fashion Designer
Materials That Stand the Test of Travel
Durability is essential in a passport holder. It must withstand airport security checks, tight pockets, humidity, and frequent handling. The right material ensures longevity and protection.
| Material | Pros | Cons | Best For |
|---|---|---|---|
| Vegetable-Tanned Leather | Extremely durable, ages beautifully, water-resistant | Requires conditioning, higher cost | Long-term travelers, minimalist designs |
| Denim (from old jeans) | Readily available, sturdy, eco-friendly | May fray if not sealed | Upcycling enthusiasts, casual styles |
| Cork Fabric | Water-resistant, vegan, lightweight | Limited color options | Eco-conscious makers, modern look |
| Heavyweight Canvas | Affordable, easy to sew, holds shape | Can absorb moisture if untreated | Beginners, multi-pocket designs |
| Waxed Cotton | Naturally water-repellent, rugged texture | Harder to stitch, limited flexibility | Outdoor adventurers, vintage-inspired models |
5 Creative & Durable DIY Passport Holder Ideas
1. Upcycled Denim Flip-Top Holder
Old jeans are gold mines for durable fabric. Cut two rectangles (5.5” x 4”) from the back pocket area for extra thickness. Layer them, then topstitch around the edges, leaving the top open. Attach a small magnetic snap or button closure. Add an internal slip pocket from lighter denim for boarding passes. This version breaks in nicely over time and gains character with use.
2. Minimalist Leather Sleeve with RFID Shield
Use a single piece of vegetable-tanned leather (6” x 4.5”). Fold it in half and burnish the edges with beeswax for smoothness. To add RFID protection, insert a thin sheet of conductive fabric (available online) between the layers before stitching the sides. Finish with saddle stitching for maximum strength. No zippers or snaps—just slide your passport in and tuck the flap over.
3. Cork Fabric Wallet-Style Organizer
Cork is surprisingly flexible and naturally antimicrobial. Cut front and back panels (5.75” x 4”), plus a center spine strip (1” x 4”). Glue or machine-stitch them together like a book cover. Inside, glue multiple card slots and a clear vinyl window for quick ID access. Its sleek finish resists scuffs and wipes clean with a damp cloth.
4. Waterproof Waxed Canvas Roll-Up Case
Ideal for backpackers, this roll-up design secures documents with straps. Cut waxed canvas to 10” x 5”, fold in thirds, and reinforce each panel with interfacing. Sew elastic loops on the outer sections to keep it closed when rolled. Interior pockets hold passports, visas, and emergency cash. The wax coating sheds rain and resists stains.
5. Embroidered Felt + Fusible Interfacing Pouch
For crafters who love detail, wool-blend felt offers structure without sewing. Use two layers fused with heat-activated interfacing for rigidity. Cut to passport size, then hand-embroider initials or travel symbols. Fold in half and secure with a decorative button and loop. While not as rugged as leather, this option is perfect for short trips and makes a thoughtful handmade gift.
Step-by-Step Guide: Building a Leather Passport Holder
This detailed sequence walks you through creating a timeless leather passport sleeve using traditional techniques.
- Gather Supplies: 4 oz vegetable-tanned leather, rotary cutter or sharp knife, ruler, edge beveler, hole punch, waxed thread, harness needles, edge slicker, mallet.
- Measure and Cut: Mark a rectangle 6 inches wide by 4.5 inches tall. Use a straightedge and utility knife for clean cuts.
- Bevel Edges: Gently round the corners and bevel all four sides with a leather edge tool to prevent cracking.
- Punch Stitching Holes: Along both long edges, mark holes every 3/16”. Use a prong chisel or stitching pony to ensure even spacing.
- Saddle Stitch: Thread two needles on either end of 36” waxed linen thread. Pass through each hole twice for double security. Pull tightly after each stitch.
- Burnish Edges: Moisten edges slightly, then rub with a wooden slicker and beeswax until smooth and glossy.
- Final Inspection: Check for loose threads, sharp spots, or uneven seams. Condition lightly with leather balm.
Mini Case Study: Sarah’s Zero-Waste Travel Kit
Sarah, a digital nomad based in Portugal, wanted a sustainable alternative to mass-produced travel accessories. She dismantled an old leather belt and used the dense strap material to create a passport holder, luggage tag, and pen sleeve. By repurposing existing items, she saved money and reduced waste. After 18 months of constant use across Southeast Asia and South America, her passport holder remains intact—only showing a rich patina from sun and rain exposure. “It feels more meaningful than anything I could buy,” she says. “Every scratch tells a story.”
Checklist: Before You Start Your DIY Project
- ☐ Measure your passport accurately (standard is 3.5” x 5”)
- ☐ Choose a material that suits your climate and usage frequency
- ☐ Gather necessary tools: scissors, ruler, needle, thread, adhesive (if needed)
- ☐ Reinforce stress points with interfacing or double-layering
- ☐ Test closures (snaps, magnets, ties) before final assembly
- ☐ Label inside pockets for quick identification
- ☐ Add a personal touch: monogram, embroidery, or painted edge
Frequently Asked Questions
Can I wash a DIY passport holder?
It depends on the material. Wipe leather and cork with a damp cloth and mild soap. Denim and canvas can be spot-cleaned, but avoid soaking. Never machine-wash any passport holder, as this may damage structure or fasteners.
How do I protect my passport from RFID scanning?
Incorporate a layer of RFID-blocking material—typically a thin metallic fabric or shielded polyester—between the outer shell and inner lining. Ensure full coverage around the passport slot. Test effectiveness with an RFID reader app or device.
What’s the best way to personalize a handmade holder?
Options include hand-stamping initials on leather, embroidering country motifs on fabric, painting edges with metallic ink, or attaching a woven tassel. Personalization enhances emotional value and helps identify your holder quickly at security checkpoints.
Make Travel More Meaningful—One Stitch at a Time
Crafting your own passport holder isn’t just about function—it’s about reclaiming craftsmanship in a disposable world. Each cut, stitch, and finish reflects your values: sustainability, resilience, and attention to detail. These handmade pieces age gracefully, becoming companions on every journey. Whether you’re a seasoned sewer or a curious beginner, the satisfaction of pulling out a passport case you made yourself is unmatched.
💬 Start today: Grab unused fabric or leather scraps and sketch your design. Share your creation online with #DIYPassportHolder and inspire others to craft with purpose!