Traveling is one of life’s greatest pleasures, but the small details often make the biggest difference. A well-crafted passport cover not only protects your most important travel document—it reflects your personality and style. While store-bought options exist, a handmade passport cover offers unmatched durability, personalization, and satisfaction. Whether you're a beginner with a glue stick or an experienced crafter with a sewing machine, this guide delivers practical, creative, and long-lasting DIY solutions.
Why Make Your Own Passport Cover?
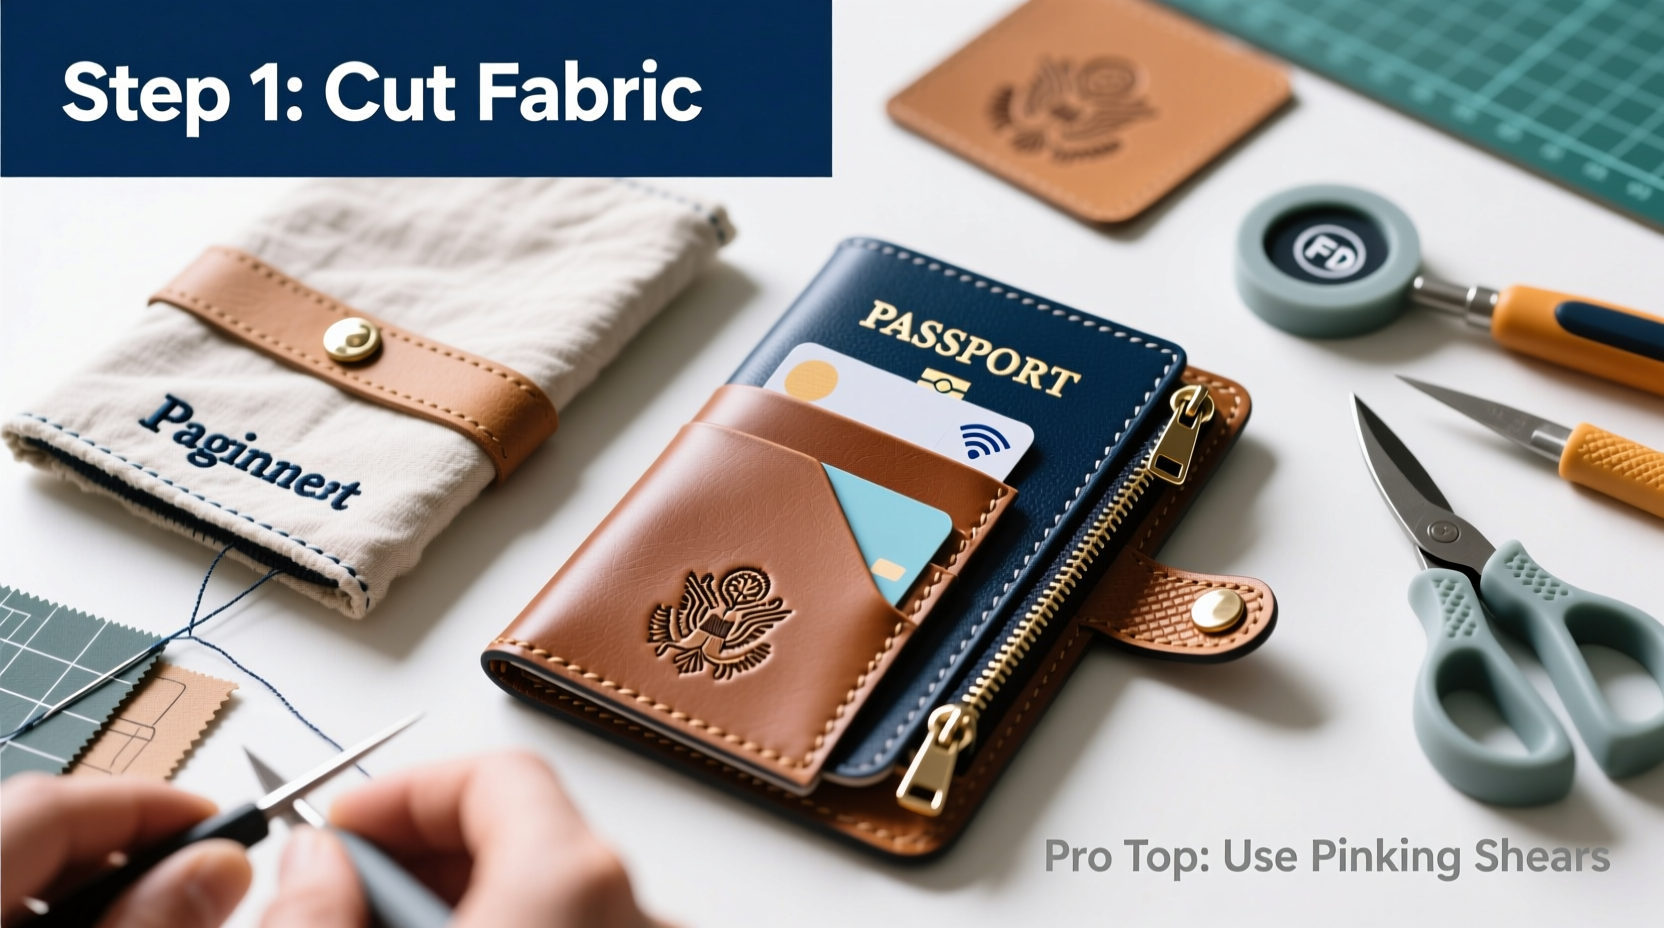
Commercial passport holders are convenient, but they rarely offer the blend of customization, material quality, and emotional value that a DIY version provides. When you craft your own, you control the fabric, structure, closure type, and decorative elements. More importantly, you can reinforce weak points, add functional pockets, and tailor dimensions precisely to your passport size.
“Handmade accessories carry intention. A passport cover isn’t just utility—it’s the first thing border agents see. Make it meaningful.” — Lena Patel, Travel Lifestyle Designer
Beyond aesthetics, durability is a key advantage. Many mass-produced covers use thin synthetic materials that wear quickly. DIY alternatives allow the use of heavy-duty fabrics like denim, waxed canvas, or upcycled leather, significantly extending lifespan across multiple trips.
Materials and Tools: What You’ll Need
The right materials set the foundation for a cover that lasts. Below is a comparison of common choices based on accessibility, durability, and ease of use.
| Material | Skill Level | Durability (1–5) | Water Resistance | Best For |
|---|---|---|---|---|
| Felt | Beginner | 2 | Low | Light use, kids’ crafts |
| Cotton Fabric | Beginner/Intermediate | 3 | Moderate (with sealant) | Printed designs, quilting |
| Denim | Intermediate | 4 | High | Durable everyday use |
| Waxed Canvas | Intermediate/Advanced | 5 | Very High | All-weather protection |
| Upcycled Leather | Advanced | 5 | High | Luxury finish, long-term use |
Step-by-Step Crafting Guide for All Skill Levels
No matter your experience, there's a method that fits. Below are three distinct approaches—each scalable in complexity.
Beginner: No-Sew Felt Cover (Glue Method)
Ideal for crafters without access to a needle or sewing machine. This method uses adhesive and layered felt for quick assembly.
- Measure your passport: Standard size is approximately 5.5” x 3.7”. Add 0.5” on each side for seam allowance (6” x 4.2”).
- Cut two identical rectangles from thick felt.
- Apply fabric glue along three edges of one piece, leaving the top open.
- Press the second piece onto the glued sides, creating a pocket.
- Let dry completely (at least 4 hours).
- Optional: Glue on buttons, embroidery patches, or paint designs.
This version suits short trips and children’s passports. While not fully weatherproof, it’s surprisingly resilient with careful handling.
Intermediate: Sewn Cotton Cover with Interior Pocket
For those comfortable with basic sewing, this design adds functionality and polish.
- Choose tightly woven cotton or quilting fabric. Pre-wash to prevent shrinkage.
- Cut two outer pieces (6” x 4.2”) and one interior slip pocket (5.5” x 3.5”).
- Sew the pocket centered on one outer piece using a 1/4” seam.
- Place both outer pieces right sides together. Pin and sew around three sides (bottom and both sides).
- Turn right-side out, using a pencil to push out corners.
- Topstitch 1/8” from the edge for a clean finish and added strength.
- Optional: Add a magnetic snap or ribbon tie closure.
Advanced: Waxed Canvas & Leather Hybrid Cover
This professional-grade option combines rugged materials for maximum longevity.
- Trace passport onto waxed canvas; cut two outer shells (add 1/2” margin).
- Cut one piece of vegetable-tanned leather slightly smaller than the inner panel for contrast.
- Machine-stitch the leather to one canvas piece using heavy-duty thread.
- Layer both outer panels with a lightweight stabilizer between them.
- Sew around three sides with a box stitch at corners for reinforcement.
- Install a brass snap or loop-and-button closure.
- Condition leather edges with beeswax for smoothness and water resistance.
The result is a cover that ages beautifully, develops a patina, and withstands humidity, airport trays, and daily handling.
Real Example: Sarah’s Travel-Ready Passport Cover
Sarah, a frequent traveler from Portland, wanted a cover that survived monsoon seasons in Southeast Asia. She used recycled sailcloth (a durable marine fabric) backed with interfacing and added a hidden RFID-blocking layer made from metallized fabric. She included a slim card slot for her boarding pass and secured it with a leather strap and antique brass snap.
After 18 months and over 20 flights, her passport remains pristine. “I’ve dropped it in puddles, stuffed it in crowded backpacks, and even sat on it,” she says. “It still looks sharp. Making it myself meant I could solve real problems I face while traveling.”
Customization Ideas to Elevate Your Design
Personal touches transform a functional item into a keepsake. Consider these enhancements:
- Embroidery: Stitch initials, coordinates of home, or a favorite quote.
- Patchwork: Combine fabric scraps from past trips (e.g., a piece from a festival shirt).
- Tassel or charm: Attach via a grommet or button for flair.
- RFID lining: Insert a shielded fabric layer to protect against digital theft.
- Map print: Use fabric printed with a world map or city skyline.
“Function doesn’t have to sacrifice beauty. The best travel accessories are both useful and emotionally resonant.” — Diego Mendez, Sustainable Accessory Designer
Do’s and Don’ts of DIY Passport Covers
| Do’s | Don’ts |
|---|---|
| Pre-wash natural fabrics to avoid shrinkage | Use flimsy, stretchy materials that lose shape |
| Reinforce seams with backstitching or zigzag patterns | Overload with bulky embellishments that hinder zippers or scanning |
| Add a clear vinyl window for easy ID viewing | Make the opening too tight—passport should slide in/out smoothly |
| Test closures for security and ease of use | Forget about weight—avoid excessive hardware on international flights |
FAQ: Common Questions About DIY Passport Covers
Can I wash my handmade passport cover?
Spot cleaning is safest. For fabric covers, dab with mild soap and damp cloth. Avoid submerging unless made entirely of machine-washable material like cotton with sealed seams. Waxed canvas and leather should never be soaked—use a dry brush or specialized cleaner.
How do I measure for the perfect fit?
Lay your passport flat and measure its height and width. Add 1/2 inch total (1/4 inch per side) for seam allowance. If including lining or interfacing, ensure all layers align precisely during assembly.
Are DIY covers airport-security friendly?
Absolutely. In fact, many TSA agents prefer clearly visible passports. Use a simple open pocket or add a transparent window so your photo and data page are easily accessible without removing the document.
Conclusion: Craft Your Journey, One Stitch at a Time
A passport is more than a document—it’s a record of where you’ve been and a promise of where you’re going. A handmade cover honors that journey with care, creativity, and craftsmanship. From no-sew felt experiments to precision-stitched leather masterpieces, every skill level can create something functional, beautiful, and uniquely theirs.
💬 Start today—grab scrap fabric, dig out that old leather belt, or sketch a design. Share your finished passport cover online and inspire others to craft with purpose!