Wearing tight shoes can turn an ordinary day into a painful experience. Whether they’re new leather boots, snug sneakers, or elegant dress shoes, discomfort from poor fit often sets in after just minutes of walking. While professional shoe stretchers are effective, not everyone has access to one — or wants to invest in equipment for occasional use. The good news is that you don’t need specialized tools to achieve a better fit. With common household items and a bit of patience, you can stretch your shoes effectively and safely at home.
These methods work by gently expanding the material—especially leather, canvas, or synthetic uppers—without compromising structural integrity. Some rely on moisture and heat, others on controlled pressure or freezing expansion. When applied correctly, these techniques can add crucial millimeters of space where it's needed most: across the toe box, around the instep, or along the sides.
Understanding Shoe Materials and Stretch Potential
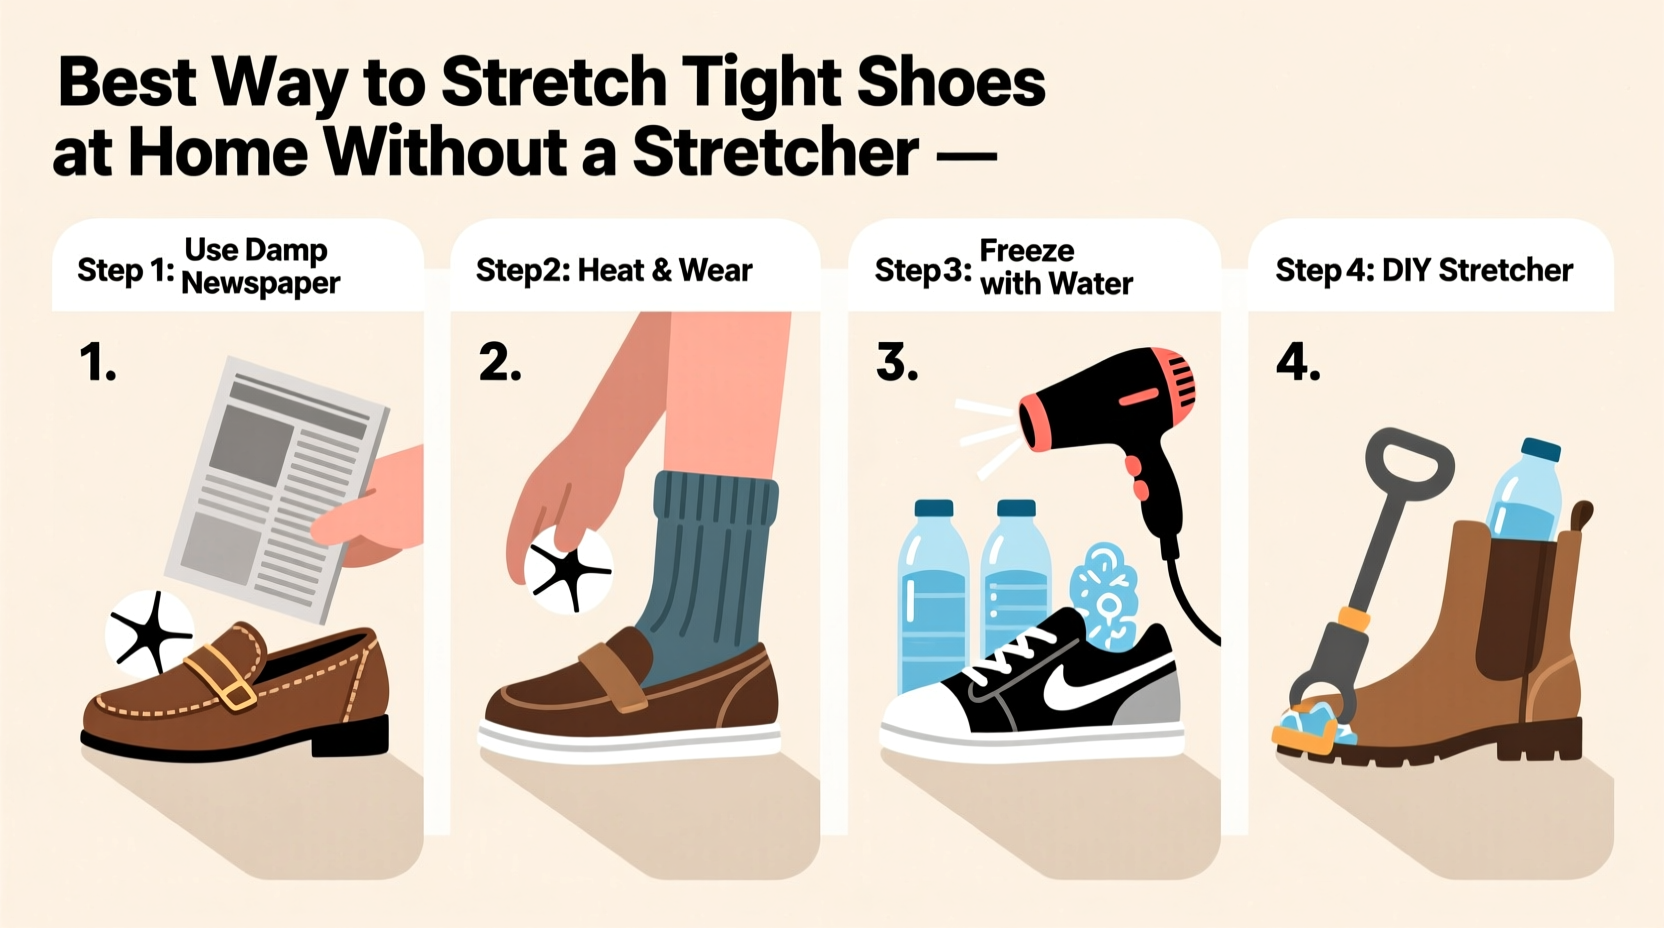
Before attempting any stretching method, it’s essential to understand what your shoes are made of. Different materials respond differently to stress, moisture, and temperature changes.
| Material | Stretch Potential | Best Methods |
|---|---|---|
| Leather | High | Heat + wear, water stuffing, freezer method |
| Suede/Nubuck | Moderate | Steam + wear, damp cloth + shoe trees |
| Cloth/Canvas | Low-Moderate | Water stuffing, gradual wear |
| Synthetic Leather | Low | Heat application only (minimal) |
| Plastic/Rubber | None | Not recommended for stretching |
Real leather is the most responsive to home stretching because it’s naturally pliable and reacts well to moisture and heat. Suede requires more care due to its delicate nap but can still be stretched with gentle steam. Synthetic materials have limited give and may crack if over-stretched. Avoid aggressive techniques on non-porous or rigid footwear like rain boots or formal patent leather unless labeled as “stretch-fit.”
“Leather fibers loosen when heated or moistened, allowing temporary expansion. If done gradually, this change can become semi-permanent.” — Daniel Reyes, Footwear Restoration Specialist
Effective Home Stretching Techniques Without a Stretcher
You don’t need expensive gear to improve shoe fit. These five proven methods use everyday items found in most homes. Each targets different areas of tightness and works best under specific conditions.
1. The Overnight Water Bag Method
This technique uses water-filled plastic bags placed inside the shoes and frozen. As water freezes, it expands, applying outward pressure that gently stretches the upper material.
- Fill two sandwich-sized plastic bags with water (about ¾ full).
- Place one bag inside each shoe, ensuring it reaches the toe area.
- Seal the bags tightly and tuck excess plastic into the opening.
- Put the shoes in the freezer overnight (minimum 8 hours).
- Remove and let thaw completely before checking fit.
The expansion force from ice can push out constricted zones, particularly useful for narrow toe boxes. Works best on leather and canvas shoes. Avoid using on glued soles that might weaken with prolonged moisture exposure.
Tip: Double-bag the water to prevent leaks. Add a few drops of food coloring to detect breaches early.2. Heat and Wear Technique
One of the fastest ways to mold shoes to your feet involves combining body heat, moisture, and movement.
- Put on thick socks (or two pairs of medium ones).
- Use a hairdryer to warm the tightest parts of the shoe for 30–60 seconds.
- Immediately put the shoes on while still warm.
- Walk around for 20–30 minutes, focusing on flexing your feet.
The warmth softens the fibers, and your foot acts as a natural stretcher. This method is ideal for breaking in stiff leather shoes or adjusting heel grip. Repeat over 2–3 days for lasting results.
3. Towel Stretch for Targeted Pressure
When only certain spots pinch—like the top of the foot or little toe side—a damp towel can deliver focused expansion.
- Dampen a hand towel with warm water (not soaking wet).
- Roll or fold it to fit snugly into the tight area.
- Insert into the shoe and let dry naturally (6–8 hours).
- Remove and test fit.
As the towel dries, it maintains pressure and allows the material to conform. For extra effect, place a wooden spoon handle or rounded object inside alongside the towel to increase localized push. This method gives precise control and avoids over-stretching the entire shoe.
4. Alcohol Application for Synthetic Flexibility
Isopropyl alcohol temporarily softens synthetic materials and some bonded leathers, making them more malleable during wear.
- Mix equal parts rubbing alcohol and water in a spray bottle.
- Spray lightly on the interior of tight zones (do not saturate).
- Wear the shoes with thick socks for 1–2 hours.
- Let air-dry away from direct heat.
This technique should be used sparingly and never on suede or delicate fabrics. It works well for slightly rigid synthetics in athletic shoes or fashion heels. Always spot-test first on inconspicuous areas.
5. Newspaper and Vinegar Wrap
A vinegar-soaked newspaper wrap combines chemical softening with mechanical expansion.
- Crinkle several sheets of newspaper and stuff into the shoe.
- Spray a mix of 1 part white vinegar to 2 parts water onto the exterior upper.
- Wrap the shoe loosely in a plastic bag to retain moisture.
- Leave for 6–8 hours or overnight.
- Remove paper and allow shoes to air-dry slowly.
Vinegar breaks down stiffness in leather fibers, while compressed paper holds shape and encourages expansion. After drying, the shoe retains a slightly larger form. Use caution: vinegar smell fades but may linger in absorbent linings.
Step-by-Step Guide: Safely Stretch Shoes in 3 Days
If you need noticeable improvement quickly and safely, follow this structured three-day plan tailored for moderate tightness in leather or canvas shoes.
- Day 1 – Prep & Initial Expansion: Clean the interior, then apply the water bag freezer method overnight. Thaw and assess fit. Look for visible loosening in the toe box.
- Day 2 – Mold with Heat: Perform the heat-and-wear technique. Warm shoes with a hairdryer, wear with thick socks for 30 minutes. Focus on bending toes and shifting weight front-to-back.
- Day 3 – Targeted Adjustment: Identify remaining pressure points. Apply the damp towel method to those zones. Let dry fully before final testing.
By the end of Day 3, most users report improved comfort and reduced pinching. For persistent tightness, repeat Day 2 and 3 once more. Never rush the process—overheating or oversaturating can warp soles or cause creasing.
Common Mistakes to Avoid
Even well-intentioned efforts can damage shoes if misapplied. Here are frequent errors and how to sidestep them.
- Using boiling water: Can delaminate adhesives and shrink leather irreversibly.
- Over-wetting interiors: Leads to odor, mold, or glue failure in layered soles.
- Skipping the drying phase: Wearing damp-stretched shoes weakens structure and promotes blisters.
- Applying pressure unevenly: Results in lopsided fit or bulging seams.
- Expecting instant results: Stretching takes time. Rushing leads to damage.
Mini Case Study: Breaking In Winter Boots
Sarah, a landscape photographer from Vermont, bought a pair of insulated leather hiking boots ahead of winter expeditions. Despite matching her usual size, the right boot pressed painfully against her bunion after 20 minutes of walking.
Instead of returning them, she tried the three-day method. On Day 1, she used the water bag freeze technique. Upon thawing, she noticed slight relief but still felt compression. Day 2 involved wearing them with wool socks after heating the medial side with a hairdryer. She walked indoors for 25 minutes. By Day 3, she applied a rolled damp towel over the bunion zone and left it overnight. After conditioning both boots, she tested them on a short trail. The right boot no longer pinched, and overall flexibility improved. Six weeks later, she reported no recurrence of discomfort—even during full-day shoots in subzero temperatures.
Her success came from combining methods strategically rather than relying on one alone.
Checklist: How to Stretch Shoes at Home – Step by Step
- ✅ Identify the material and check stretch potential
- ✅ Choose a method based on shoe type and tightness location
- ✅ Prepare household supplies (bags, towels, freezer-safe containers)
- ✅ Test any liquid solution on a small hidden area first
- ✅ Apply stretching technique evenly and patiently
- ✅ Allow proper drying time—never wear wet-stretched shoes immediately
- ✅ Condition leather afterward to maintain suppleness
- ✅ Evaluate fit and repeat only if necessary
Frequently Asked Questions
Can I stretch shoes half a size at home?
Yes, most home methods can achieve a half-size increase, especially in leather or canvas shoes. Full-size stretching is less likely and risks damaging the shoe’s structure. For larger adjustments, consult a cobbler.
How long does it take to see results?
Immediate effects may appear within hours (e.g., after wearing warmed shoes), but permanent adaptation usually takes 2–4 applications over several days. Natural materials require time to settle into their new shape.
Will stretching ruin my shoes?
Only if done incorrectly. Over-saturation, excessive heat, or aggressive force can break down glues, split seams, or distort soles. Stick to gentle, incremental techniques and avoid stretching beyond the material’s limits.
Final Tips for Long-Term Comfort
Prevention is often easier than correction. To minimize future issues with tight shoes:
- Try shoes on late in the day when feet are slightly swollen.
- Bring your typical socks to fittings.
- Consider width sizing—not just length—especially if you have wide feet or high arches.
- Buy quality shoes with natural materials; they adapt better over time.
Regular maintenance, including cleaning, conditioning, and proper storage with shoe trees, helps preserve fit and prolong life. Even well-stretched shoes will compress again without care.
Conclusion
Dealing with tight shoes doesn’t require professional tools or costly services. Using smart, science-backed techniques, you can reshape footwear safely and effectively at home. From freezing water expansions to targeted towel inserts, each method offers practical solutions tailored to real-world needs. The key lies in understanding your shoe’s material, applying consistent but gentle pressure, and allowing time for adaptation.
💬 Have a favorite home remedy for snug shoes? Share your experience or ask questions in the comments—your insight could help someone walk more comfortably tomorrow.