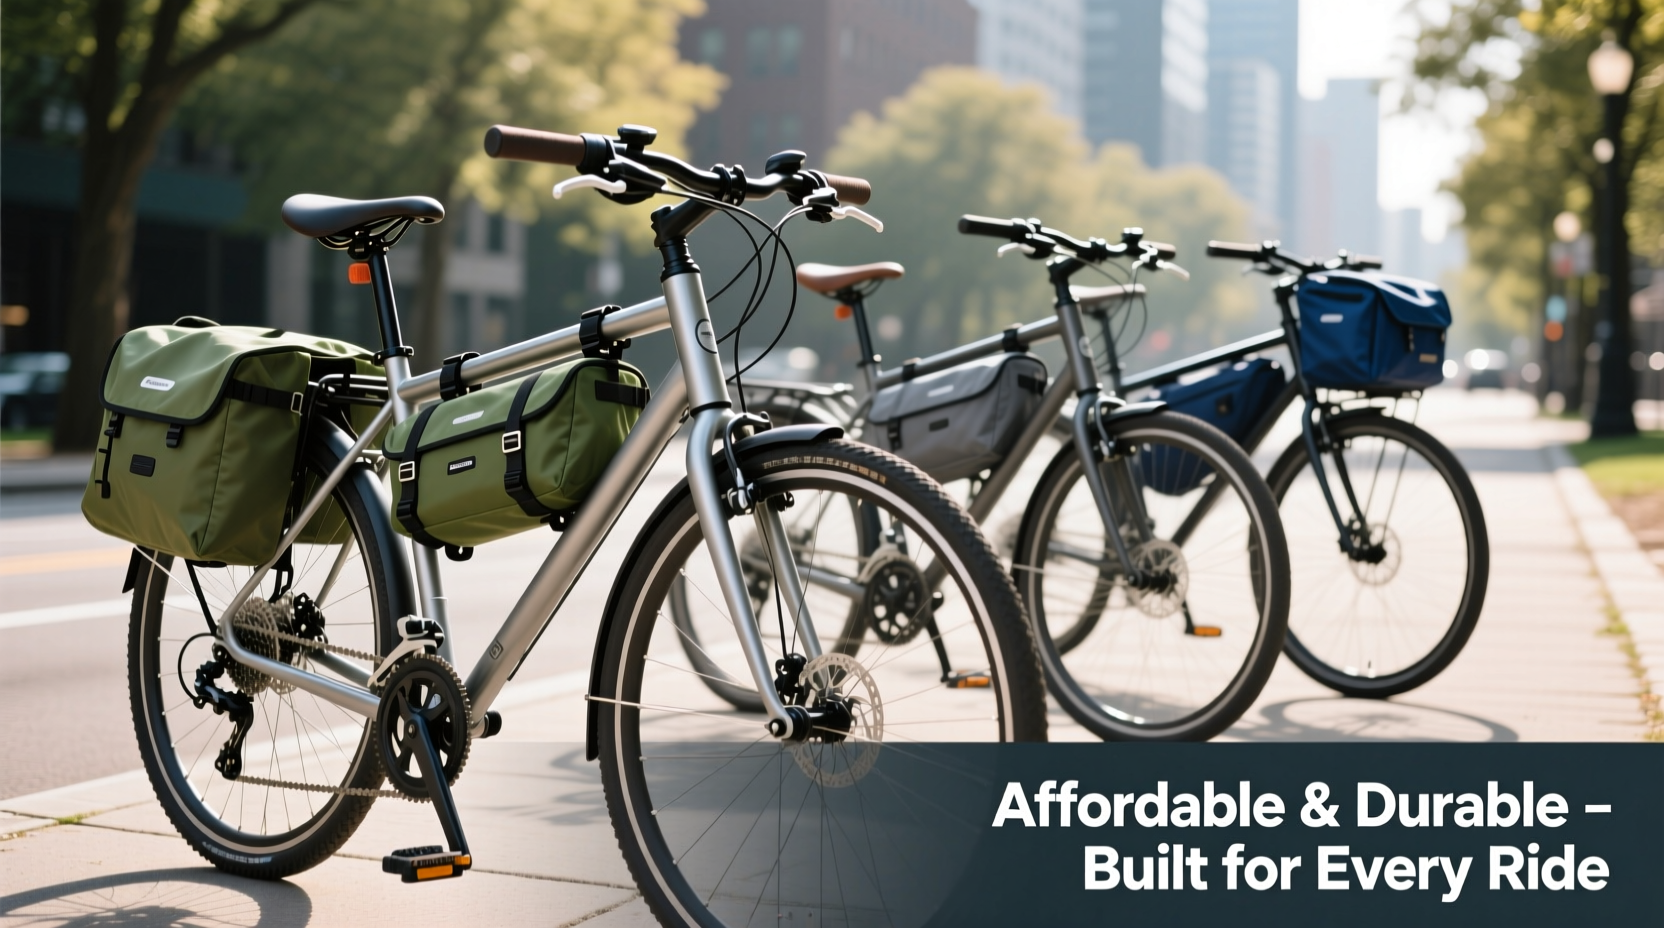
For cyclists who rely on their bikes for commuting, touring, or errands, a reliable pannier rack is more than a convenience—it's essential. The right rack supports heavy loads, withstands weather and road vibrations, and lasts for years. But finding one that balances affordability and durability can be challenging. Many budget racks fail under stress, while premium models often carry steep price tags. This guide cuts through the noise to spotlight pannier racks that deliver long-term performance without breaking the bank.
What Makes a Pannier Rack Durable?
Durability in a pannier rack isn't just about thick metal. It's a combination of materials, design, weld quality, and compatibility with your bike’s frame. A truly durable rack maintains structural integrity under load, resists corrosion, and handles daily wear from bumps, potholes, and exposure to rain or salt.
Key factors include:
- Frame Material: Steel (especially chromoly) offers superior strength and shock absorption over aluminum, which is lighter but more prone to fatigue cracking.
- Finish: Powder coating or galvanization protects against rust far better than basic paint.
- Mounting Points: Racks with multiple attachment points (seat stays, eyelets, chainstays) distribute weight evenly and reduce stress on any single component.
- Weight Capacity: Look for racks rated at least 25 kg (55 lbs) total, especially if you carry groceries, camping gear, or work supplies.
“Many riders overlook mounting stability—poorly secured racks flex excessively, leading to premature failure. Always match the rack to your bike’s eyelet configuration.” — Lena Torres, Frame Mechanics Specialist at Urban Cycle WorksTip: If your bike lacks rear eyelets, choose a rack with an adjustable strut system that clamps securely to seat and chainstays.
Top Affordable & Durable Racks Compared
The following models have proven themselves across thousands of user reviews, long-term testing, and real-world utility cycling. All are priced under $75 and built to last five years or more with regular use.
| Rack Model | Material | Weight Capacity | Price Range | Best For |
|---|---|---|---|---|
| Topeak MTX TrunkBag DX Compatible Rack | Steel with powder coat | 20 kg (44 lbs) | $45–$60 | Commuting, hybrid bikes |
| Hamax Tourer Rear Rack | High-tensile steel | 25 kg (55 lbs) | $50–$65 | Touring, e-bikes |
| Rockbros Universal Rear Rack | Carbon steel with anti-rust coating | 22 kg (48 lbs) | $30–$40 | Budget-conscious riders |
| Thule Pack n’ Pedal Tour Rack | Aluminum-reinforced steel | 30 kg (66 lbs) | $70–$75 | Heavy loads, all-weather use |
| Axiom Streamliner DLX | Chromoly steel | 25 kg (55 lbs) | $65–$70 | Long-distance touring |
Note: While Thule and Axiom sit near the top of this price range, their longevity often justifies the investment. Users report minimal maintenance and no structural issues after 5+ years of daily use.
Real-World Example: Commuting in Seattle
Jamal, a bike courier in Seattle, logs 200 miles per week delivering packages in rainy conditions. He replaced his flimsy aluminum rack after six months due to cracked welds. He switched to the Hamax Tourer, which he mounted using both frame eyelets and additional support struts. Two years later, the rack shows only minor surface scratches, carries up to 40 lbs of cargo, and has survived countless downpours thanks to its sealed joints and rust-resistant coating.
“I used to think cheap racks were fine,” Jamal said. “But replacing them every year cost me more in time and money. Now I ride worry-free.”
How to Install and Maintain Your Rack for Longevity
Even the strongest rack will fail prematurely if improperly installed or neglected. Follow these steps to ensure maximum lifespan:
- Check Compatibility: Measure clearance between tire and frame. Ensure the rack won’t interfere with disc brakes or fenders.
- Tighten Mounting Bolts Gradually: Use a torque wrench if possible (8–10 Nm for most steel bolts). Overtightening can strip threads; undertightening leads to wobbling.
- Secure Support Straps: On eyelet-less bikes, attach rubber-padded struts to seat and chainstays. Replace worn straps annually.
- Inspect Monthly: Check for cracks near welds, loose bolts, or bent rails. Address small issues before they escalate.
- Clean After Wet Rides: Wipe down the rack with a damp cloth and dry thoroughly, especially if riding on salted winter roads.
Common Pitfalls to Avoid
Many riders unknowingly shorten their rack’s life through avoidable mistakes. Here’s what not to do:
| Don’t | Why | Do Instead |
|---|---|---|
| Overload beyond rated capacity | Causes frame flex and weld failure | Distribute weight evenly; use front rack if needed |
| Use zip ties as permanent fasteners | UV degradation and tension loss lead to shifting | Use metal brackets or manufacturer-approved straps |
| Ignore rattling noises | Indicates loose parts causing metal fatigue | Stop and inspect immediately |
| Leave panniers attached in storage | Increases risk of accidental impact damage | Remove bags when not in use |
FAQ: Your Key Questions Answered
Can I install a pannier rack on a carbon fiber bike?
Yes, but with caution. Carbon frames are vulnerable to crushing at clamp points. Use a rack specifically designed for carbon, such as those with wide, padded seatstay clamps and low-torque requirements. Avoid direct metal-on-carbon contact.
Are universal racks as good as brand-specific ones?
Some universal racks perform well, especially on standard diamond frames. However, brand-specific models (like those from Topeak or Trek) often offer better alignment, cleaner integration with fenders, and longer warranties. For non-standard frames (e.g., full-suspension or step-through), custom fit usually wins.
How long should a quality pannier rack last?
A well-maintained steel rack should last 5–10 years under regular commuting use. Aluminum racks may need replacement after 3–5 years due to fatigue. Factors like weather, load frequency, and road conditions significantly affect lifespan.
Final Checklist Before You Buy
- ✅ Confirm your bike has mounting eyelets or supports clamp-on installation
- ✅ Measure distance from axle to desired bag height
- ✅ Verify compatibility with your pannier brand (e.g., Ortlieb, Vaude)
- ✅ Check weight limits including safety margin (don’t max out capacity)
- ✅ Choose a finish suitable for your climate (e.g., galvanized for coastal areas)
Conclusion: Ride Confidently With the Right Foundation
Your pannier rack is the backbone of your carrying system. Choosing one that combines affordability with true durability means fewer replacements, safer rides, and greater freedom to explore. Models like the Hamax Tourer and Axiom Streamliner prove that high value doesn’t require luxury pricing. By prioritizing build quality, proper fit, and routine care, you invest in years of reliable service.
🚀 Ready to upgrade your ride? Pick a rack from this list, install it with care, and enjoy the confidence of knowing your gear is supported by something built to last. Share your favorite setup in the comments below!