Cleaning aquarium rocks is essential for maintaining a balanced, healthy aquatic environment. Over time, algae, detritus, and bacteria accumulate on rock surfaces, affecting water quality and the well-being of fish and plants. While it may be tempting to scrub them down with household cleaners or bleach, improper techniques can introduce harmful chemicals or disrupt beneficial bacterial colonies. This guide provides safe, effective, and science-backed methods to clean your aquarium rocks without risking the health of your tank’s ecosystem.
Why Cleaning Aquarium Rocks Matters
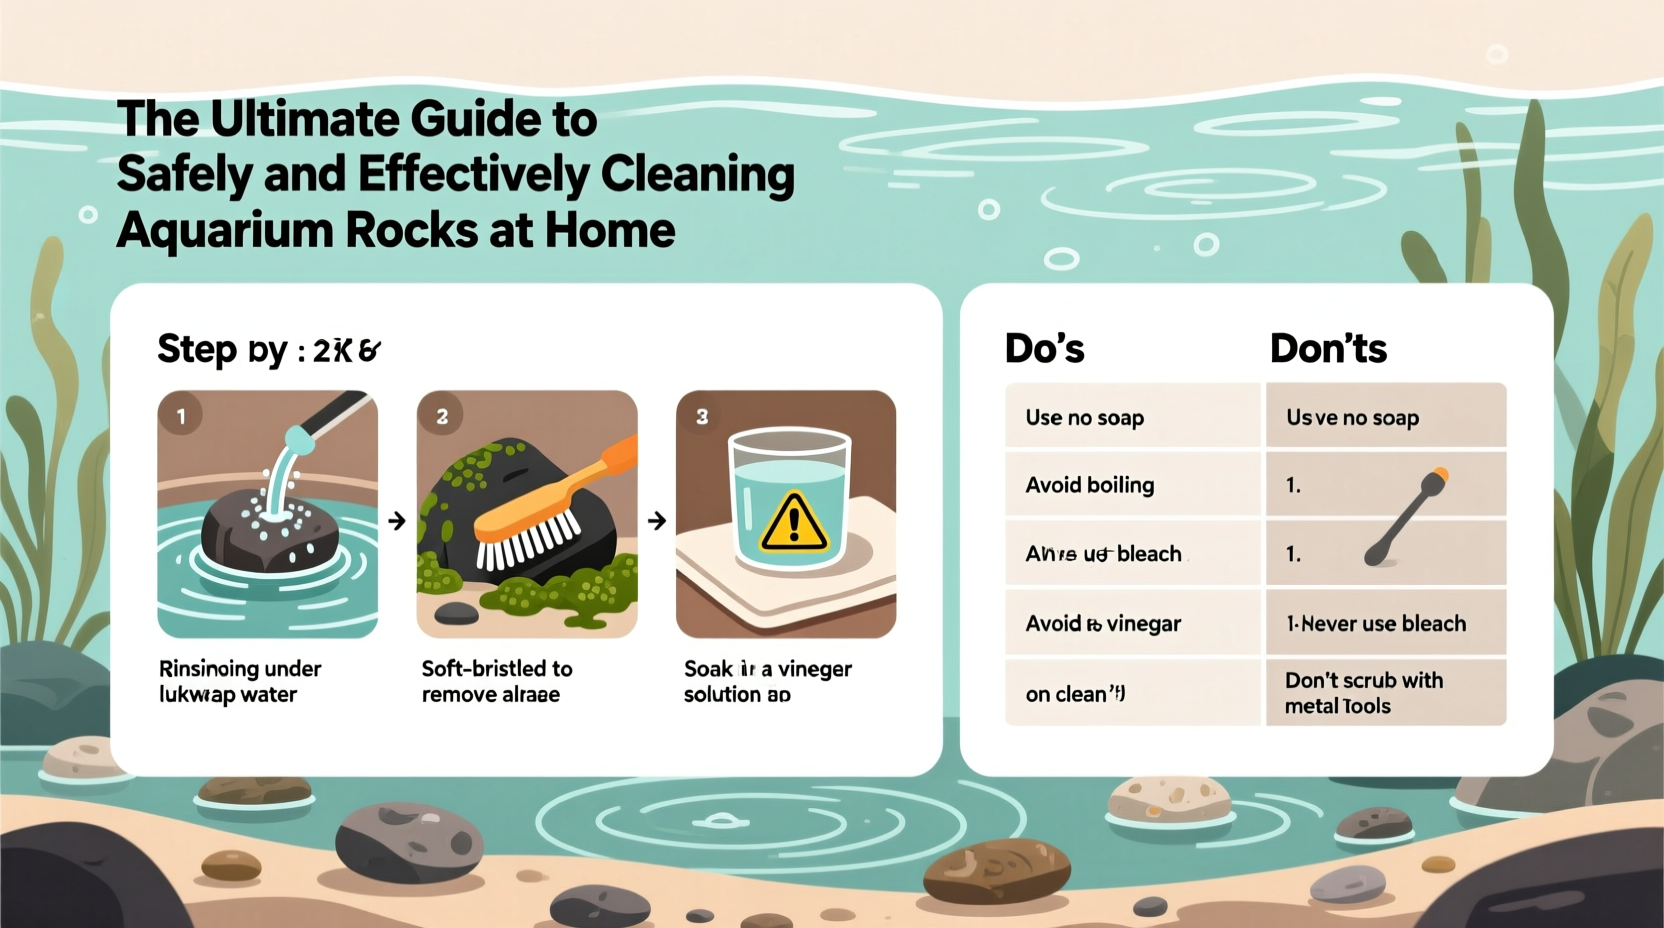
Aquarium rocks are more than just decorative elements—they play a crucial role in biological filtration. Porous stones like lava rock or slate host beneficial bacteria that break down ammonia and nitrites, helping stabilize the nitrogen cycle. However, when these surfaces become clogged with organic debris, their efficiency drops. Excess waste also fuels algae blooms and can contribute to cloudy water or unpleasant odors.
Regular maintenance ensures optimal water chemistry and supports vibrant plant growth and fish health. The goal isn’t sterile cleanliness but rather removing excess buildup while preserving the microbial balance essential to a thriving aquarium.
Tip: Never use soap, detergent, or chemical cleaners on aquarium decor—these residues are toxic to fish even in trace amounts.Step-by-Step Guide to Safely Clean Aquarium Rocks
The safest method involves using only water and mechanical cleaning. Follow this timeline to clean rocks either inside or outside the tank, depending on your setup and needs.
- Remove rocks carefully: Use clean gloves to take rocks out of the tank. Avoid disturbing the substrate excessively to prevent stirring up sediment.
- Rinse under lukewarm tap water: Hold each rock under running water and use a soft brush (like an old toothbrush) to dislodge algae and grime. Do not use soap.
- Soak if necessary: For stubborn deposits, soak the rocks in a bucket of dechlorinated water for 30 minutes to loosen debris.
- Scrub gently: Focus on visible buildup, especially in crevices. Be careful not to crush porous structures that house beneficial bacteria.
- Rinse thoroughly: Ensure all loosened particles are washed away before returning the rocks to the tank.
- Reintroduce slowly: Place cleaned rocks back into the aquarium, ideally during a partial water change to minimize stress on inhabitants.
This process should be done every 4–6 weeks as part of routine tank maintenance, or more frequently if you notice excessive algae or cloudiness.
When and How to Use a Vinegar Solution
Vinegar is a natural, non-toxic option for dissolving mineral deposits like calcium carbonate (white crusty buildup), particularly common in hard water tanks. It's effective and safe when used correctly—but never apply vinegar directly to rocks while they’re in the tank.
Mix one part white vinegar with three parts dechlorinated water in a separate container. Submerge the rocks and let them soak for no more than 15–20 minutes. Longer exposure can etch certain stone types, especially limestone-based rocks.
After soaking, scrub lightly, then rinse extensively under clean water until no vinegar odor remains. Neutralize any residual acidity by soaking the rocks in conditioned water for 10 minutes before returning them to the aquarium.
“Vinegar is excellent for tackling hard water stains, but timing and rinsing are critical. Over-soaking can alter pH temporarily and harm sensitive species.” — Dr. Lena Torres, Aquatic Biologist
Do’s and Don’ts of Cleaning Aquarium Rocks
| Do’s | Don’ts |
|---|---|
| Use dedicated aquarium brushes or soft toothbrushes | Use household cleaners, bleach (unless sterilizing empty tanks), or dish soap |
| Rinse with dechlorinated or aged water when possible | Expose rocks to strong sunlight for extended periods after cleaning (promotes algae) |
| Clean rocks during partial water changes to reduce shock | Boil porous or hollow rocks (risk of cracking or explosion) |
| Inspect for sharp edges or degradation over time | Replace all rocks at once—this removes too much beneficial bacteria |
| Label cleaning tools to avoid cross-contamination | Use metal scrubbers—they can leach toxins or scratch glass |
Mini Case Study: Reviving a Neglected Planted Tank
Jamal inherited a 55-gallon planted aquarium from his roommate, who hadn’t maintained it for months. The water was hazy, algae coated every surface, and the fish were lethargic. After testing confirmed high nitrates and low oxygen, he began a gradual restoration.
Instead of replacing everything, Jamal removed half the rocks and cleaned them using the vinegar soak method for mineral-heavy buildup. He scrubbed the rest in plain water and returned them in stages over two weeks. Combined with weekly 25% water changes and reduced lighting, the tank clarity improved within ten days. Within a month, plant growth resumed, and fish activity normalized.
His key insight? “I thought I needed to deep-clean everything at once. But doing it gradually kept the good bacteria alive and prevented a full cycle crash.”
Checklist: Safe Aquarium Rock Cleaning Routine
- ✅ Wear clean gloves to handle rocks
- ✅ Remove rocks during a scheduled water change
- ✅ Use only water or vinegar solution—no detergents
- ✅ Scrub with a soft brush designated for aquarium use
- ✅ Rinse thoroughly until water runs clear
- ✅ Inspect rocks for cracks or sharp edges
- ✅ Return rocks slowly, avoiding sudden changes
- ✅ Monitor fish behavior post-cleaning for signs of stress
Frequently Asked Questions
Can I boil aquarium rocks to sterilize them?
Only non-porous rocks like quartz or granite can be boiled safely for 10–15 minutes to kill pathogens. Never boil porous, sedimentary, or hollow rocks—they may crack or explode due to trapped moisture. Boiling also destroys beneficial bacteria, so only do this when setting up new decor or quarantining after disease outbreaks.
How often should I clean my aquarium rocks?
Light surface cleaning every 4–6 weeks is sufficient for most tanks. If you have fast-growing algae, high bioload, or hard water, consider monthly maintenance. Observe your tank—if rocks look slimy or water clarity declines, it’s time to clean.
Will cleaning the rocks affect the tank’s nitrogen cycle?
Cleaning all rocks at once can significantly reduce beneficial bacteria populations, potentially triggering a mini-cycle. To prevent this, clean only a portion of the rocks per session and avoid aggressive scrubbing of internal pores where bacteria reside.
Tip: Keep a spare brush and bucket labeled “Aquarium Only” to avoid contamination from household cleaning products.Final Thoughts: Balance Cleanliness With Biological Stability
Maintaining clean aquarium rocks isn't about achieving spotlessness—it's about supporting a stable, healthy underwater ecosystem. By using gentle, chemical-free methods and respecting the role rocks play in biological filtration, you protect both the appearance and function of your aquarium.
Consistency beats intensity. Regular light cleaning prevents major problems and reduces the need for drastic interventions. Whether you're managing a small betta tank or a large community aquarium, thoughtful rock maintenance contributes to clearer water, healthier fish, and a more enjoyable hobby experience.
💬 Have a rock-cleaning tip that worked wonders in your tank? Share your experience with fellow aquarists in the comments below—your insight could help someone avoid a common mistake!