Paracord dog collars are more than just accessories—they're functional, rugged, and customizable pieces that reflect both your craftsmanship and your dog’s personality. Originally designed for military use due to their strength and reliability, paracord (short for parachute cord) has become a favorite among DIY enthusiasts for creating practical gear. When woven into a collar, it forms a lightweight yet incredibly strong band capable of withstanding daily wear, moisture, and even emergency situations. Crafting one at home allows you to tailor the fit, color scheme, and design to match your dog’s size and your aesthetic preferences—all while ensuring safety and comfort.
Selecting the Right Materials
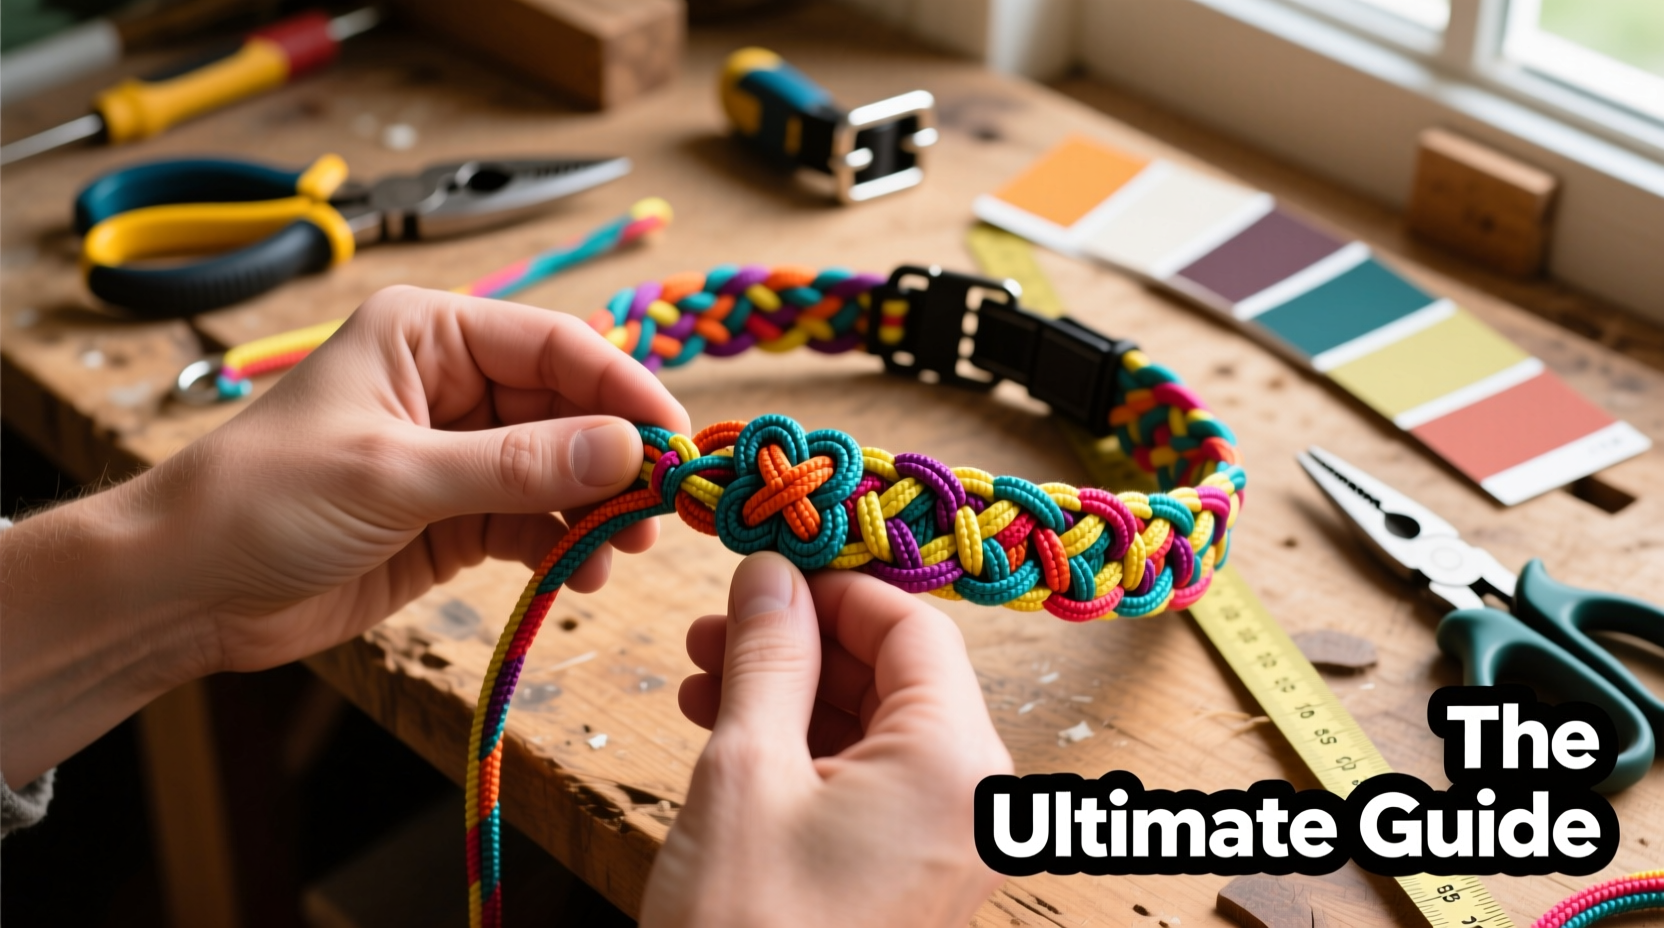
The foundation of any quality paracord collar lies in the materials used. Not all paracords are created equal, and choosing the right components ensures durability and long-term usability.
Standard Type III paracord—commonly known as 550 cord—is ideal for dog collars. It has a minimum breaking strength of 550 pounds, seven internal nylon strands, and a tightly braided outer sheath. This makes it resistant to fraying, UV damage, and mildew. While black, tan, and coyote brown are popular for tactical looks, vibrant colors like red, blue, or neon green allow for expressive designs.
Buckles and D-rings should be made from high-impact plastic or metal. For larger dogs or strong pullers, metal hardware is recommended. Side-release buckles come in various sizes; ensure the width matches the thickness of your weave—typically 1” for medium to large dogs and ¾” for smaller breeds.
Tip: Pre-wash paracord in warm water to remove manufacturing oils and reduce stretch after completion.Essential Tools and Setup
You don’t need a workshop to start. A small, organized space with basic tools is sufficient. Here’s what you’ll need:
- Measuring tape (flexible for neck measurement)
- Scissors or rotary cutter
- Lighter or heat source for sealing ends
- Alligator clips or clamps (to hold work in place)
- Flat surface or foam mat for anchoring
- Ruler or straight edge
A door knob or heavy table leg can serve as an anchor point during weaving. Clips keep tension consistent, which is critical for even patterns. Always measure your dog’s neck snugly and add 2–3 inches for overlap and adjustment. For example, a 16-inch neck typically requires a 19-inch finished collar.
Step-by-Step Weaving Process
The cobra weave (also called square knot) is the most common and beginner-friendly pattern for paracord collars. It’s tight, symmetrical, and highly durable. Follow this timeline to complete a standard collar in under two hours.
- Measure and cut: Cut two lengths of paracord—one for the outer weave (length = 1.75 x desired collar length), and one shorter cord for the inner core (same as collar length).
- Attach hardware: Thread the core cord through the D-ring and tie a secure overhand knot. Clip the D-ring to your anchor point.
- Begin the weave: Fold the longer cord in half, forming a loop. Place this loop over the core cord just behind the D-ring. Begin the cobra weave by passing each side over and under the core, alternating sides with each row.
- Maintain tension: Keep consistent pressure as you weave. Use clips to secure the working ends if needed.
- Check fit frequently: Slide the weave along the core to estimate progress. Stop when the collar reaches your measured length minus buckle space.
- Secure the end: Thread the final weave through the side-release buckle. Tie off with a series of half-hitch knots, then melt the ends carefully with a lighter to prevent unraveling.
Design Customization and Style Options
One of the greatest advantages of homemade paracord collars is personalization. You’re not limited to single-color bands. Try these creative variations:
- Two-tone weave: Use contrasting colors for the outer sheath and inner core, revealing pops of color when stretched.
- Striped patterns: Alternate rows using two different colored cords.
- Spiral effect: Twist the cords slightly as you weave to create a helix appearance.
- Add reflective thread: Weave in luminous cord sections for nighttime visibility.
For added flair, incorporate whistle clips, custom tags, or even emergency survival features—some owners braid hollow sections that store fire starters or fishing line.
| Design Feature | Best For | Complexity Level |
|---|---|---|
| Solid Color Cobra Weave | Beginners, everyday use | Low |
| Alternating Stripe Pattern | Style-focused owners | Medium |
| Hollow Core (Survival Ready) | Outdoor adventurers | High |
| Reflective Inlays | Night walkers, urban dogs | Medium |
Safety, Fit, and Long-Term Care
A well-made collar must balance aesthetics with function. Even the strongest weave fails if the fit is wrong or maintenance is ignored.
Ensure the collar fits “two-finger snug”—you should be able to slide two fingers comfortably between the collar and your dog’s neck. Too loose risks slipping off; too tight can restrict breathing or cause skin irritation. Check for wear monthly: look for frayed strands, cracked hardware, or fading that may indicate UV degradation.
Clean the collar occasionally with mild soap and water. Avoid machine washing, which can weaken fibers. Air dry completely before reuse. Store in a dry area away from rodents—paracord’s nylon content is attractive to some pests.
“Handmade paracord collars offer unmatched customization, but only if built with care. A properly woven 550-cord collar can support over 500 pounds—more than enough for any dog, provided the hardware and knots are sound.” — Dr. Marcus Tran, Veterinary Biomechanics Researcher
Mini Case Study: From Backyard Project to Small Business
Sarah Kim, a dog trainer from Colorado, started making paracord collars for her own German Shepherd after noticing how quickly commercial collars wore out during mountain hikes. Using online tutorials, she mastered the cobra and king cobra weaves. Her first few attempts were uneven, but within weeks, she refined her tension control and began experimenting with color combinations.
Friends asked her to make collars for their pets. She introduced adjustable sizing and glow-in-the-dark threads for trail safety. Within six months, Sarah launched a small Etsy shop. Today, she sells over 80 collars a month, each handcrafted with double-stitched end caps and reinforced buckles. Her story highlights how a simple DIY project can evolve into something meaningful—with patience and attention to detail.
Frequently Asked Questions
Can I wash a paracord dog collar?
Yes, but gently. Hand wash with mild detergent and lukewarm water. Rinse thoroughly and air dry. Avoid bleach or hot water, which can degrade the nylon fibers.
How long does it take to make one collar?
For beginners, expect 1.5 to 3 hours including measuring, cutting, weaving, and finishing. With practice, experienced crafters complete collars in under an hour.
Are paracord collars safe for puppies?
Only if properly sized and monitored. Puppies grow quickly, so frequent fit checks are essential. Avoid overly heavy hardware. Consider simpler, lighter designs until growth stabilizes.
Conclusion: Craft with Confidence and Purpose
Creating a paracord dog collar at home is more than a hobby—it’s an act of care. Every knot tied is a decision to prioritize your dog’s comfort, safety, and individuality. With the right materials, technique, and attention to detail, you can produce a collar that lasts years, withstands the elements, and turns heads on every walk. Whether you’re making one for your own pet or gifting it to a fellow dog lover, the process connects you to a growing community of crafters who value durability and self-reliance.
🚀 Grab your paracord and start weaving today. Your dog deserves a collar that’s as unique and resilient as they are.