Cat owners know the silent battle: keeping a clean home while managing the inevitable mess that comes with a feline companion. One of the most overlooked yet critical tools in this effort is the humble cat litter mat. Designed to trap litter, dirt, and bacteria before they spread across your floors, these mats quickly become reservoirs of odor, grime, and allergens if not properly maintained. A neglected litter mat can undo all your cleaning efforts, turning a small corner of your home into a persistent source of unpleasant smells.
Deep cleaning your cat litter mat isn’t just about aesthetics—it’s essential for hygiene, air quality, and the well-being of both pets and humans. This guide provides a comprehensive approach to restoring and maintaining your litter mat, ensuring it continues to serve its purpose effectively without contributing to household odors.
Why Regular Cleaning Isn’t Enough
Most cat owners wipe down or shake out their litter mats weekly, believing this is sufficient. However, surface-level maintenance fails to address deeply embedded particles, bacterial colonies, and ammonia buildup from urine residue. Over time, porous materials absorb moisture and organic matter, creating an environment where odor-causing bacteria thrive.
A study by the American Society for the Prevention of Cruelty to Animals (ASPCA) notes that unclean litter zones are a leading cause of cats avoiding their boxes—potentially resulting in inappropriate elimination elsewhere in the home. Keeping the entire litter station clean, including the mat, supports good litter box habits and reduces stress for your pet.
Tip: Never assume a mat is clean just because it looks dry. Microbial growth often occurs beneath the surface.The Step-by-Step Deep Cleaning Process
To truly refresh your litter mat and eliminate stubborn odors, follow this detailed cleaning sequence. The method varies slightly depending on material, but the core principles remain consistent.
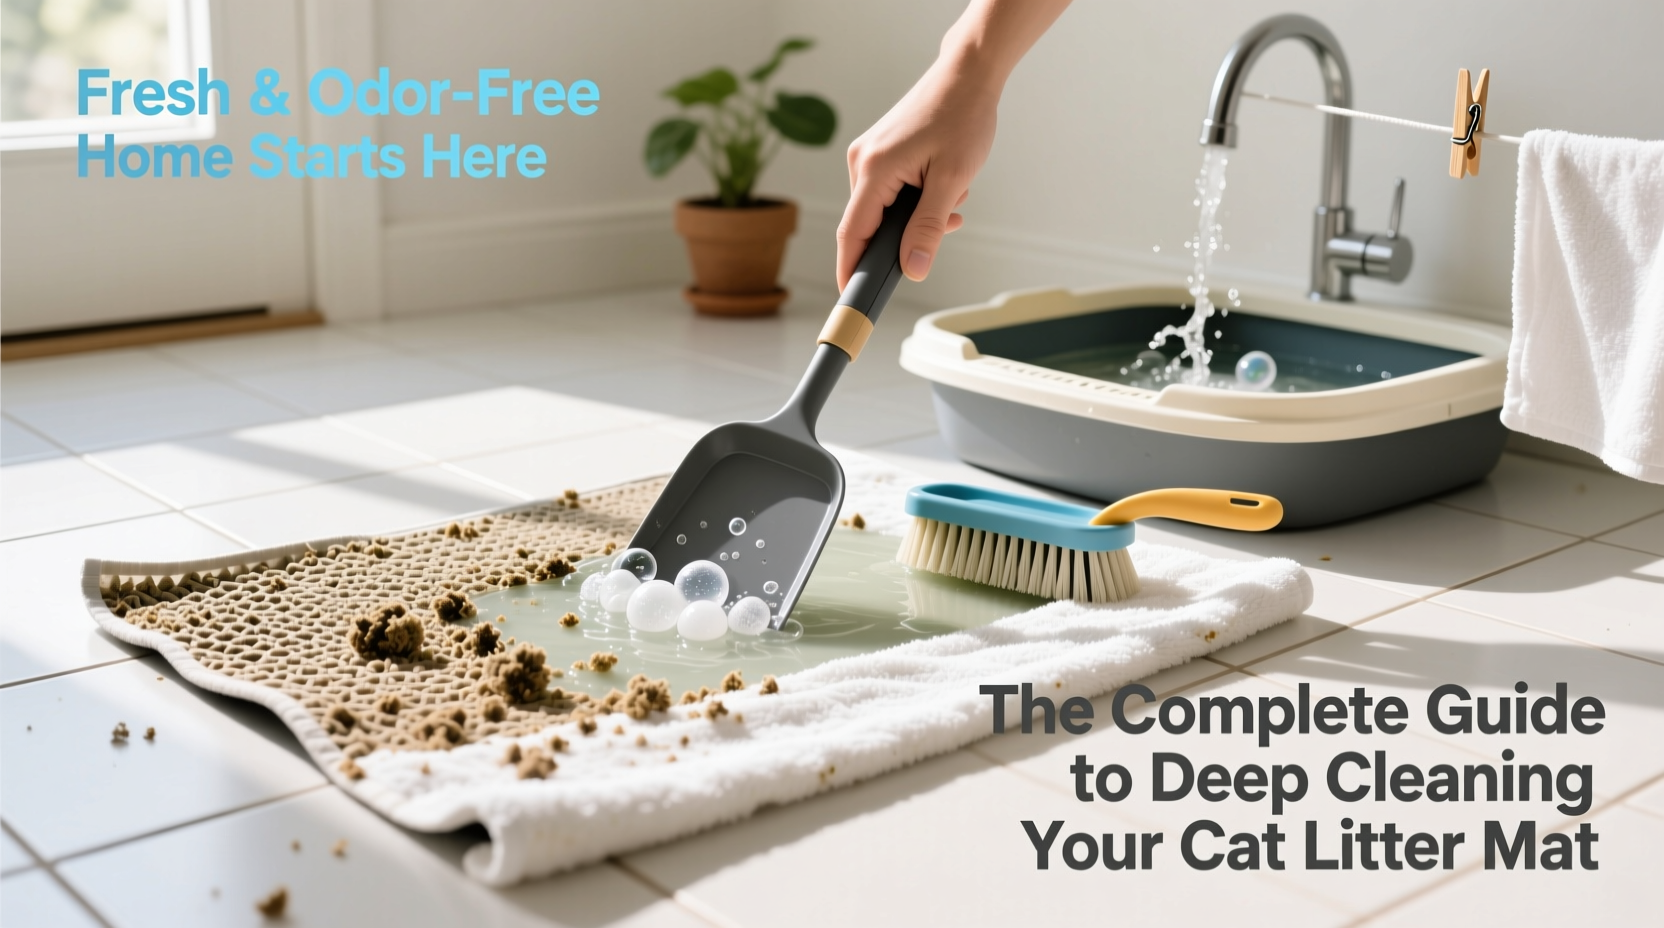
- Remove loose debris: Take the mat outside and shake it vigorously. Use a stiff-bristle brush or vacuum with a hose attachment to dislodge trapped litter from grooves and fibers.
- Pre-soak (if applicable): For rubber, silicone, or fabric mats with deep crevices, soak in a solution of warm water and one cup of white vinegar for 30 minutes. This loosens organic buildup and neutralizes mild odors.
- Scrub thoroughly: Use a soft scrub brush and a mixture of warm water and mild dish soap. Focus on high-traffic areas where your cat steps most. For tougher stains, add a tablespoon of baking soda to form a gentle abrasive paste.
- Rinse completely: Rinse under running water until no suds remain. Residual soap can attract more dirt and irritate your cat’s paws.
- Disinfect safely: Spray or wipe the mat with a pet-safe disinfectant. A diluted solution of 1 part hydrogen peroxide to 3 parts water works effectively without harsh fumes. Avoid bleach unless the manufacturer explicitly permits it.
- Dry fully: Air-dry the mat in a well-ventilated area, preferably outdoors or near a fan. Never use a dryer, as heat can warp rubber or melt synthetic fibers.
This process should be performed every 4–6 weeks, or more frequently in multi-cat households.
Choosing the Right Cleaning Products: Do’s and Don’ts
Not all cleaners are safe for use around pets. Some common household products release volatile organic compounds (VOCs) or leave residues toxic to cats, who groom their paws regularly.
| Do’s | Don’ts |
|---|---|
| Use white vinegar and baking soda for natural deodorizing | Use ammonia-based cleaners (smells like urine to cats) |
| Opt for enzymatic cleaners designed for pet messes | Use bleach on fabric or foam mats (causes degradation) |
| Choose fragrance-free, non-toxic disinfectants | Apply essential oil sprays (many are toxic to cats) |
| Test new cleaners on a small area first | Soak silicone mats in boiling water (can warp) |
“Cats are extremely sensitive to chemicals. Even ‘natural’ scents like citrus or tea tree oil can be harmful when ingested during grooming.” — Dr. Lena Patel, DVM, Feline Health Specialist
Real-World Example: How One Home Eliminated Lingering Odors
Sarah, a cat owner in Portland, noticed a persistent ammonia smell near her hallway litter station despite daily scooping and weekly mat shaking. Her two cats were healthy, but she worried about indoor air quality, especially with a young child at home.
After consulting a pet hygiene specialist, she implemented a bi-monthly deep clean using vinegar soaks, enzymatic sprays, and thorough drying. She also switched from a low-quality fabric mat to a solid silicone model with deeper pockets for trapping debris. Within three weeks, the odor disappeared entirely, and her vacuum cleaner no longer picked up fine dust trails leading away from the litter box.
Her experience underscores a key point: sometimes the problem isn’t frequency of cleaning, but depth and methodology.
Material-Specific Care Guide
Not all litter mats respond the same way to cleaning. Understanding your mat’s construction ensures longevity and effectiveness.
- Rubber or Silicone Mats: Highly durable and waterproof. Can be soaked and scrubbed aggressively. Avoid direct sunlight when drying to prevent warping.
- Fabric or Memory Foam Mats: Absorbent and comfortable for cats but prone to holding moisture. Spot-clean spills immediately. Machine wash only if labeled safe—use cold water and mild detergent. Never use fabric softener.
- Plastic Grid Mats: Effective at sifting litter but have narrow gaps where waste accumulates. Use a toothbrush to reach between slats. Soak in soapy water weekly.
Frequently Asked Questions
How often should I deep clean my cat litter mat?
Every 4 to 6 weeks is ideal for single-cat homes. In multi-cat households or if you notice lingering smells, clean every 3 weeks. High-absorption mats may require more frequent attention.
Can I put my litter mat in the washing machine?
Only if the manufacturer specifies it. Most rubber and silicone mats should be hand-washed to preserve integrity. Fabric mats labeled “machine washable” can be cleaned on a gentle cycle with cold water—but always air-dry.
What’s the best way to remove urine odor from a litter mat?
Use an enzymatic cleaner formulated for pet odors. These break down uric acid crystals instead of masking the smell. After application, rinse thoroughly and allow full air-drying before reuse.
Checklist: Deep Cleaning Your Cat Litter Mat
Follow this checklist to ensure no step is missed during your next deep cleaning session:
- ☑ Remove the mat from the litter area
- ☑ Shake or vacuum off loose litter
- ☑ Pre-soak in vinegar solution (30 min)
- ☑ Scrub with dish soap and soft brush
- ☑ Rinse thoroughly with clean water
- ☑ Disinfect with pet-safe solution
- ☑ Air-dry completely (minimum 4–6 hours)
- ☑ Inspect for wear or damage before reuse
Maintaining Long-Term Freshness
Deep cleaning is crucial, but integrating preventive habits enhances results. Rotate between two mats so one can dry fully while the other is in use. Place the litter station on a hard, non-porous surface like tile or vinyl, which can be wiped down easily. Consider using clumping, low-dust litter to minimize residue transfer.
Additionally, monitor your cat’s behavior. If they consistently step off the mat after using the box, consider a larger size or repositioning it for better coverage.
Conclusion
A clean cat litter mat is more than a convenience—it’s a cornerstone of a hygienic, pleasant-smelling home. By committing to regular deep cleaning, choosing safe products, and understanding your mat’s material needs, you create a healthier environment for your family and a more inviting space for your cat. Don’t let a small oversight compromise your living space. Start today: pull out that mat, give it the attention it deserves, and breathe easier knowing your home stays fresh and clean—one paw print at a time.
💬 Have a tip that transformed your litter cleanup routine? Share your experience in the comments and help fellow cat owners keep their homes fresher and more welcoming.