Grooming your dog at home doesn’t have to be a chaotic battle of wills. With the right tools, techniques, and mindset, you can transform what often feels like a stressful chore into a bonding ritual that leaves your pet looking sharp and feeling comfortable. Many dog owners avoid DIY grooming out of fear of cutting too much or causing discomfort, but with preparation and patience, you can master the basics and keep your dog well-groomed between professional visits — or even eliminate them entirely.
This guide walks you through everything you need to know: from understanding your dog’s coat type to choosing the right tools, creating a calming environment, and executing precise cuts without incident. Whether you're dealing with a fluffy Poodle, a wiry Terrier, or a double-coated Husky, this comprehensive approach ensures safety, comfort, and professional-looking results.
Understanding Your Dog’s Coat Type
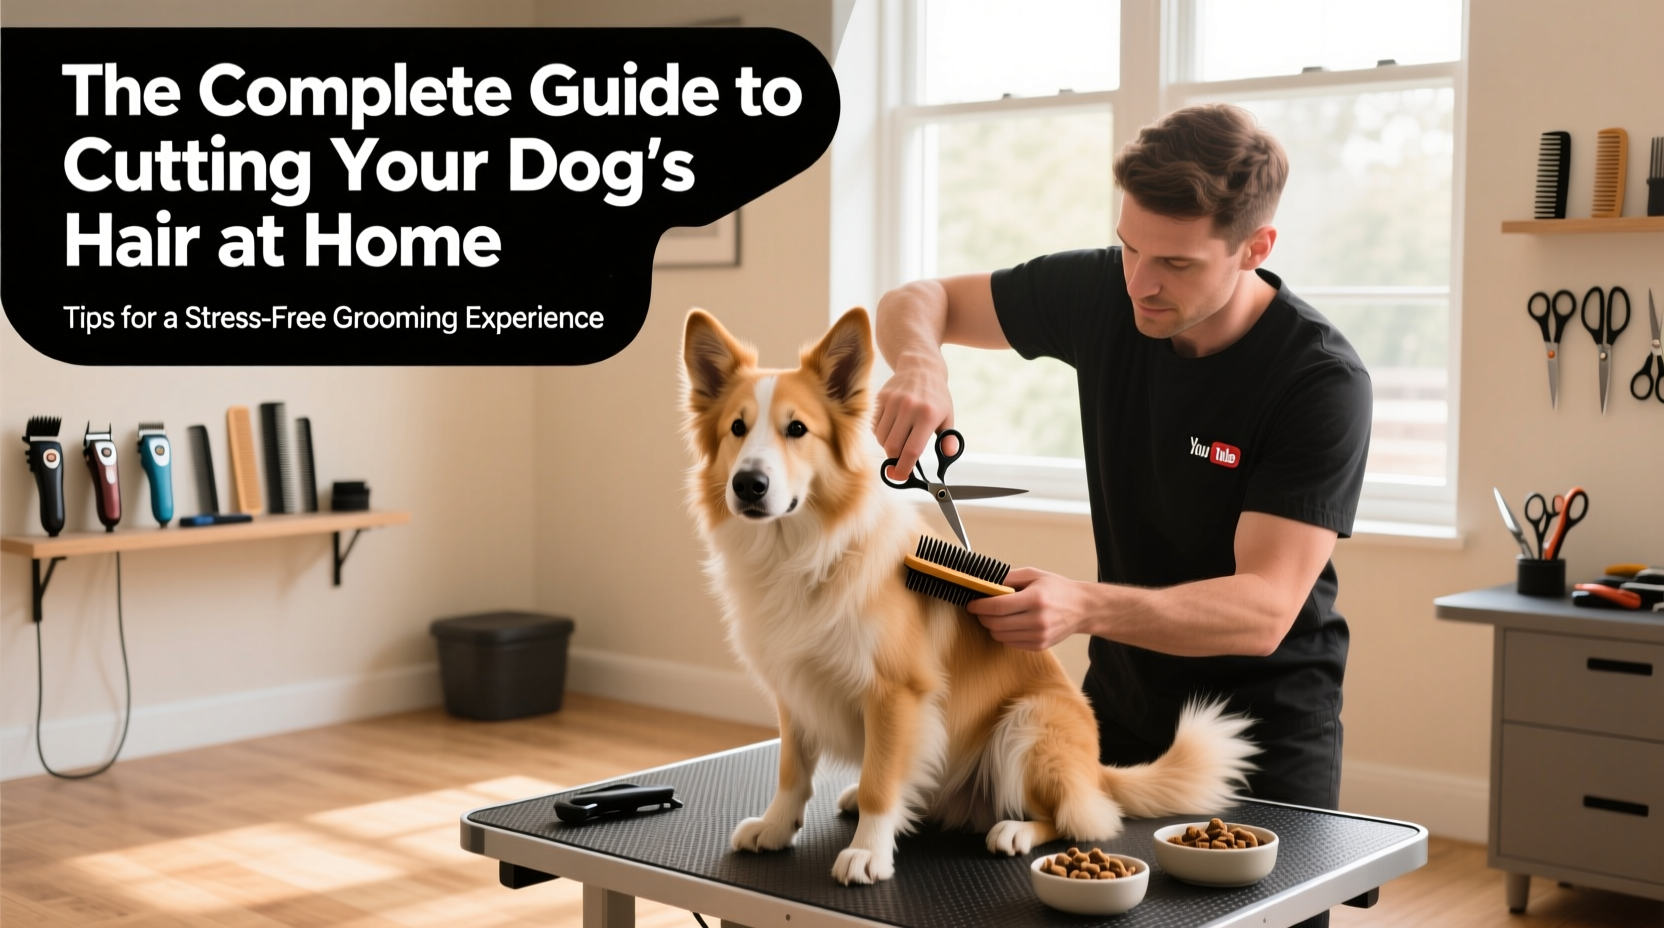
Not all dog coats are created equal. The first step in successful home grooming is identifying your dog’s specific coat type, as this determines the tools you’ll need, the frequency of grooming, and the cutting technique required.
- Double-coated breeds (e.g., Siberian Huskies, Golden Retrievers) have a dense undercoat and longer topcoat. These dogs should never be shaved down completely, as it disrupts temperature regulation and can cause permanent coat damage.
- Single-coated, non-shedding breeds (e.g., Poodles, Bichon Frises) grow hair continuously and require regular trimming every 4–6 weeks.
- Wiry or broken coats (e.g., Schnauzers, Wirehaired Dachshunds) benefit from hand-stripping or specialized clippers to maintain texture and prevent matting.
- Short-haired breeds (e.g., Beagles, Boxers) typically don’t need haircuts but still benefit from brushing and sanitary trims.
Essential Tools for Home Grooming
Using the wrong tools leads to frustration, uneven cuts, and even injury. Invest in quality equipment tailored to your dog’s needs. Here’s what you’ll need:
| Tool | Purpose | Recommended For |
|---|---|---|
| Detangling brush or slicker brush | Removes mats and loose fur before cutting | All long- or medium-haired breeds |
| High-quality clippers with adjustable blades | Cutting large areas like the body and legs | Poodles, Shih Tzus, Maltese |
| Thinning shears | Blending layers and softening edges | Dogs needing natural-looking finishes |
| Curved scissors | Trimming around sensitive areas (face, paws) | All small- and medium-sized dogs |
| Clipper oil and cleaning brush | Maintains blade performance and prevents overheating | All clipper users |
“Many grooming accidents happen not because of inexperience, but because dull or dirty blades snag the skin. Always clean and oil your clippers before use.” — Dr. Lena Patel, Veterinary Dermatologist
Step-by-Step Guide to Cutting Your Dog’s Hair
Follow this structured process to ensure a smooth, safe grooming session:
- Brush thoroughly: Begin with a full-body brushing to remove tangles. Skipping this step risks pulling skin when using clippers.
- Bathe and dry completely: Clean fur is easier to cut evenly. Use a dog-safe shampoo, rinse thoroughly, and dry with a high-velocity dryer if possible.
- Set up a quiet grooming station: Choose a non-slip surface, ideally near a wall outlet. Keep treats, towels, and tools within reach.
- Start with clippers on larger areas: Begin on the back and sides using a guard appropriate for your desired length. Move in the direction of hair growth with slow, overlapping strokes.
- Switch to scissors for detail work: Trim around ears, eyes, paws, and tail with curved scissors. Always point blades away from the skin.
- Sanitary trim: Carefully shorten hair around the genitals and anus to prevent waste buildup. This area requires extra caution.
- Check for missed spots and smooth transitions: Run your hand over the coat to feel for unevenness. Use thinning shears to blend any harsh lines.
- Reward and reassess: Give your dog praise and a treat. Step back and assess the overall look — minor touch-ups are normal.
Creating a Calm Grooming Environment
Stress is the biggest obstacle to successful home grooming. Dogs pick up on tension instantly, so setting the right tone matters more than technical skill. Start by acclimating your dog to grooming tools days in advance. Let them sniff the clippers while they’re off, then turn them on nearby during playtime or feeding.
Use positive reinforcement throughout the process. Offer small treats after each completed section. Speak in a calm, reassuring voice. If your dog remains anxious, consider breaking the session into 10-minute segments over several days — groom one area per day until complete.
Avoid loud noises, sudden movements, or distractions like other pets. Some owners find success playing soft classical music or using pheromone diffusers (like Adaptil) to reduce anxiety.
Mini Case Study: From Fearful to Confident
Max, a 3-year-old Shih Tzu, used to tremble at the sight of his owner’s grooming bag. His previous groomer had accidentally nicked his ear, leaving him traumatized. His owner, Sarah, began by simply placing the brush near Max’s bed with treats on top. Over five days, she progressed to touching him with the brush while he ate. By week two, she introduced the clippers — first turned off, then briefly turned on beside him. After three weeks of short, reward-based sessions, Max sat calmly through his first full haircut at home. Now, he wags his tail when the grooming bag comes out.
Grooming Checklist: Before You Begin
Run through this checklist to ensure you’re fully prepared:
- ✅ Brushed and detangled coat
- ✅ Bathed and completely dried
- ✅ All tools cleaned, oiled, and ready
- ✅ Non-slip mat in place
- ✅ Treats and water nearby
- ✅ Quiet, distraction-free room
- ✅ First aid kit accessible (in case of minor nicks)
- ✅ Emergency contact info for vet or mobile groomer
Frequently Asked Questions
Can I shave my double-coated dog in summer?
No. Shaving a double-coated breed can impair their ability to regulate body temperature and may lead to sunburn or permanent coat loss. Instead, focus on thorough brushing to remove dead undercoat and improve airflow.
How often should I cut my dog’s hair at home?
It depends on the breed. Fast-growing coats (like Poodles) need trimming every 4–6 weeks. Slower-growing or low-maintenance breeds may only need touch-ups every 8–12 weeks. Regular brushing helps monitor growth patterns.
What should I do if I accidentally cut my dog’s skin?
Stay calm. Apply gentle pressure with a clean cloth. Use styptic powder or cornstarch to stop bleeding. Comfort your dog and end the session. If the wound is deep or doesn’t stop bleeding, contact your veterinarian.
Conclusion: Turn Grooming Into Bonding
Cutting your dog’s hair at home isn’t just about saving money — it’s an opportunity to deepen your connection while ensuring your pet’s comfort and hygiene. With the right knowledge, tools, and temperament, you can achieve salon-quality results in your own bathroom. Remember, perfection comes with practice. Each session builds confidence — for both you and your dog.
💬 Have a grooming success story or tip? Share your experience in the comments and help fellow pet owners create calmer, safer grooming routines at home!