Personalizing your dog’s accessories is more than just a fashion statement—it’s a way to express their personality and strengthen the bond you share. A handmade bowtie for your dog’s collar adds charm, uniqueness, and a touch of elegance that store-bought options often lack. The best part? You don’t need advanced sewing skills or expensive tools to create one. With basic materials and a little creativity, you can craft a custom bowtie that stands out at the park, during photo shoots, or on special occasions.
This guide walks you through every stage of making a durable, attractive dog collar bowtie from scratch. Whether you’re aiming for a dapper look for a pup with a dignified demeanor or a whimsical design for a playful companion, this process is adaptable, budget-friendly, and rewarding.
Why Make Your Own Dog Bowtie?
Commercial pet accessories often follow generic designs and may use synthetic fabrics that aren’t breathable or comfortable for long wear. By crafting your own, you gain full control over materials, sizing, and aesthetics. You can match the bowtie to seasonal outfits, holiday themes, or even coordinate with your own attire for family photos.
Additionally, handmade items reduce reliance on mass-produced goods, supporting sustainable consumption. Many owners find joy in gifting these personalized touches to fellow pet lovers or creating matching sets for multiple dogs in a household.
Tip: Choose cotton or linen fabrics—they’re lightweight, washable, and gentle on your dog’s neck.Materials and Tools You’ll Need
Gathering the right supplies ensures a smooth crafting experience. Most items are likely already in your home or easily available at craft stores.
- Fabric (cotton, felt, or quilting weight): ½ yard allows for multiple bowties
- Scissors (fabric-specific preferred)
- Sewing machine or needle and thread
- Pins or clips for securing fabric
- Measuring tape or ruler
- Velcro strip (hook-and-loop, ¾ inch wide) or elastic loop with a snap fastener
- Iron and ironing board (for crisp folds)
- Chalk or fabric marker
- Optional: decorative trims like lace, buttons, or embroidery floss
For small dogs (under 15 lbs), keep the bowtie dimensions modest—about 3 inches wide. Medium to large breeds can handle 4–5 inch widths without discomfort.
Step-by-Step Construction Guide
Follow this detailed sequence to assemble a polished, secure bowtie that attaches seamlessly to any standard collar.
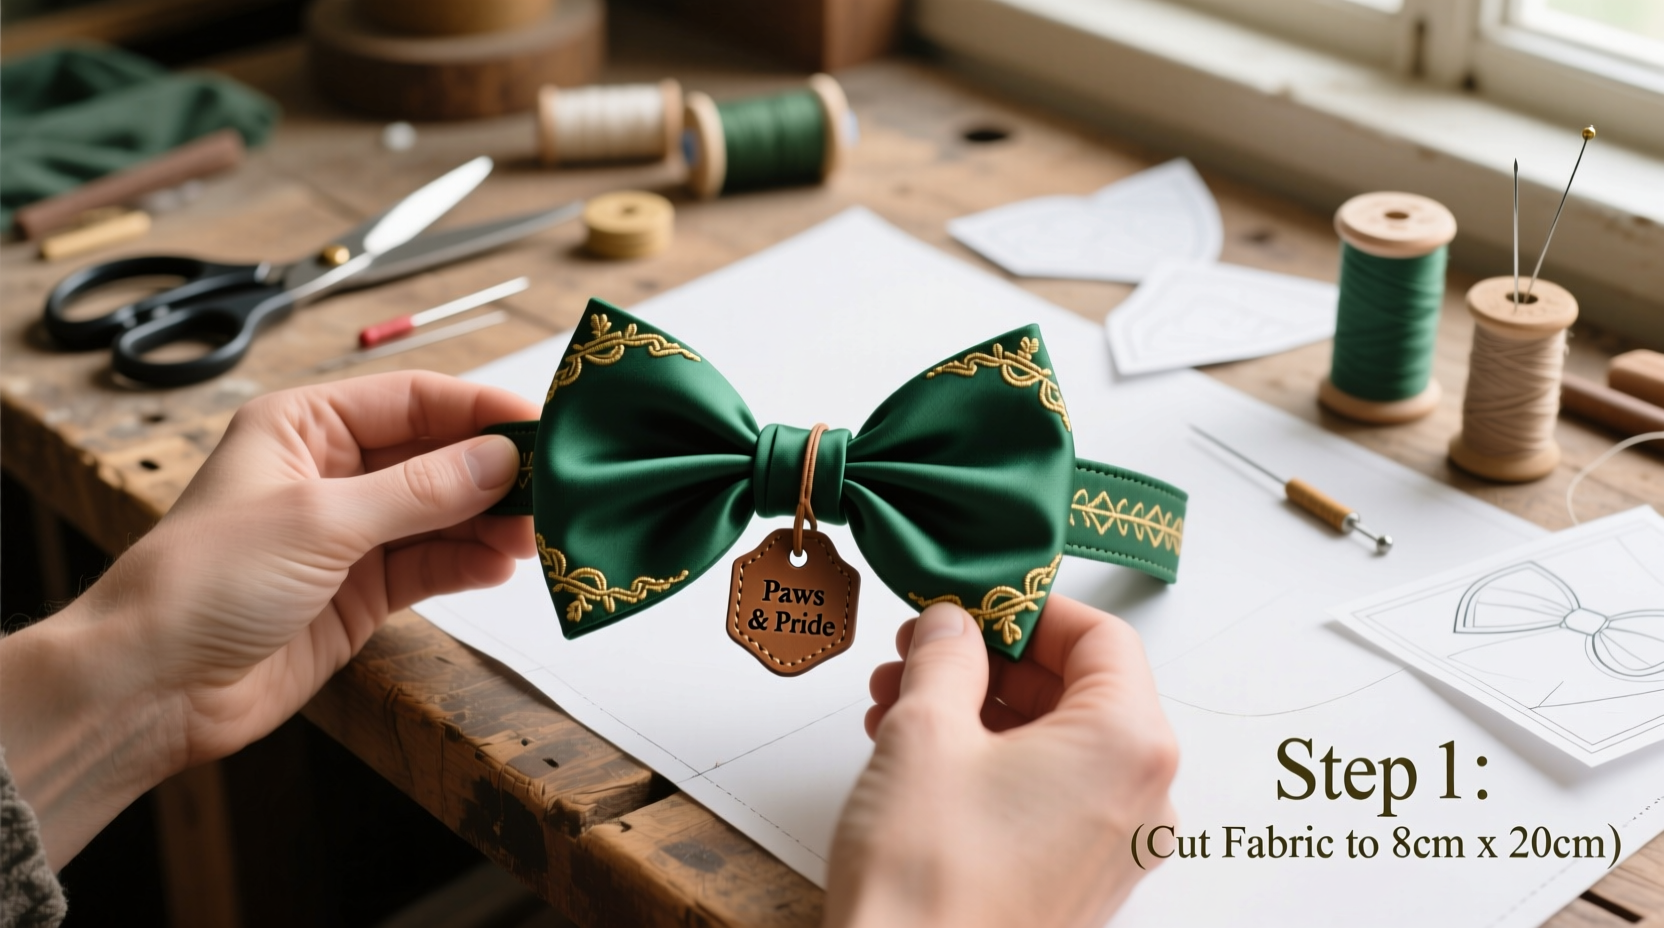
- Measure and cut the bowtie base: Cut two identical rectangles: 5” x 2.5” for medium dogs. These form the front and back layers.
- Create the center band: Cut a 3” x 1.5” rectangle. This wraps around the middle to simulate a knot.
- Pin and sew the main pieces: Place the two larger rectangles together, right sides facing. Sew around three edges with a ¼” seam allowance. Clip corners, then turn right side out. Press flat with an iron.
- Prepare the center band: Fold the 3”x1.5” piece in half lengthwise, wrong sides together, and press. Open it, then fold each long edge toward the center crease. Press again, then fold along the original center line to encase raw edges. Topstitch along both long edges for durability.
- Attach the band: Position the folded band vertically across the center of the bowtie front. Hand-stitch or machine-stitch securely in place.
- Add fasteners: On the backside of the bowtie, sew one side of a Velcro strip (hook side) to the top and the other (loop side) to the bottom. Ensure it overlaps enough to stay secure during movement.
- Final press: Iron the entire piece gently to remove wrinkles and set stitches.
The finished bowtie should lie flat and attach snugly over the collar without sliding or twisting.
| Component | Purpose | Material Tip |
|---|---|---|
| Main Bow Piece | Visible front and back layers | Use patterned cotton for visual appeal |
| Center Band | Simulates a tied knot | Contrast fabric adds dimension |
| Fastener (Velcro) | Attaches to collar | Choose soft-loop Velcro to avoid snagging fur |
| Lining (optional) | Reinforces structure | Fusible interfacing prevents sagging |
Design Variations and Customization Ideas
Once you’ve mastered the basic shape, experiment with styles that reflect your dog’s character or upcoming events.
- Holiday Themes: Red and green plaid for Christmas, pastel prints for Easter.
- Monograms: Embroider your dog’s initial on the center band using contrasting thread.
- Ruffled Edge: Attach a gathered strip of lace around the perimeter for a feminine flair.
- Durable Outdoor Version: Use waterproof nylon and replace Velcro with a snap-on metal clip for active dogs.
Consider making a few extras in different colors so you can rotate them based on mood or occasion. Store them flat in a drawer lined with tissue paper to prevent creasing.
“Handmade pet accessories not only enhance appearance but also reflect thoughtful care. When pets wear something made with intention, it shows.” — Lena Ruiz, Pet Lifestyle Designer and Founder of Paws & Thread Co.
Mini Case Study: Bella the Bichon Frise
Bella, a 10-year-old Bichon Frise from Portland, began wearing handmade bowties after her owner, Maria, noticed she was self-conscious during grooming appointments. Other dogs wore flashy accessories, while Bella’s plain collar felt outdated. Maria followed this guide using floral cotton fabric leftover from a dressmaking project.
She added a tiny pink button to the center knot and used soft Velcro to ensure comfort. Within days, Bella stood taller during walks, and strangers complimented her “dapper style.” Encouraged, Maria started a small Etsy shop selling custom bowties, now shipping nationwide. Her success began with one simple, loving gesture.
Care and Maintenance Tips
To preserve your creation, treat it like delicate clothing. Remove the bowtie before baths or outdoor play to avoid dirt and moisture buildup. Hand-wash in cold water with mild detergent when needed, then air-dry flat.
Tip: Rotate between two or three bowties to extend the life of each and keep your dog’s look fresh.FAQ
Can I machine-wash the bowtie?
Only if it’s made entirely of pre-washed cotton and has no glued components. Otherwise, hand-washing is safer to prevent shrinkage and delamination.
What if my dog tries to chew it off?
Supervise initially. If chewing persists, opt for a snap-on version instead of Velcro, or reserve the bowtie for short photo sessions rather than daily wear.
How do I adjust the size for a tiny breed like a Chihuahua?
Scale down all measurements by 30%. Use a 3” x 1.5” main piece and a 2” x 1” center band. Lightweight felt works well for mini versions.
Conclusion
Crafting a stylish dog collar bowtie at home blends creativity with practicality. It’s an accessible project for beginners and a fulfilling expression of love for your pet. With just a few hours and minimal investment, you can produce a charming accessory that turns heads and sparks conversations.
More than aesthetics, this act of making something by hand deepens your connection with your dog. Every stitch reflects attention, care, and individuality. So pick your favorite fabric, set aside an afternoon, and start stitching. Your dog deserves to strut in something truly one-of-a-kind.
💬 Have you made a bowtie for your dog? Share your fabric choices, challenges, and proud moments in the comments below—we’d love to hear your story!