Dog owners who value both function and fashion often find store-bought collars lacking in either durability or personalization. Creating your own cloth dog collar at home allows you to control the materials, fit, and design while ensuring it meets safety standards. With basic sewing skills and a few essential supplies, you can craft a collar that’s as unique as your dog—and built to last. This comprehensive guide walks you through every stage, from material selection to final stitching, with professional insights and practical advice.
Selecting the Right Materials for Strength and Style
The foundation of any high-quality dog collar lies in its materials. Unlike decorative accessories, a collar must withstand daily strain, exposure to moisture, and frequent tugging. Choosing fabrics and hardware that balance aesthetics with resilience is critical.
Cotton webbing or heavy-duty cotton canvas forms an excellent base due to their tensile strength and ease of sewing. For outer layers, consider patterned quilting cottons or waxed canvas if weather resistance is needed. Avoid stretchy knits or delicate silks—they may look attractive but fail under stress.
Hardware should be equally robust. Nickel-plated or solid brass D-rings and side-release buckles rated for at least 50 pounds (regardless of your dog’s size) ensure long-term reliability. Nylon thread, not standard polyester, is recommended for seam durability.
Tip: Pre-wash all fabric to prevent shrinkage after the first clean—a common oversight that leads to misshapen collars.Essential Tools and Workspace Setup
A dedicated workspace improves precision and efficiency. You don’t need industrial equipment, but certain tools are non-negotiable for consistent results:
- Sewing machine with a strong needle (size 90/14)
- Rotary cutter and self-healing mat (optional but helpful)
- Clear ruler and fabric scissors
- Pins or fabric clips
- Iron and ironing board
- Measuring tape
Ensure your sewing machine is calibrated for medium-weight fabric. Test stitches on scrap material to confirm tension and stitch length (2.5–3 mm works best). A walking foot attachment helps manage layered fabric without slipping.
Step-by-Step Construction Process
Follow this timeline-based sequence to assemble a fully functional, custom-fit cloth dog collar. Allow approximately 1.5 to 2 hours from start to finish, including measuring and pressing.
- Measure your dog’s neck: Use a soft tape measure around the point where the collar sits, just behind the ears. Add one inch for comfort. Example: A 14-inch neck needs a 15-inch collar.
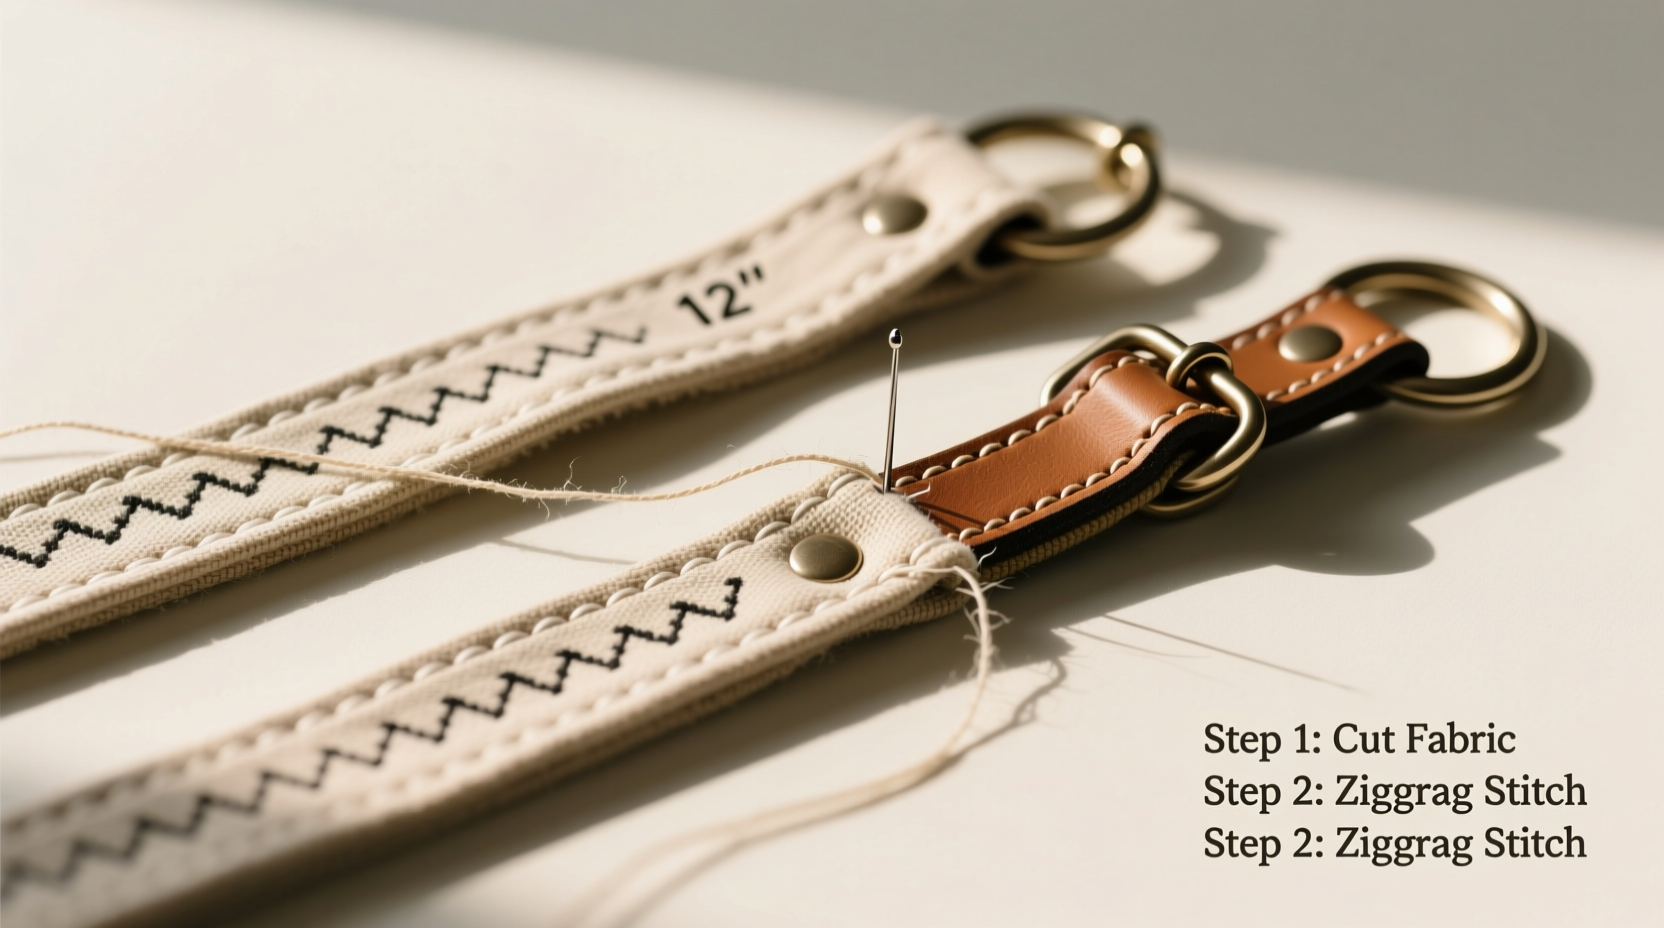
- Cut the fabric strips: Cut two pieces: one 1.5 inches wide by desired length plus 2 inches (for folding over), and a second identical strip for the lining.
- Layer and pin: Place right sides together, align edges, and pin along both long sides.
- Sew the tube: Using a ¼-inch seam allowance, stitch both lengths closed. Backstitch at beginning and end.
- Turn and press: Turn the fabric right-side out using a turning tool or pencil. Press flat, ensuring corners are sharp and seams centered.
- Insert webbing (optional reinforcement): Slide 1-inch-wide nylon webbing inside the fabric sleeve before final topstitching for added strength.
- Topstitch for durability: Stitch along both long edges, ⅛ inch from the edge, to secure internal structure and prevent shifting.
- Attach hardware: Fold one end ½ inch inward. Insert D-ring, then fold again and bar-tack securely with multiple back-and-forth stitches. Repeat at opposite end with buckle prong.
- Finalize closure: Attach the remaining buckle piece to the other end, ensuring smooth engagement.
- Inspect and test: Gently pull on all components to verify integrity before use.
Do’s and Don’ts: Fabric and Design Choices Compared
| Category | Do | Don't |
|---|---|---|
| Fabric Type | Quilting cotton, canvas, denim, Cordura | Jersey knit, silk, lightweight voile |
| Thread | Nylon or heavy-duty polyester | Standard embroidery floss or cotton thread |
| Reinforcement | Internal webbing or double-layer construction | Relying solely on fabric thickness |
| Buckle Type | Side-release with UV-resistant plastic | Flimsy clip-style closures |
| Decoration | Embroidery or woven labels | Glitter, loose beads, or peeling iron-ons |
Real-Life Example: Custom Collar for an Active Border Collie
Sarah, a dog trainer in Oregon, needed a reliable collar for her working border collie, Scout, who spends hours outdoors in wet grass and rugged terrain. Off-the-shelf collars wore out within weeks. She crafted a 16-inch collar using olive-green waxed canvas exterior, navy cotton lining, and a 1-inch nylon webbing core. The D-rings were solid brass, and she added reflective stitching along one edge for evening visibility.
After six months of daily use—including hikes, training drills, and exposure to mud and rain—the collar showed minimal wear. “It looks used,” Sarah said, “but nothing’s fraying or loosening. I’ve already made matching ones for two clients.”
“Homemade doesn’t mean fragile. When built with purpose, a DIY collar can outperform commercial versions in both comfort and longevity.” — James Reed, Pet Product Designer & Founder of Canine Craft Co.
Checklist: Before You Start Sewing
- ☑ Measure your dog’s neck accurately
- ☑ Choose tightly woven, washable fabric
- ☑ Confirm hardware weight rating matches or exceeds your dog’s pulling force
- ☑ Pre-wash and dry all fabric
- ☑ Cut precise, straight strips using a rotary cutter
- ☑ Test machine tension on scraps
- ☑ Reinforce stress points with bar tacks
- ☑ Inspect final product under tension before first use
Frequently Asked Questions
Can I wash homemade cloth collars?
Yes, but hand washing is recommended to preserve stitching and hardware. Use mild detergent and air dry. Machine washing may weaken glued or stitched components over time, especially if not reinforced properly.
How do I know if the collar fits correctly?
The collar should allow two fingers to slide comfortably between the band and your dog’s neck. It shouldn’t slip over the ears when loose, nor pinch when tightened. Adjust length during construction—never rely on post-build stretching.
Are fabric collars safe for strong pullers?
Only if properly reinforced. Unlined cotton alone isn’t sufficient for dogs that lunge or pull heavily. Always include nylon webbing or double-thick straps for dogs over 30 pounds or with high energy levels.
Design Variations and Creative Touches
Once the structural basics are mastered, customization becomes a fun extension. Consider adding contrast binding, personalized embroidery (name or paw prints), or themed seasonal patterns. Some artisans incorporate quick-detach carabiners for leashes or integrate pockets for ID tags.
For gift-making or small businesses, offer color-matching kits with coordinating leashes. Just remember: aesthetic upgrades should never compromise safety. Avoid embellishments near stress zones like buckle joints or D-rings.
Conclusion: Craft with Confidence and Care
Creating a durable and stylish cloth dog collar at home blends craftsmanship with compassion. Each collar reflects attention to detail, respect for your pet’s comfort, and a commitment to quality that mass production often overlooks. By following proven techniques—from smart material choices to reinforced stitching—you’re not just making a collar; you’re building trust through thoughtful design.
💬 Start today: Measure your dog, pick a fabric that speaks to their personality, and sew something that lasts. Share your creations online or teach a friend—handmade care has a way of spreading joy, one wag at a time.