
A well-oxygenated aquatic environment is fundamental to the survival and vitality of fish, shrimp, and beneficial bacteria in any aquarium or aquaculture system. An air pump plays a crucial role in maintaining dissolved oxygen levels, supporting biological filtration, and preventing stagnation. However, simply owning an air pump isn’t enough—correct installation and positioning determine its effectiveness. This guide walks through the complete process of installing an aquaculture air pump with precision, ensuring your tank remains healthy, stable, and thriving.
Why Proper Air Pump Installation Matters
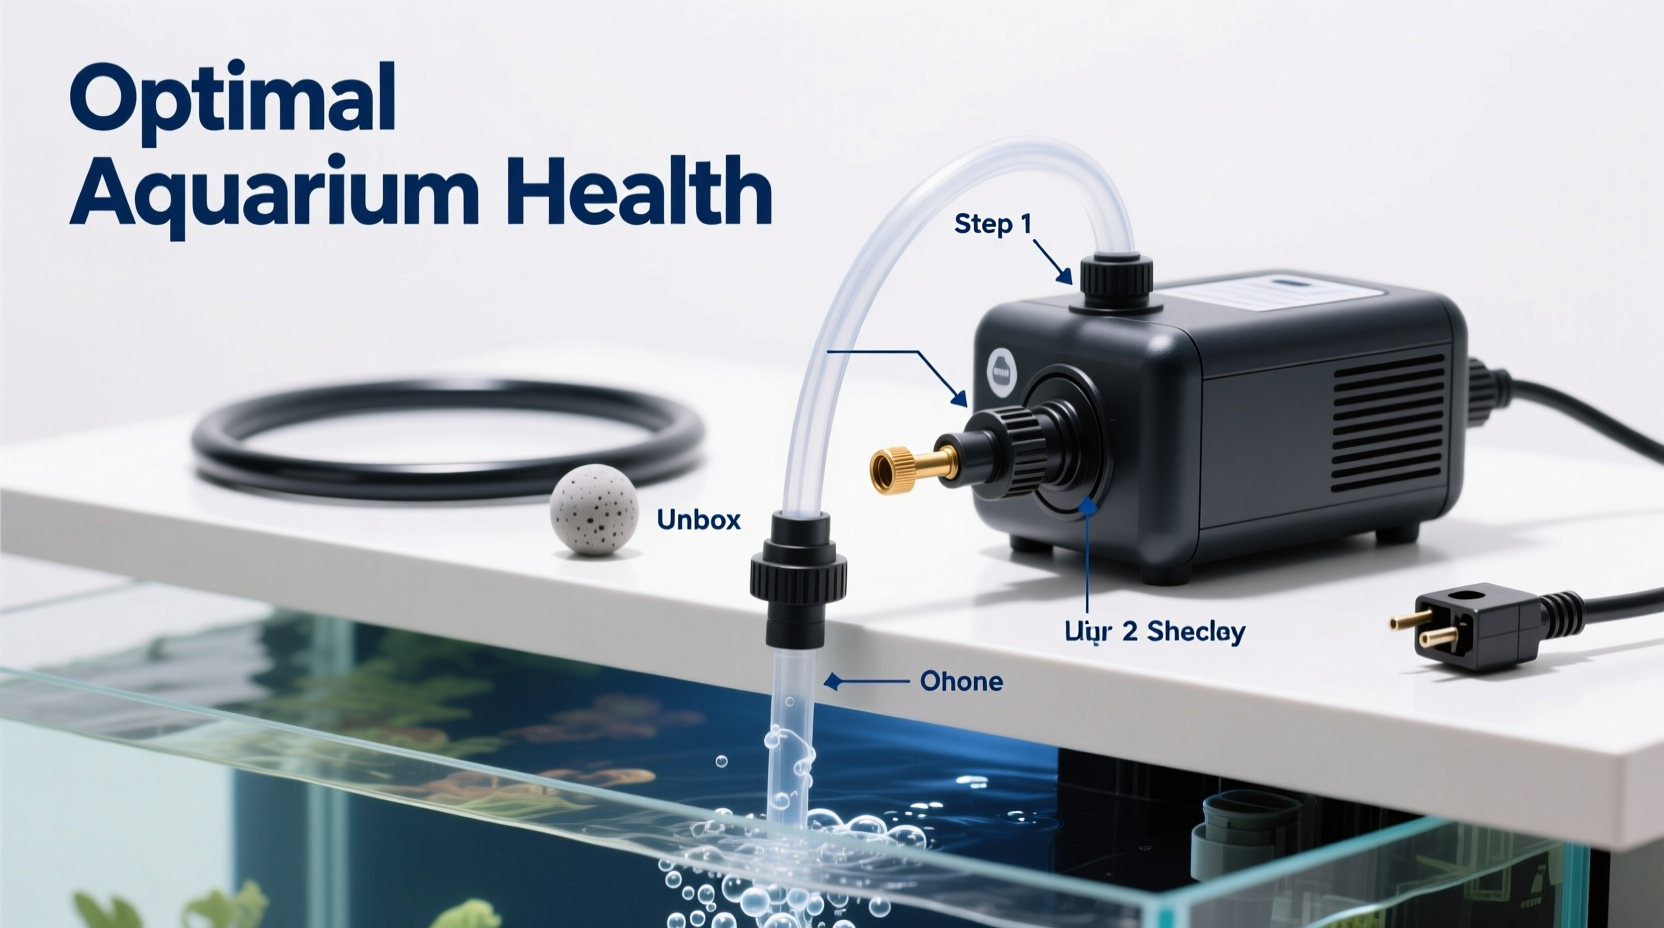
Oxygen exchange occurs primarily at the water’s surface. Without sufficient movement, oxygen depletes while carbon dioxide accumulates—conditions that stress aquatic life and promote harmful anaerobic bacteria. An air pump drives airflow through airstones or diffusers, creating bubbles that rise and agitate the surface, enhancing gas exchange. But poor installation can lead to backflow, noise, inefficient aeration, or even equipment damage.
Proper setup ensures consistent airflow, reduces wear on the pump, prevents water siphoning into the motor, and maximizes energy efficiency. Whether you're managing a home aquarium, a breeding tank, or a small-scale aquaculture system, attention to detail during installation directly impacts long-term ecosystem stability.
Essential Components and Tools Checklist
Before beginning installation, gather all necessary components. Having everything ready streamlines the process and minimizes interruptions.
Tip: Use silicone-based lubricant when connecting rigid air tubing to avoid cracking and ensure a snug fit.- Air pump (diaphragm type recommended for quiet operation)
- Flexible air tubing (sized to match pump outlet)
- Airstone or diffuser (porous ceramic or glass for fine bubbles)
- Check valve (non-return valve)
- Suction cups or mounting brackets
- Airline connector or gang valve (if running multiple lines)
- Scissors or tubing cutter
- Waterproof sealant (optional, for outdoor setups)
“Many beginners overlook the check valve, but it's one of the most critical safety components. It prevents water from flowing back into the pump during power outages.” — Dr. Lin Zhao, Aquatic Systems Engineer
Step-by-Step Installation Process
- Choose the Right Location
Select a dry, elevated spot above the water level of the aquarium. Mounting the pump on a shelf, wall bracket, or inside a cabinet works well. Never place it below the tank, as this risks siphoning water into the unit during shutdown. - Secure the Air Pump
Use included suction cups or rubber feet to stabilize the pump. For vibration reduction, place it on a soft mat or foam pad. If using outdoors, protect it from rain and direct sunlight with a weatherproof enclosure. - Cut and Attach Air Tubing
Measure the distance from the pump to the tank, adding 6–12 inches for flexibility. Cut the tubing cleanly with scissors. Attach one end to the pump’s outlet nozzle, pushing firmly until secure. Lubricate the connection if needed. - Install the Check Valve
Insert the check valve into the tubing line within 6 inches of the pump. Align the arrow on the valve with the airflow direction (toward the tank). This prevents water from reversing into the pump if power fails. - Connect to Airstone or Diffuser
Attach the other end of the tubing to the airstone. Submerge the airstone in the desired location—typically near the bottom of the tank to maximize bubble travel and circulation. Secure it with suction cups or weight it down if necessary. - Power On and Test Flow
Plug in the pump and observe airflow. Bubbles should rise steadily. Adjust flow rate using the pump’s dial (if available) or an inline valve. Avoid excessive bubbling, which can cause stress in sensitive species. - Inspect for Leaks and Noise
Listen for hissing sounds indicating air leaks. Tighten connections or replace worn tubing. If the pump vibrates loudly, reposition it on damping material.
Best Practices and Common Mistakes
Even correctly installed systems can underperform due to overlooked details. The following table outlines key do’s and don’ts for optimal results.
| Do’s | Don’ts |
|---|---|
| Install the pump above water level | Place the pump below the tank |
| Use a check valve on every line | Run tubing without a non-return valve |
| Clean airstones monthly to prevent clogging | Ignore mineral buildup on diffusers |
| Replace air tubing annually or when brittle | Use cracked or stiff tubing |
| Position airstones near filter outlets for synergy | Place airstones directly under skimming surfaces |
Real-World Example: Fixing Low Oxygen in a Breeding Tank
A freshwater hatchery in Oregon reported frequent larval mortality in a 50-gallon tilapia breeding tank. Dissolved oxygen readings hovered around 4.0 mg/L—below the 5.0 mg/L threshold required for healthy development. Initial inspection revealed a single undersized air pump placed beneath the tank, connected via narrow tubing to a clogged airstone.
The technician relocated the pump above the tank, added a dual-outlet model, installed new wide-bore tubing with check valves, and replaced the airstone with a linear diffuser. Within 24 hours, oxygen levels rose to 6.8 mg/L, and larval survival increased by 62% over the next two weeks. This case underscores how proper installation directly influences biological outcomes.
Maintenance Schedule for Long-Term Performance
An air pump requires minimal upkeep, but regular maintenance ensures reliability and efficiency. Follow this quarterly routine:
- Monthly: Rinse airstones in vinegar solution (1:3 vinegar to water) to dissolve calcium deposits.
- Every 3 Months: Inspect tubing for cracks, kinks, or algae growth; replace if degraded.
- Biannually: Clean the pump’s exterior and ventilation slots with a dry cloth; verify diaphragm function.
- Annually: Replace internal diaphragm kits (available by model) to restore pressure and reduce noise.
“The lifespan of an air pump doubles when maintained properly. Most failures stem from moisture ingress or clogged airstones, both preventable.” — Carlos Mendez, Aquarium Equipment Technician
Frequently Asked Questions
Can I run one air pump for multiple tanks?
Yes, provided the pump has sufficient output (measured in liters per minute or gallons per hour). Use a gang valve to split the line, but monitor each outlet to ensure balanced airflow. Overloading a pump reduces efficiency and shortens its life.
Why is my air pump making a loud buzzing sound?
Loud noise usually indicates loose parts, vibration against a surface, or a failing diaphragm. First, ensure the pump sits on a cushioned surface. If noise persists, inspect internal components or consider replacement.
How deep should the airstone be placed?
For maximum oxygen transfer, place the airstone at the lowest point in the tank. Deeper placement increases bubble contact time with water, improving gas exchange. Avoid placing it directly under surface skimmers, as this can disrupt protein removal.
Conclusion: Breathe Life Into Your Aquatic System
Installing an aquaculture air pump correctly isn’t just about plugging in a device—it’s about engineering a healthier aquatic environment. From selecting the right components to positioning, testing, and maintaining the system, each step contributes to stable oxygen levels and resilient aquatic life. By following this guide, you’re not only setting up equipment but also laying the foundation for long-term success in fishkeeping or aquaculture.
💬 Have questions about your setup or want to share your air pump experience? Join the conversation—your insights could help others achieve optimal aquarium health!