Grooming your dog at home is more than just a cosmetic chore—it’s an essential part of their health and well-being. Among the most critical yet often overlooked aspects is nail trimming. Long nails can lead to joint pain, posture issues, and even infections. But before you make the first cut, one fundamental detail determines success: how you hold the clippers. The grip you use affects precision, control, and your dog’s comfort. A shaky or incorrect hold increases the risk of cutting the quick—the sensitive nerve-rich core inside the nail—causing pain and bleeding. Mastering the proper grip isn’t just about technique; it’s about building trust, ensuring safety, and making grooming a positive experience for both of you.
The Anatomy of Dog Nail Clippers
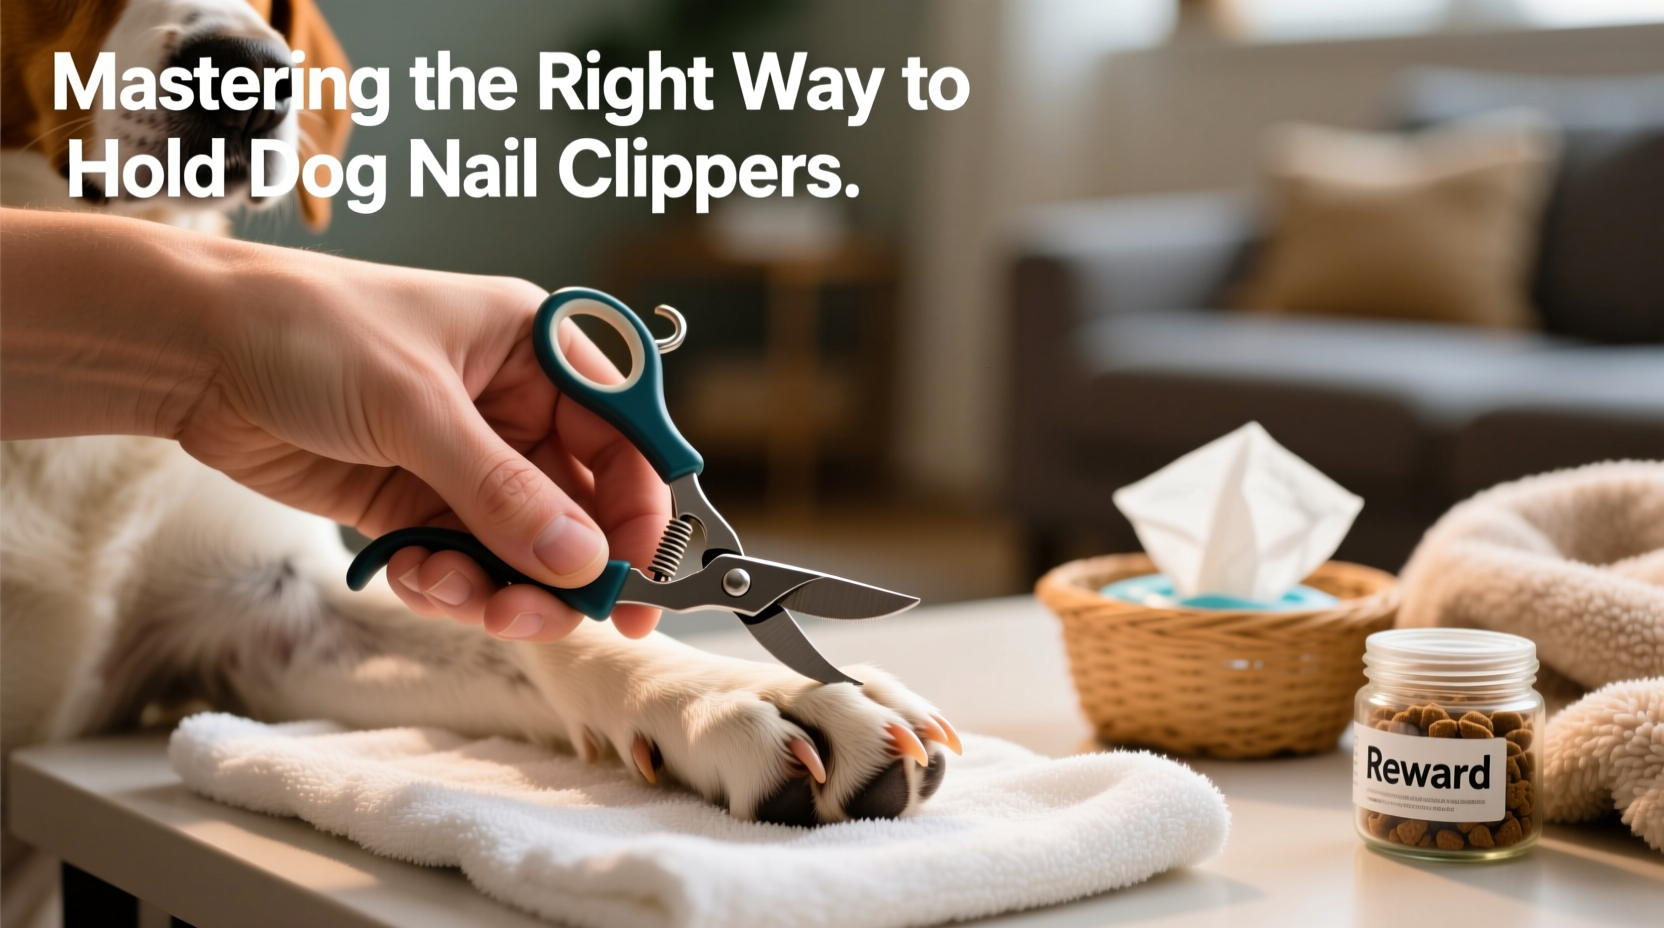
Dog nail clippers come in several types, but the two most common are guillotine-style and scissor-style. Each requires a slightly different holding technique, but both rely on wrist stability and finger placement for accuracy.
- Guillotine clippers have a small hole where the nail inserts, with a blade that slides down from above. These demand precise alignment and steady pressure.
- Scissor clippers resemble medical shears and offer better visibility. They require a firm but relaxed grip, similar to holding pruning shears.
Regardless of type, the handle should fit comfortably in your hand. If your fingers cramp or slip during use, consider trying a model with ergonomic grips or larger handles. The tool must feel like an extension of your hand—not something you’re fighting to control.
Tip: Test different clipper models with your dominant hand to find one that allows full control without straining your wrist.Correct Hand Positioning and Grip Techniques
How you hold the clippers directly impacts your ability to make clean, confident cuts. An improper grip leads to hesitation, slippage, or misaligned snips—all of which increase stress for your dog.
For scissor-style clippers, use a modified pencil grip: place your index finger along the top ridge of the handle for guidance, wrap your thumb and middle finger around the lower and upper loops respectively. This gives you fine motor control while reducing hand fatigue. Avoid squeezing too hard; excessive pressure tenses your hand and reduces sensitivity.
With guillotine clippers, position your thumb on the lever (if present) and your remaining fingers wrapped firmly around the body. Your index finger should rest lightly on the side for stabilization. Insert the nail slowly, aligning it straight through the hole. Never angle the clipper sideways—this distorts the cut line and raises the chance of slicing into the quick.
“Precision in pet grooming starts with ergonomics. A relaxed hand means a steady cut.” — Dr. Lena Torres, Veterinary Dermatology Specialist
Step-by-Step Guide to Safe Nail Trimming
Proper clipping technique involves more than just gripping the tool correctly. It’s a sequence of deliberate actions designed to minimize anxiety and maximize safety.
- Prepare your dog: Let your dog sniff the clippers beforehand. Offer treats and praise to create positive associations.
- Restrain gently: Sit beside your dog, not over them. Cradle their paw softly between your fingers, supporting the joint without squeezing.
- Position yourself: Sit on the floor or a low chair so you’re at eye level. This improves visibility and keeps your dog calmer.
- Hold the clippers correctly: Use the grip appropriate to your tool type, keeping your wrist straight and elbow supported if needed.
- Inspect the nail: Look for the pinkish quick in light-colored nails. For dark nails, trim in small increments.
- Cut at a 45-degree angle: Aim below the curve of the nail tip, avoiding the center mass where the quick likely resides.
- File sharp edges: Smooth rough tips with a pet nail grinder or emery board to prevent snagging.
- Reward immediately: Give a treat after each nail—even if only one paw is done—to reinforce cooperation.
Common Mistakes and How to Avoid Them
Even experienced pet owners make errors when fatigued or rushed. Recognizing these pitfalls helps refine your approach.
| Mistake | Why It’s Problematic | How to Fix It |
|---|---|---|
| Holding clippers too tightly | Causes hand tremors and delayed reaction if the dog moves | Relax your grip; imagine holding a fragile egg |
| Cutting nails at the wrong angle | Leaves sharp points or compresses the quick | Trim parallel to the underside of the nail tip |
| Ignoring signs of stress | Dogs may freeze instead of pulling away—this is fear, not compliance | Pause, soothe, and resume only when relaxed |
| Using dull blades | Splinter nails instead of cutting cleanly | Sharpen or replace clippers every 3–6 months |
Real-Life Example: Turning Grooming Around
Sarah adopted a rescue terrier named Milo who flinched at any touch near his paws. Previous owners had clipped his nails too short, leaving him traumatized. Her first attempt ended in tears—for both of them. Instead of forcing another session, Sarah focused on retraining. She started by simply touching his paws while giving treats, then introduced the closed clippers as a neutral object. Over ten days, she progressed to mimicking the clipping motion without the tool. When she finally used the clippers, she held them with a relaxed scissor grip, trimmed just the very tip of one nail, and rewarded Milo lavishly. By week three, he would sit calmly for all four paws. The turning point wasn’t the tool—it was her controlled, compassionate technique and the way she held the clippers: steady, predictable, and never threatening.
Essential Checklist for Stress-Free Grooming
- ✅ Choose the right clipper type for your dog’s nail size and your hand strength
- ✅ Wash your hands and your dog’s paws to improve grip and hygiene
- ✅ Have styptic powder on hand in case of accidental bleeding
- ✅ Use a non-slip mat under your dog or sit on carpeted flooring
- ✅ Hold the clippers with a relaxed but secure grip—no white knuckles
- ✅ Support the paw fully, never hyperextend the toe joints
- ✅ Cut small amounts frequently rather than large chunks infrequently
- ✅ End the session positively, even if incomplete
Frequently Asked Questions
How do I know where the quick ends and the nail begins?
In dogs with light-colored nails, the quick appears as a pink band running through the center. Avoid cutting within 2–3 mm of this zone. For black nails, look at the underside: the quick ends where the nail transitions from solid to a hollow tube. Trim in tiny slices until you see a small dark circle in the center—stop before it widens.
My dog won’t sit still. What should I do?
Break the process into micro-steps. One day, just hold their paw. The next, touch the clippers to the nail without cutting. Use high-value treats and keep sessions under two minutes. If necessary, enlist a helper to gently hold the dog while you focus on clipping.
Can I use human nail clippers on my dog?
No. Human clippers aren’t designed for the thickness and curvature of canine nails. They can crush rather than cut, causing splitting and discomfort. Always use clippers made specifically for dogs.
Conclusion: Confidence Begins with Control
Mastering the right way to hold dog nail clippers transforms grooming from a dreaded task into a bonding ritual. It’s not just about avoiding injury—it’s about creating a routine rooted in patience, precision, and mutual respect. When your grip is steady and your movements predictable, your dog learns to trust the process. Over time, they’ll offer their paws willingly, tail wagging, knowing it ends with a treat and affection. Start today: pick up your clippers, practice your grip, and commit to gradual progress. Your dog’s comfort—and your confidence—depends on it.
💬 Have a grooming success story or a tip that changed everything? Share it in the comments and help fellow pet owners build safer, happier routines.