Grooming your cat at home doesn’t have to be a battle of wills. With the right tools, timing, and technique, you can maintain your cat’s coat health while minimizing stress—for both of you. Clippers, when used correctly, are an efficient way to manage shedding, prevent matting, and keep long-haired cats comfortable, especially during warmer months. However, improper use can lead to cuts, anxiety, or a cat that refuses to come near you with anything resembling scissors. This guide walks you through every phase of safely and effectively grooming your cat with clippers, from preparation to post-groom cleanup.
Understanding Your Cat’s Grooming Needs
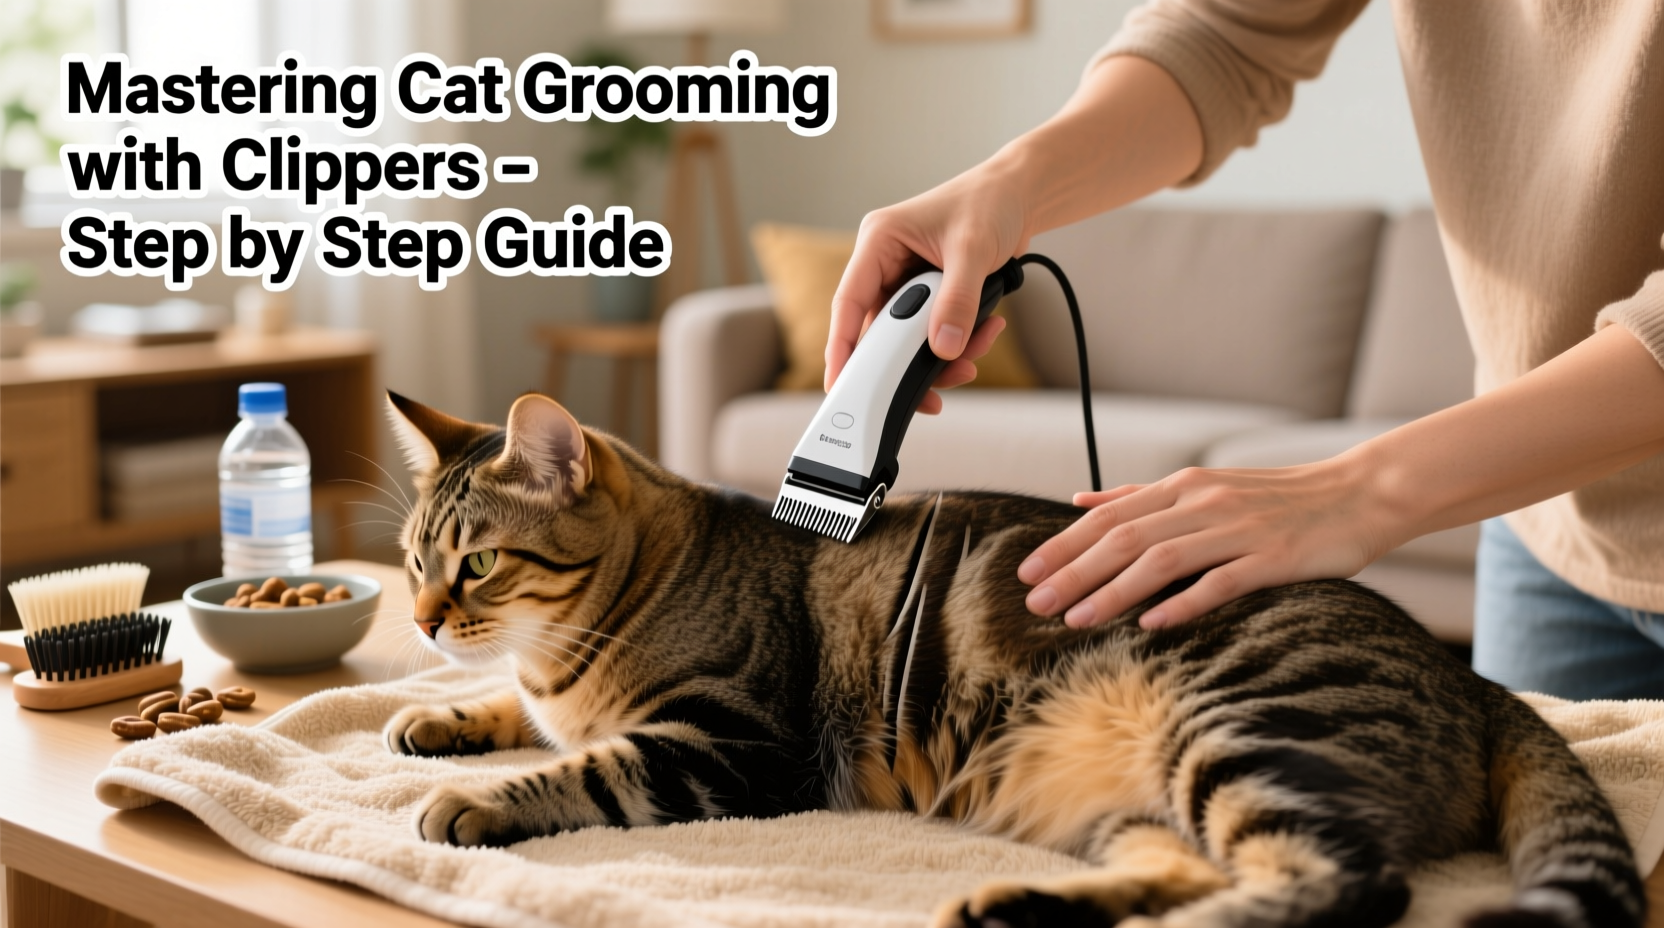
Cats are naturally fastidious groomers, but they can’t always manage their entire coat—especially if they’re long-haired, elderly, overweight, or suffering from mobility issues. Mats, tangles, and excessive undercoat buildup trap dirt and moisture, leading to skin irritation and even infections. Regular brushing helps, but sometimes trimming or clipping is necessary.
Clipping isn't just cosmetic. It serves practical purposes: reducing shedding around the house, preventing hairballs, improving hygiene in hard-to-reach areas (like under the tail), and keeping your cat cooler in summer. Breeds like Persians, Maine Coons, and Ragdolls benefit significantly from routine trims, but even short-haired cats may need touch-ups on specific areas.
“Professional grooming every 6–8 weeks is ideal, but owners who learn safe clipper techniques can extend intervals and maintain comfort between visits.” — Dr. Lena Torres, Feline Dermatology Specialist
Choosing the Right Tools for the Job
Not all clippers are created equal—especially when it comes to cats. Using human or dog clippers can be too loud, too hot, or too aggressive for delicate feline skin. Here’s what to look for:
- Quiet motor: Cats are sensitive to noise. High-decibel clippers cause fear and resistance.
- Cool-running blades: Overheating blades can burn your cat’s skin. Ceramic or titanium-coated blades dissipate heat better.
- Appropriate blade guard: Use guards to control length and reduce the risk of nicks.
- Ergonomic design: A lightweight, well-balanced clipper reduces hand fatigue during longer sessions.
Recommended Clipper Features
| Feature | Ideal Choice | Avoid |
|---|---|---|
| Noise Level | Below 70 dB | Loud, buzzing motors |
| Blade Type | Ceramic or low-heat steel | Metal-only blades without cooling |
| Speed Settings | Adjustable RPM | Single-speed models |
| Power Source | Cordless with long battery life | Corded models (can restrict movement) |
Step-by-Step Guide to Stress-Free Cat Clipping
The key to successful home grooming lies in preparation, patience, and pacing. Rushing leads to accidents and trauma. Follow this timeline-based approach over one or several sessions, depending on your cat’s temperament.
- Pre-Groom Preparation (1–3 days prior): Brush your cat daily to remove loose fur and detect mats early. This reduces the workload during clipping and prevents pulling.
- Familiarization (Day 1): Let your cat sniff the clippers while turned off. Offer treats nearby. Repeat several times.
- Noise Exposure (Day 2): Turn the clippers on briefly near your cat (not touching). Reward calm behavior. Gradually increase duration over multiple short sessions.
- Touch Conditioning (Day 3): Gently run the back of the clipper (no blade contact) along your cat’s back and sides. Stop if they flinch. Pair with praise.
- First Trim Session (Day 4+): Begin with low-stress areas—start under the chin or along the shoulders. Use a guard. Clip in the direction of hair growth. Keep sessions under 5 minutes.
- Progressive Trimming: Gradually move to legs, belly, and hindquarters. Never rush the tail or paws—these are high-sensitivity zones.
- Post-Groom Calm Down: Offer treats, playtime, or cuddles after each session to reinforce positive association.
Common Mistakes and How to Avoid Them
Even well-intentioned owners make errors that compromise safety and comfort. Recognizing these pitfalls helps you stay proactive.
- Skipping brushing: Cutting over matted fur pulls skin and increases tugging. Always detangle first.
- Using dull blades: Dull blades tug instead of cutting cleanly, causing discomfort. Replace or sharpen blades regularly.
- Pressing too hard: Let the clipper do the work. Excessive pressure risks nicks, especially over bony areas like hips or spine.
- Grooming too much at once: Long sessions overwhelm cats. Break grooming into 3–5 minute chunks over several days.
- Neglecting blade maintenance: Clean blades after each use with a soft brush and manufacturer-approved oil to prevent rust and friction.
Do’s and Don’ts of Cat Clipper Use
| Do | Don’t |
|---|---|
| Clip in the direction of hair growth | Go against the grain aggressively |
| Use a guard unless experienced | Attempt close shaves without training |
| Pause if your cat shows stress signs | Force the process despite resistance |
| Keep treats and breaks frequent | Rush to finish “just one more spot” |
| Store clippers in a dry place | Leave blades exposed to moisture |
Real-Life Example: Helping Luna Through Summer Shedding
Luna, a 4-year-old Himalayan, struggled with severe matting every summer. Her owner, Maria, initially tried brushing alone, but tangles kept forming near her armpits and underbelly. After a vet visit revealed mild skin inflammation, Maria decided to try home clipping.
She started by buying quiet, cat-specific clippers and spent three days acclimating Luna. The first trim lasted only two minutes—just enough to clear a small patch behind her ears. Over the next week, Maria gradually worked on her back and sides, always stopping before Luna showed signs of irritation. By day ten, she’d completed a full light trim, avoiding sensitive areas. Luna now tolerates grooming and even approaches the closed case where the clippers are stored—her favorite treat comes out right after.
The result? Fewer vet visits, less shedding on furniture, and a visibly more comfortable cat.
Frequently Asked Questions
Can I use dog clippers on my cat?
No. Dog clippers are typically louder, hotter, and designed for thicker coats. They increase the risk of startling or burning your cat. Always use clippers specifically rated for feline use.
How short should I cut my cat’s fur?
For most cats, a #5, #7, or #10 blade with guard is sufficient—this leaves about ½ inch of fur, providing sun protection and insulation. Never shave down to the skin unless directed by a vet for medical reasons.
What if I accidentally nick my cat’s skin?
Stay calm. Apply gentle pressure with a clean cloth or styptic powder if bleeding occurs. Most minor nicks heal quickly. Monitor for signs of infection. In the future, use guards and avoid pressing hard on uneven surfaces.
Final Checklist Before You Begin
- ✔ Choose quiet, cool-running clippers with guard attachments
- ✔ Brush your cat thoroughly to remove tangles
- ✔ Charge cordless clippers or ensure cord won’t trip you
- ✔ Pick a quiet time when your cat is relaxed
- ✔ Have treats, a towel, and a first-aid kit nearby
- ✔ Commit to short, positive sessions—don’t aim for perfection in one go
Conclusion: Transform Grooming from Chore to Bonding Opportunity
Grooming your cat with clippers doesn’t have to be a source of stress. With the right tools, a patient mindset, and a structured approach, it can become a regular part of your cat care routine—one that enhances comfort, health, and trust. Start slow, respect your cat’s limits, and celebrate small wins. Over time, you’ll build confidence on both sides. Whether you're managing a fluffy winter coat or helping your cat beat the summer heat, mastering clipper use empowers you to provide consistent, compassionate care at home.
💬 Have a grooming success story or tip to share? We’d love to hear how you’ve made home grooming easier—leave a comment and help fellow cat owners build confidence too!