Drawing an aquarium offers a unique opportunity to blend realism with imagination. Unlike static still-life subjects, an aquarium is alive with movement, light refraction, and layered depth. Capturing this complexity on paper requires more than just sketching skills—it demands an understanding of water dynamics, perspective distortion, and the interplay of color and shadow. Whether you're illustrating a home fish tank or designing a fantasy underwater world, mastering aquarium drawing opens doors to expressive, immersive art.
Understanding Aquarium Structure and Perspective
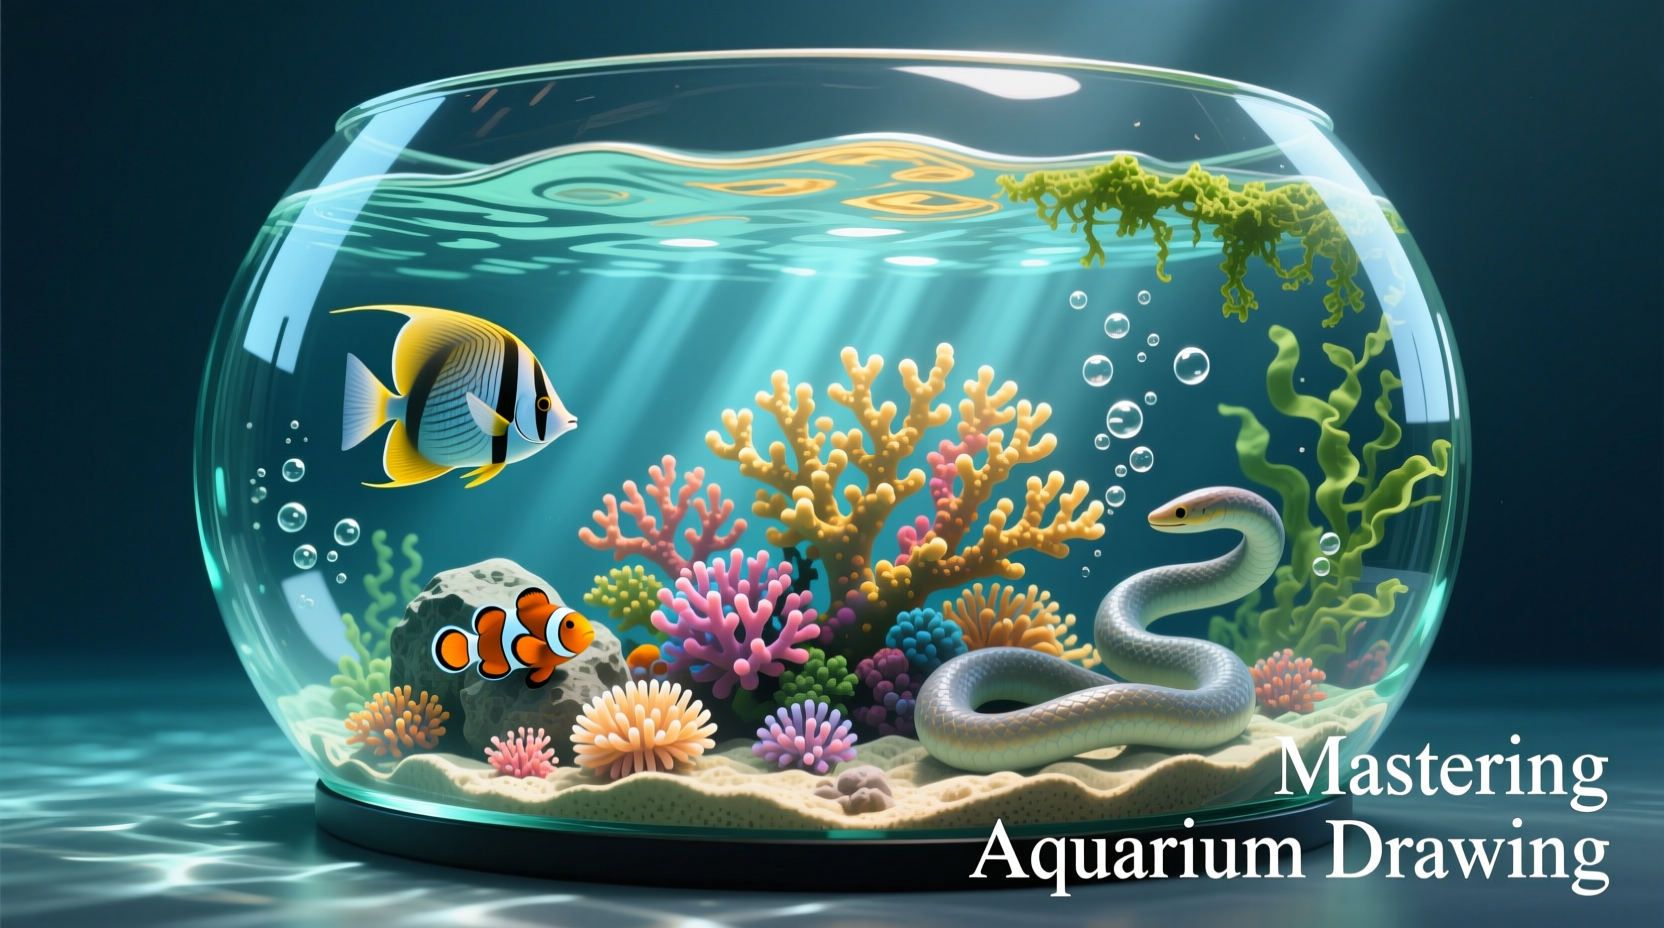
An aquarium isn't just a box filled with water and fish—it's a three-dimensional space viewed through glass, which distorts shape, size, and position. The first step in accurate aquarium drawing is understanding how glass affects perception. Light bends as it passes from water to air, causing objects inside to appear larger or shifted when seen from certain angles.
To draw convincingly:
- Sketch the aquarium as a transparent cube using one-point or two-point perspective.
- Mark where the front glass plane intersects with objects inside.
- Adjust proportions of fish and plants near the edges to reflect optical distortion.
Creating Depth with Layered Composition
A compelling aquarium scene uses layers to simulate distance. Think of your drawing in foreground, midground, and background zones:
- Background: Include distant features like rock formations, coral walls, or blurred silhouettes of large fish.
- Midground: Place primary subjects such as central fish, swaying plants, or decorative ornaments.
- Foreground: Add fine details like bubbles rising, algae textures, or the edge of gravel close to the viewer.
Overlapping shapes and diminishing scale help sell the illusion of depth. A small fish drawn partially behind a plant appears farther away, even without shading.
Rendering Water and Light Effects
Water doesn’t just surround the subject—it transforms how we see it. Capturing its properties elevates a flat sketch into a living environment. Key visual traits include:
- Refraction: Objects appear bent or magnified when viewed through curved or thick glass.
- Caustics: Wavy patterns of light that ripple across surfaces due to sunlight filtering through water.
- Translucency: Colors become softer and less saturated with distance.
To render caustic lighting, use soft hatching or stippling in irregular wave-like bands across the tank floor or fish bodies. Vary pressure to suggest fluctuating intensity.
| Effect | Technique | Tool Recommendation |
|---|---|---|
| Refraction | Slight warping of object outlines near glass edges | Mechanical pencil + eraser for micro-adjustments |
| Caustic Lighting | Irregular parallel curves with gradient density | Blending stump + HB/2B pencils |
| Bubbles | Small ovals with top highlights and bottom shadows | Fine liner pen or white gel pen |
Step-by-Step Guide: Drawing a Realistic Aquarium Scene
Follow this sequence to build a detailed, believable aquarium illustration from start to finish:
- Sketch the Tank Frame: Draw a rectangular prism in perspective. Define vanishing points if needed.
- Add Internal Structures: Position rocks, plants, and substrate (gravel/sand) using overlapping forms.
- Place Main Subjects: Sketch fish in dynamic poses—avoid symmetry for naturalism.
- Apply Basic Shading: Establish light source direction; shade under rocks and beneath fish bellies.
- Detail Glass Interactions: Show reflections of room lights or window frames on the glass surface.
- Render Water Effects: Add caustic ripples, bubble trails, and subtle blur to distant objects.
- Finalize Contrast: Deepen shadows and enhance highlights to increase dimensionality.
Selecting Subjects and Composing Life
The choice of aquatic life defines the mood of your drawing. A school of neon tetras suggests vibrancy and motion, while a slow-moving angelfish amid tall plants evokes calm. Consider behavior and habitat when placing species.
For balance, apply the rule of thirds: position focal points (e.g., a large fish or centerpiece ornament) near intersecting grid lines rather than dead center. Avoid overcrowding—negative space enhances clarity.
“An aquarium drawing succeeds not by how many elements it contains, but by how well they interact.” — Daniel Reeves, Scientific Illustrator & Marine Life Specialist
Checklist: Preparing for Your Aquarium Illustration
- ☐ Choose reference photos of real aquariums or marine environments
- ☐ Decide on perspective (frontal, corner view, overhead)
- ☐ Select key species and their positions
- ☐ Determine light source (top-down, side window, artificial)
- ☐ Gather tools: pencils (HB to 6B), erasers, ruler, blending tools
- ☐ Sketch lightly in stages—refine only after layout approval
Common Mistakes and How to Avoid Them
Even experienced artists fall into traps when depicting underwater scenes. Recognizing these pitfalls early improves accuracy and impact.
| Mistake | Why It’s Problematic | Solution |
|---|---|---|
| Uniform fish spacing | Looks artificial; nature is random | Cluster some fish, leave gaps elsewhere |
| Ignores glass reflection | Loses realism of enclosure setting | Add faint room reflections at 10–20% opacity |
| Flat lighting | No sense of depth or medium | Use gradients and caustic patterns |
| Over-detailing background | Distracts from main subjects | Blur or simplify distant areas |
Mini Case Study: From Sketch to Gallery Submission
Sophie Tran, a freelance illustrator based in Portland, entered a local art competition themed “Life Beneath the Surface.” Her piece, *Nocturnal Reef*, began as a simple aquarium sketch but evolved into a detailed nocturnal scene with bioluminescent fish and soft LED lighting.
She started with a wireframe tank in two-point perspective, then added coral structures using photo references from reef databases. To simulate dim blue lighting, she shaded everything in cool grays and used a white gel pen for pinpoint highlights on fins and bubbles. The final touch was subtle reflection of a moonlit window on the upper glass pane—barely visible but grounding the scene in reality.
The piece won second place and was praised for its atmospheric depth and technical precision. Sophie credits her success to patience in layering effects and studying real aquarium videos to understand fluid motion.
FAQ
How do I make fish look like they’re swimming naturally?
Capture motion by varying body angles—don’t draw all fish facing the same way. Slightly curve the spine, tilt fins asymmetrically, and overlap tails with other elements to imply movement through water.
Should I draw the aquarium stand and surroundings?
Including part of the stand or room context can enhance realism, especially if showing reflections. However, cropping tightly around the tank focuses attention on the underwater drama—choose based on your narrative goal.
Can I use color pencils or watercolor for aquarium scenes?
Absolutely. Color pencils allow precise layering of translucent hues, ideal for simulating water filters. Watercolor excels at soft gradients and caustic effects when applied with wet-on-wet techniques. Always test pigments for bleed resistance on your chosen paper.
Conclusion: Bring the Ocean to Paper
Mastering aquarium drawing is about more than replicating what’s inside the glass—it’s about interpreting how light, life, and liquid interact in a confined yet dynamic world. With deliberate planning, observational discipline, and creative flair, you can transform blank pages into vibrant underwater ecosystems.
🚀 Grab your sketchbook and start today. Choose a reference, break down the scene, and build your aquarium one layer at a time. Share your progress online with #AquariumArtChallenge and inspire others to dive into this captivating niche!