
Trimming your dog’s nails isn’t just about neat appearance—it’s a vital part of their health and comfort. Overgrown nails can cause pain, alter gait, lead to joint issues, or even split and bleed. Yet many pet owners avoid this task due to fear of hurting their dog. The truth is, with the right tools, technique, and patience, you can safely trim your dog’s nails at home. This guide walks you through every step, from identifying when trimming is needed to handling tricky black nails and managing anxious pets.
Why Nail Trimming Matters for Your Dog’s Health
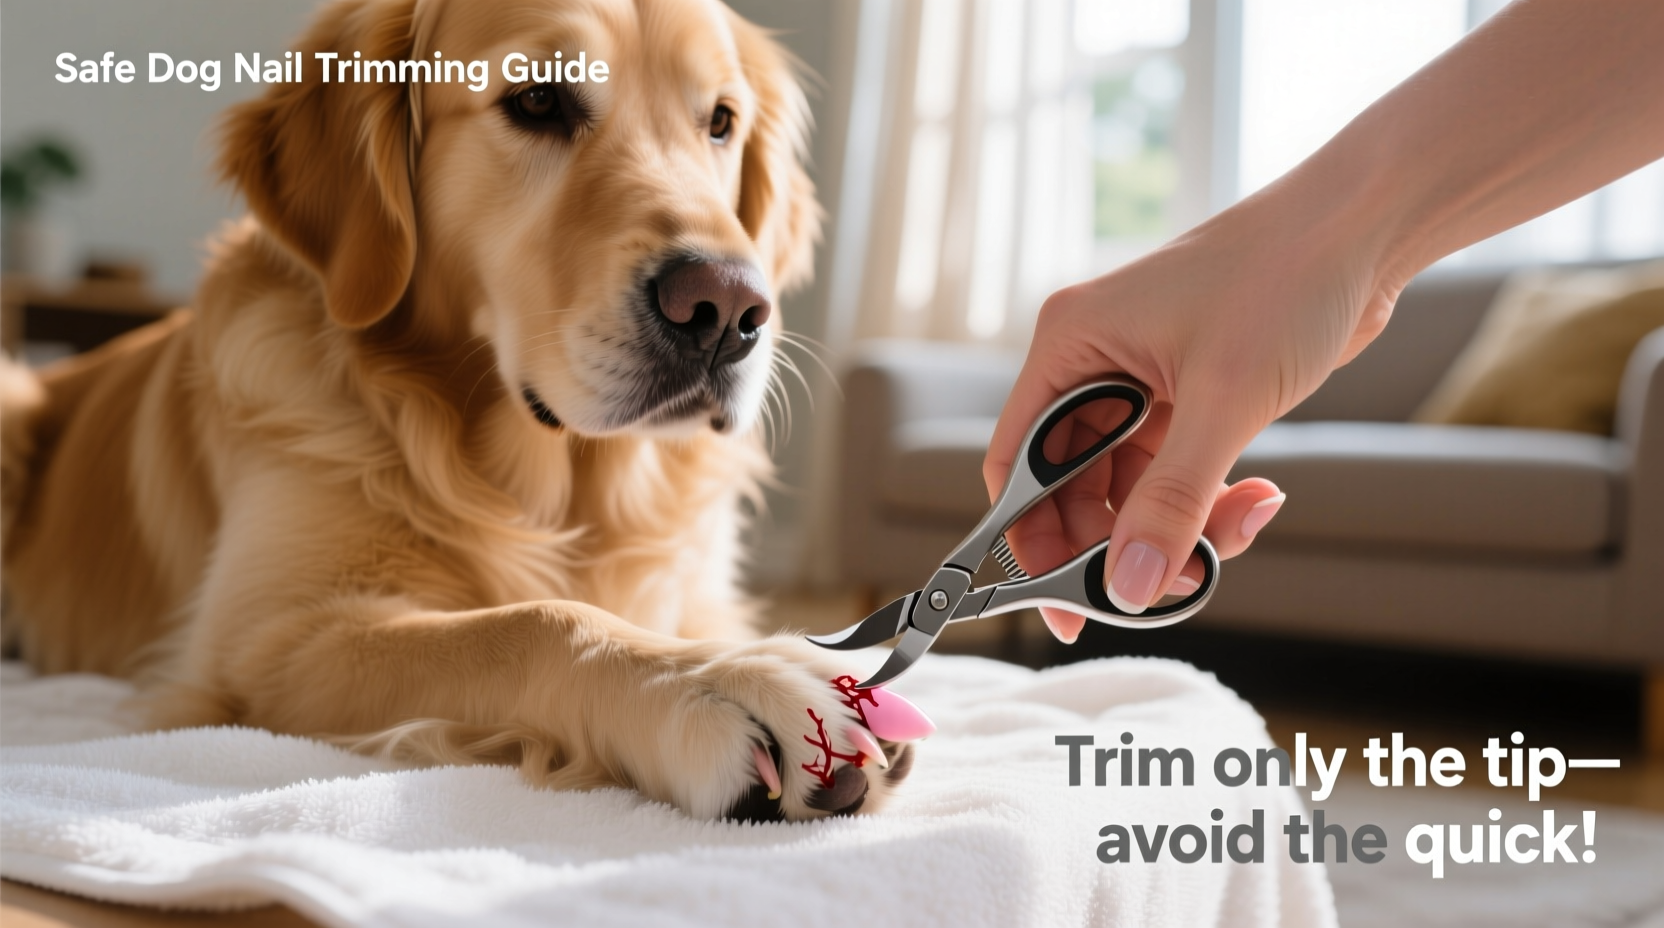
Dogs don’t always wear down their nails naturally, especially if they spend most of their time on soft surfaces like carpet or grass. When nails grow too long, they press into the footpad with each step, causing discomfort and altering the natural alignment of the toes and legs. Over time, this can contribute to arthritis or tendon strain. Additionally, long nails are more prone to snagging, cracking, or tearing—leading to painful injuries.
Veterinarians recommend checking your dog’s nails weekly. If you hear clicking on hard floors, it’s time for a trim. Regular maintenance prevents problems before they start and makes the process easier for both you and your dog.
Tip: Get your dog used to paw handling early. Touch their paws daily during cuddle time so nail trims feel less invasive.Choosing the Right Tools for the Job
Using the correct nail trimmer ensures a clean cut and reduces the risk of splitting or crushing the nail. There are three main types available:
- Guillotine clippers: A small hole holds the nail while a blade slides up to cut. Best for small to medium dogs but can be tricky on thick or dark nails.
- Scissor-style clippers: Resemble small scissors with sharp blades. Offer good visibility and control, ideal for larger breeds.
- Grinders (Dremel tools): File down the nail instead of cutting. Great for smoothing edges and reducing sharp tips, especially useful for dogs with black nails where the quick is hard to see.
Always keep styptic powder or cornstarch nearby. It stops bleeding instantly if you accidentally cut into the quick—the sensitive, blood-rich core inside the nail.
Tool Comparison: Do’s and Don’ts
| Tool Type | Best For | Do’s | Don’ts |
|---|---|---|---|
| Guillotine Clippers | Small to medium dogs with light-colored nails | Ensure the blade is sharp; position correctly over the tip | Avoid dull blades; don’t force wiggly dogs |
| Scissor-Style Clippers | Medium to large dogs | Use steady pressure; cut in one smooth motion | Don’t twist the tool mid-cut |
| Grinder (e.g., Dremel) | All dogs, especially those with black nails | Work slowly; cool the tool periodically | Don’t apply excessive pressure or overheat the nail |
Step-by-Step Guide to Safely Trim Your Dog’s Nails
- Gather supplies: Clippers or grinder, styptic powder, treats, towel (if needed for restraint).
- Choose a calm environment: Pick a quiet room with good lighting. Have your dog sit or stand comfortably.
- Examine each paw: Gently press the toe to extend the nail. Look for the pinkish area inside light nails—this is the quick. Avoid cutting within 2–3 mm of it.
- For black nails: Cut tiny slivers at a time. Stop when you see a small dark circle in the center of the cut surface—that’s the beginning of the quick.
- Make the cut: Clip at a 45-degree angle, aiming to remove just the sharp tip. With a grinder, rotate the tool gently across the nail tip.
- Reward immediately: Give a treat after each nail to reinforce positive behavior.
- File sharp edges: Use a grinder or emery board to smooth rough ends that could scratch furniture or skin.
- Stop if bleeding occurs: Apply styptic powder with firm pressure for 30 seconds. Stay calm—your dog will mirror your energy.
Handling Black Nails and the Risk of the Quick
Dark nails hide the quick, making them intimidating for beginners. But there’s a methodical way to approach them safely. Start by identifying the nail’s underside—sometimes the quick casts a slight bulge. Then, cut very small amounts (1 mm) at a time. After each cut, inspect the freshly trimmed end. In the center, you’ll eventually notice a small dark dot or ring. That’s the beginning of the pulp. Stop immediately—any further risks bleeding and pain.
Alternatively, use a grinder. It removes material gradually, minimizing the chance of sudden contact with the quick. Many owners find grinders less stressful for both themselves and their pets.
“With black nails, patience is non-negotiable. Rushing leads to mistakes. Take your time—one millimeter at a time—and your dog will stay comfortable.” — Dr. Lena Torres, Veterinary Behaviorist
Real Example: Helping a Fearful Rescue Dog
Max, a 3-year-old mixed breed rescued from a shelter, had severely overgrown nails and flinched whenever anyone touched his paws. His owner, Sarah, started slowly—just holding his paw for five seconds, then rewarding with a treat. She repeated this daily for a week before attempting any cuts. By week two, she introduced the clippers without using them, letting Max sniff and examine them. On day 15, she trimmed one back nail while another family member distracted him with praise. Over the next month, Max went from panic to sitting calmly during full trims. Today, he barely notices the process.
This case shows that trust and conditioning matter more than speed. Even dogs with traumatic pasts can learn to tolerate or even accept nail care when approached with empathy and consistency.
Frequently Asked Questions
How often should I trim my dog’s nails?
Most dogs need trimming every 3 to 4 weeks. Active dogs who walk on pavement regularly may go longer. Check weekly—if you hear clicking on tile or wood, it’s time.
What if I cut the quick?
Stay calm. Apply styptic powder or cornstarch with firm pressure for 30–60 seconds. Most bleeds stop quickly. Comfort your dog and resume trimming later. Avoid repeating the mistake by cutting smaller amounts next time.
Can I use human nail clippers?
No. Human clippers aren’t strong enough for canine nails and can crush rather than cut, causing splitting and pain. Always use tools designed for dogs.
Checklist: Preparing for a Stress-Free Nail Trim
- ☑ Choose a quiet time when your dog is relaxed
- ☑ Gather clippers, styptic powder, treats, and a towel (if needed)
- ☑ Inspect each nail to locate the quick (or plan incremental cuts for black nails)
- ☑ Handle paws gently and reward cooperation
- ☑ Trim one nail at a time, pausing between each to offer praise
- ☑ File sharp edges after cutting
- ☑ Store tools clean and dry for next use
Conclusion
Trimming your dog’s nails doesn’t have to be a battle. With the right tools, a calm mindset, and a patient approach, you can turn this routine chore into a bonding experience. Your dog will walk more comfortably, avoid injuries, and benefit from better overall posture. Start today—even if it’s just touching their paws or letting them sniff the clippers. Small steps build big progress.
💬 Have a nail-trimming success story or tip? Share it in the comments below and help fellow dog owners gain confidence!