Journaling is more than just recording thoughts—it’s a form of self-expression, mindfulness, and creative exploration. A personalized journal becomes an extension of your personality, reflecting your mood, goals, and aesthetic preferences. By incorporating creative layouts and decorative elements like stickers, you transform a blank notebook into a visual diary that inspires consistency and joy. Whether you're documenting daily life, planning projects, or exploring artistic ideas, personalization keeps the process engaging and meaningful.
Why Personalization Matters in Journaling
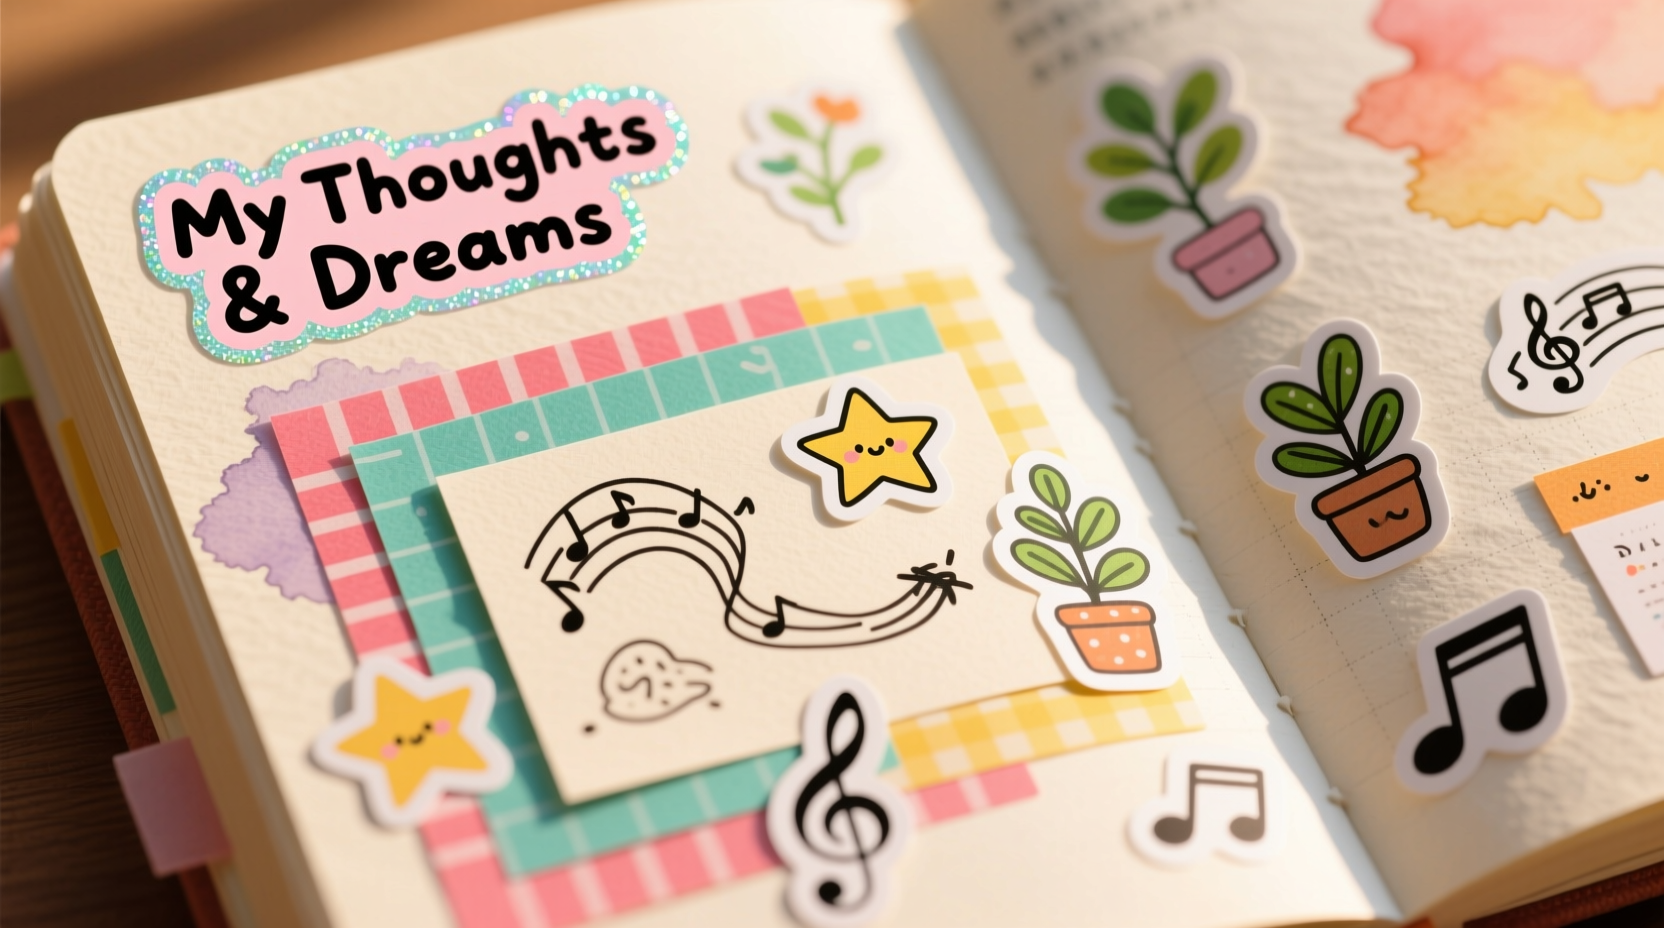
A journal doesn’t need to be perfect—just authentic. When you personalize your pages, you’re not only making them visually appealing but also reinforcing emotional connection. Studies in expressive writing show that people who engage creatively with their journals are more likely to maintain the habit long-term. The act of choosing colors, arranging layouts, and adding small details turns journaling from a chore into a ritual.
Personalization also supports cognitive function. Color-coding, visual cues, and spatial design help memory retention and information processing. For example, using different colored pens for moods or themes can make patterns easier to identify during reflection. Stickers and icons serve as quick-reference markers—ideal for bullet journaling or habit tracking.
Tip: Start small. You don’t need expensive supplies—use washi tape, highlighters, and printed stickers from craft stores to begin.Designing Creative Layouts That Work for You
The layout of a journal page sets the tone for its purpose. A well-thought-out structure balances aesthetics with functionality. Begin by identifying what kind of content each spread will hold: daily logs, weekly plans, gratitude lists, or creative sketches. Then, sketch a rough grid before committing ink to paper.
Use rulers or templates to create clean lines. Dot grid notebooks are especially useful because they allow freeform drawing while still providing subtle guidance. Common layout types include:
- Two-page spreads: Ideal for weekly overviews or monthly calendars.
- Asymmetrical designs: Add visual interest by placing headers off-center or using diagonal dividers.
- Themed sections: Dedicate certain spreads to specific topics—fitness, reading lists, travel plans—with matching fonts and borders.
To maintain readability, leave breathing room between sections. Overcrowding distracts from content. Use light pencil marks first, then go over them with fine liners once satisfied. Erase guidelines afterward for a polished look.
“Layout isn’t about perfection—it’s about intention. Every line and space should serve a purpose.” — Maya Tran, Hand-Lettering Artist and Journal Coach
Step-by-Step Guide to Creating a Balanced Spread
- Define the purpose: Is it for planning, reflection, or brainstorming?
- Sketch a wireframe: Lightly draw boxes or sections based on priority.
- Add hierarchy: Make important titles larger or bolder than subtext.
- Incorporate white space: Avoid filling every inch; let the eye rest.
- Finalize with ink: Trace over pencil marks using archival-safe pens.
- Decorate thoughtfully: Add borders, doodles, or icons after the structure is set.
Selecting and Using Stickers Effectively
Stickers are one of the most accessible tools for personalizing a journal. They come in countless styles—minimalist, floral, seasonal, motivational—and require no artistic skill to use. However, effective sticker use goes beyond random placement. Strategic application enhances clarity and theme without overwhelming the page.
Consider these categories when selecting stickers:
- Functional stickers: Arrows, checkboxes, flags, or labels that aid organization.
- Embellishment stickers: Decorative elements like florals, stars, or borders.
- Thematic stickers: Seasonal (e.g., pumpkins for autumn), hobby-related (books, coffee), or milestone markers (birthdays, trips).
Sheet-style sticker packs often include coordinating designs that work together across multiple spreads. Planner-specific brands like Kikki.K, Pink Panda, or Studio McGee offer cohesive collections ideal for consistent styling.
Tip: Use matte stickers for a subtle finish and glossy ones to highlight key areas. Avoid overly thick vinyl if you plan to close your journal tightly.Do’s and Don’ts of Sticker Application
| Do’s | Don’ts |
|---|---|
| Align stickers with headings or bullet points for visual flow. | Overload a single page with too many sticker types. |
| Use transparent-backed stickers to layer over text without blocking it. | Place bulky stickers near the spine where they may peel when closing. |
| Store leftover sheets flat and away from sunlight to prevent curling. | Use glue-heavy stickers that bleed through thin paper. |
| Cut individual stickers from sheets to customize size and fit. | Assume all stickers are acid-free—check packaging to protect long-term pages. |
Real Example: A Travel Journal Transformation
Sophie, a freelance writer, struggled to keep her travel notes organized. She’d jot down observations in a standard notebook, but pages felt chaotic and uninspiring. After attending a journaling workshop, she redesigned her approach using themed layouts and destination-specific stickers.
For her trip to Portugal, she created a two-page spread with a map outline on the left and handwritten highlights on the right. She used blue washi tape as a border to represent the ocean and added small sticker icons: a custard tart, a trolley car, and a wave. Functional stickers marked “Must Visit” and “Great Meal,” helping her track experiences efficiently.
The result? She filled three journals over two years and found herself reviewing them regularly—not just for nostalgia, but to inform future itineraries. Her friends began asking for tips, and she even started a small Instagram series showcasing her spreads.
This real-world case shows how simple personalization techniques can elevate both usability and emotional value.
Essential Supplies Checklist
Building a toolkit makes journaling faster and more enjoyable. Here’s a practical checklist to get started:
- Dot grid or blank notebook (preferably with thick, bleed-resistant paper)
- Fine-liner pens (black and colored, waterproof)
- Washi tape in 2–3 complementary colors
- Sticker assortment (functional + decorative)
- Ruler and pencil with eraser
- Highlighters or pastel markers (for soft accents)
- Small scissors or precision cutter (for trimming stickers)
- Portable pencil case or pouch for storage
You don’t need everything at once. Begin with a notebook, pen, and one sticker sheet. As your style evolves, expand your collection intentionally—choosing items that align with your themes and routines.
Frequently Asked Questions
Can I use regular stickers in my journal?
Yes, but consider paper thickness and adhesive strength. Standard stickers from gift shops may have strong glue that damages pages or causes bleeding. Opt for planner-grade or scrapbooking stickers labeled acid-free and photo-safe for best results.
How do I prevent ink from smudging under stickers?
Allow ink to dry completely before applying stickers. Use quick-drying pens like Sakura Pigma Micron or Uni Pin. If layering, place stickers over fully dried text and avoid lifting them repeatedly, which can rub off ink.
What if I’m not artistic? Can I still personalize my journal?
Absolutely. Personalization isn’t about drawing skills—it’s about expression. Use pre-designed sticker kits, printables, or washi tape to add flair without freehand work. Even consistent color schemes or neat handwriting contribute to a personalized feel.
Making It a Sustainable Habit
The most beautiful journal is useless if it gathers dust. Sustainability comes from alignment between design and purpose. If your spreads take too long to create, simplify. If you skip entries because the format feels rigid, loosen up.
Some find success with a “theme of the month”—January might focus on goals with gold accents, while April uses pastels and floral stickers for spring renewal. Others rotate layouts weekly: one week minimalist, the next artistic. Flexibility prevents burnout.
Set a routine: five minutes each evening to update your journal. During that time, add a sticker, adjust a layout, or write a sentence. Small actions compound into rich documentation over time.
Tip: Keep a “junk journal” for experimental layouts and sticker tests. This removes pressure from your main journal and encourages creativity.Conclusion: Your Journal, Your Rules
There’s no single right way to personalize a journal. What works for one person might overwhelm another. The goal isn’t perfection—it’s authenticity. Let your layouts evolve with your mood, season, or life phase. Use stickers not just as decoration, but as symbols of meaning: a sun for good days, a book for completed reads, a heart for moments of connection.
By blending thoughtful layouts with intentional embellishments, you create a space that invites return visits. Pages become more than records—they become reflections of growth, creativity, and presence.
💬 Ready to transform your journal? Pick one new layout idea and a sticker theme this week. Share your creation in the comments or tag a friend who loves stationery!