Personalizing a journal is more than just decoration—it’s an act of self-expression. The way you design your journal cover sets the tone for every word you write inside. Stickers offer a simple yet powerful way to convey your personality, passions, and current mood. Whether you're drawn to minimalist aesthetics, bold maximalism, or nostalgic throwbacks, the right sticker selection transforms a plain notebook into a visual diary of who you are.
But choosing random stickers isn’t enough. To truly reflect your vibe, your journal should feel intentional—cohesive, authentic, and uniquely yours. This guide walks through how to thoughtfully select, arrange, and preserve stickers on your journal cover so it becomes not just attractive, but deeply personal.
Understand Your Aesthetic Identity
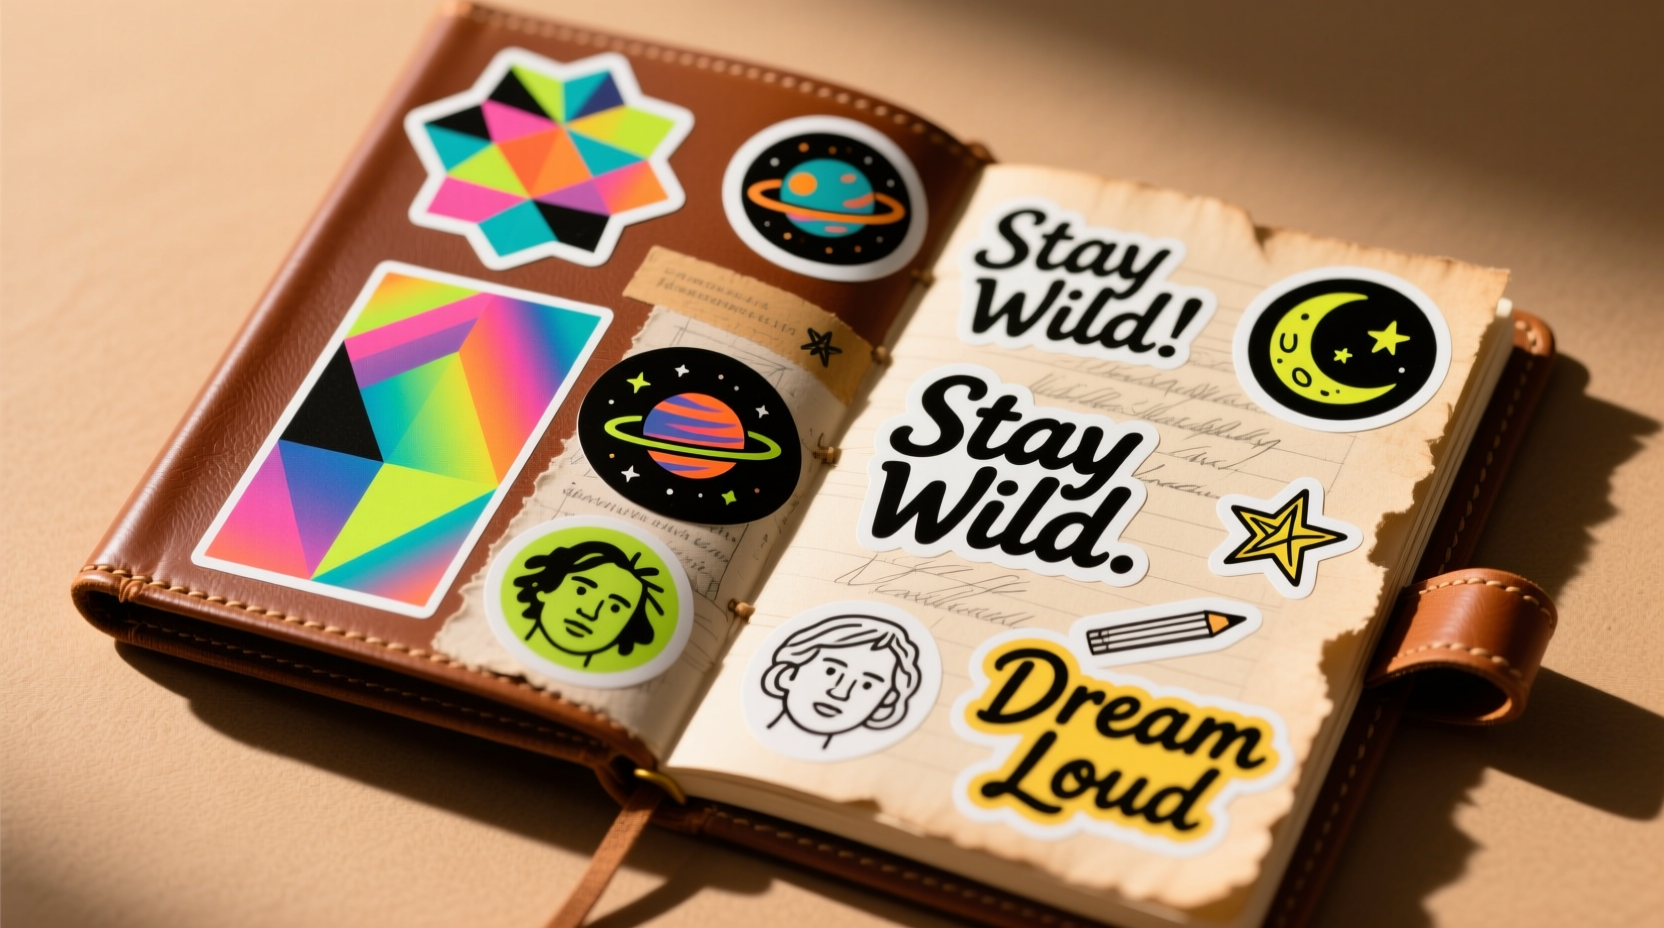
Before peeling off any sticker, take time to define what “your vibe” actually means. Are you calm and earthy? Energetic and colorful? Nostalgic and vintage-inspired? Identifying your aesthetic helps prevent a cluttered or mismatched look.
Start by asking yourself a few reflective questions:
- What colors do I wear most often?
- Which environments make me feel most at peace—or most alive?
- Do I lean toward modern minimalism or layered eclecticism?
- Are there symbols, animals, or objects that hold personal meaning?
Once you’ve clarified your style, assign it a descriptive label: “boho botanical,” “dark academia,” “kawaii chaos,” or “neutral simplicity.” This anchor guides your sticker choices and keeps the design cohesive.
Tip: Create a digital mood board using Pinterest or Canva to collect visual inspiration before shopping for stickers.Choose the Right Stickers for Your Vibe
Not all stickers are created equal. Beyond appearance, consider material, size, theme, and durability. Here’s how to match sticker types to common vibes:
| Vibe | Recommended Sticker Types | Color Palette |
|---|---|---|
| Minimalist / Neutral | Matte vinyl, line-art designs, small geometric shapes | Beige, white, black, soft gray |
| Kawaii / Playful | Puffy stickers, holographic accents, anime characters, food icons | Pastel pink, mint, lavender, sky blue |
| Bohemian / Nature-Inspired | Floral die-cuts, leaf motifs, celestial symbols, handmade paper stickers | Earthy greens, terracotta, mustard, sage |
| Dramatic / Moody | Glossy black accents, tarot imagery, gothic fonts, moon phases | Black, deep purple, blood red, charcoal |
| Retro / Vintage | Faded film stickers, cassette tapes, old-school logos, typewriter art | Mustard yellow, avocado green, rust orange |
Look beyond surface appeal. A sticker of a cactus might fit your desert-loving soul; a tiny rocket could symbolize your ambitions. Prioritize meaning over trendiness. When your stickers tell a story, your journal becomes a reflection of your inner world—not just a collection of pretty things.
“Your journal is a mirror of your mind. Let the outside reflect the richness within.” — Lila Chen, Journaling Coach & Creativity Mentor
Design with Intention: Layout and Composition
A haphazard sticker explosion can overwhelm the eye. Thoughtful arrangement ensures visual harmony while still allowing room for spontaneity.
Begin by laying out your stickers on the cover without peeling them. Shift positions until the balance feels right. Consider these design principles:
- Rule of Thirds: Divide your cover into a 3x3 grid mentally. Place focal points (like a large floral cluster or favorite quote) near intersecting lines.
- Layering: Combine transparent overlays, semi-opaque backgrounds, and solid foreground elements for depth.
- Negative Space: Leave breathing room. Empty areas create contrast and draw attention to key stickers.
- Flow: Arrange stickers in a natural path—diagonal, spiral, or frame-like—to guide the viewer’s eye.
If you’re unsure where to start, try one of these proven layouts:
- The Corner Cluster: Group 3–5 complementary stickers in one corner, leaving the rest clean.
- The Border Frame: Line the edges with small repeating icons (stars, dots, leaves).
- The Central Emblem: Feature one standout sticker in the middle, surrounded by supporting accents.
- The Asymmetrical Spread: Distribute varied sizes and shapes unevenly but balanced across the cover.
Mini Case Study: Maya’s Mood-Based Journal Makeover
Maya, a freelance writer, used to buy stickers impulsively—often ending up with covers that felt chaotic. After journaling about her frustration, she realized she wanted her notebooks to reflect her emotional state each season.
She began categorizing her stickers by mood: calming blues and ocean themes for anxious periods, bright yellows and suns during joyful stretches, and deep purples with moon stickers when introspective.
Each month, she’d assess her energy and choose a dominant theme. She applied stickers in clusters that grew organically over time—adding a new one whenever she journaled about a meaningful moment.
The result? Her journals became emotional timelines. Flipping through them years later, she could instantly recall how she felt during different chapters of her life—all through the language of stickers.
Protect Your Design for Long-Term Wear
Stickers can peel, fade, or yellow—especially on items handled daily. Protect your artwork so it lasts as long as your memories.
First, ensure your journal cover material is compatible. Vinyl stickers adhere best to smooth surfaces like laminated paper, plastic, or coated cardboard. Avoid applying them to textured or fabric-bound journals unless using fabric-safe adhesive.
To increase durability:
- Seal the entire cover with a clear matte laminate sheet or decoupage glue like Mod Podge.
- Use UV-protectant spray to prevent sunlight from fading colors.
- Avoid stacking sticker-heavy journals tightly—pressure can cause lifting.
- Carry your journal in a protective sleeve if storing in a bag with keys or pens.
If you want flexibility, consider using removable static-cling stickers or magnetic sheets for metal-bound journals. These allow seasonal redesigns without residue.
Step-by-Step Guide: Personalizing Your Cover in 5 Stages
- Reflect: Spend 10 minutes journaling about your current vibe, mood, and interests.
- Curate: Select 8–12 stickers that align with your identified theme. Limit impulse picks.
- Arrange: Dry-lay stickers on the cover. Experiment with groupings and negative space.
- Apply: Peel and press firmly from center outward to avoid air bubbles.
- Preserve: Seal with a protective coating and store flat until dry.
Common Mistakes to Avoid
Even experienced journalers make errors that compromise both aesthetics and longevity. Steer clear of these pitfalls:
- Overcrowding: Too many stickers create visual noise. Less often reads as more intentional.
- Mismatched Scales: Giant stickers next to tiny ones can feel unbalanced unless deliberately contrasted.
- Ignoring Themes: Mixing unrelated aesthetics (e.g., cyberpunk and cottagecore) without a bridge concept causes dissonance.
- Skipping Prep: Applying stickers to dirty or damp surfaces reduces stickiness and invites bubbling.
- Forgetting Function: Don’t cover hinges or spine—this can interfere with opening the journal.
Checklist: Ready to Personalize Your Journal?
- ☑ Identified my current aesthetic vibe
- ☑ Selected stickers with personal or symbolic meaning
- ☑ Cleaned the journal cover surface
- ☑ Dry-laid stickers to test layout
- ☑ Applied stickers smoothly and securely
- ☑ Sealed the design for protection
- ☑ Stored the journal safely when not in use
FAQ
Can I remove stickers without damaging the cover?
Yes, if done carefully. Use a hairdryer on low heat to gently warm the sticker, then lift an edge with a plastic card. Pull slowly at a 45-degree angle. Residue can be removed with rubbing alcohol on a cotton swab—test on a small area first.
What if I don’t like how it looks after applying?
It’s okay to evolve. If you regret the design, embrace it as part of your journey. You can cover sections with washi tape or a painted layer, or simply start fresh on a new journal. Imperfection adds authenticity.
Are there eco-friendly sticker options?
Yes. Look for biodegradable vinyl, compostable paper stickers, or brands that use soy-based inks and recyclable packaging. Some makers offer refillable sticker tins to reduce waste.
Final Thoughts: Let Your Journal Speak for You
Your journal is more than a tool—it’s a companion through growth, change, and discovery. When you personalize the cover with stickers that resonate with your true self, you create a sacred object that invites you to write, reflect, and return.
Don’t aim for perfection. Aim for truth. A sticker of a cracked teacup might remind you of resilience. A tiny spaceship could symbolize your courage to explore the unknown. These small details accumulate into a narrative far richer than words alone.
Take a moment today. Flip open your journal. Look at its cover. Does it reflect who you are now? If not, gather your stickers, trust your instincts, and begin.
💬 Share your sticker story! What’s one sticker on your journal that holds special meaning? Comment below and inspire others to create with heart.