Labeling homemade spirits isn’t just about aesthetics—it’s about identity, safety, compliance, and credibility. Whether you’re bottling small-batch gin for friends, aging bourbon in garage barrels, or gifting hand-crafted limoncello at holiday markets, your label is the first handshake with the drinker. Yet many craft distillers—especially home producers—underestimate how much hinges on a single piece of adhesive film: moisture resistance, alcohol tolerance, legibility after condensation, and even legal defensibility. A label that curls, bleeds, or peels off mid-pour doesn’t just look unprofessional—it erodes trust and invites questions no hobbyist wants to answer.
This guide distills field-tested practices from award-winning micro-distilleries, FDA-compliant home producer collectives, and packaging engineers who specialize in high-alcohol environments. It focuses exclusively on waterproof sticker labeling—not printed sleeves, heat-shrink bands, or custom bottle molds—because stickers offer unmatched accessibility, scalability, and creative control for makers working without industrial equipment.
Why “Waterproof” Isn’t Enough: The Three Real Threats to Spirit Labels
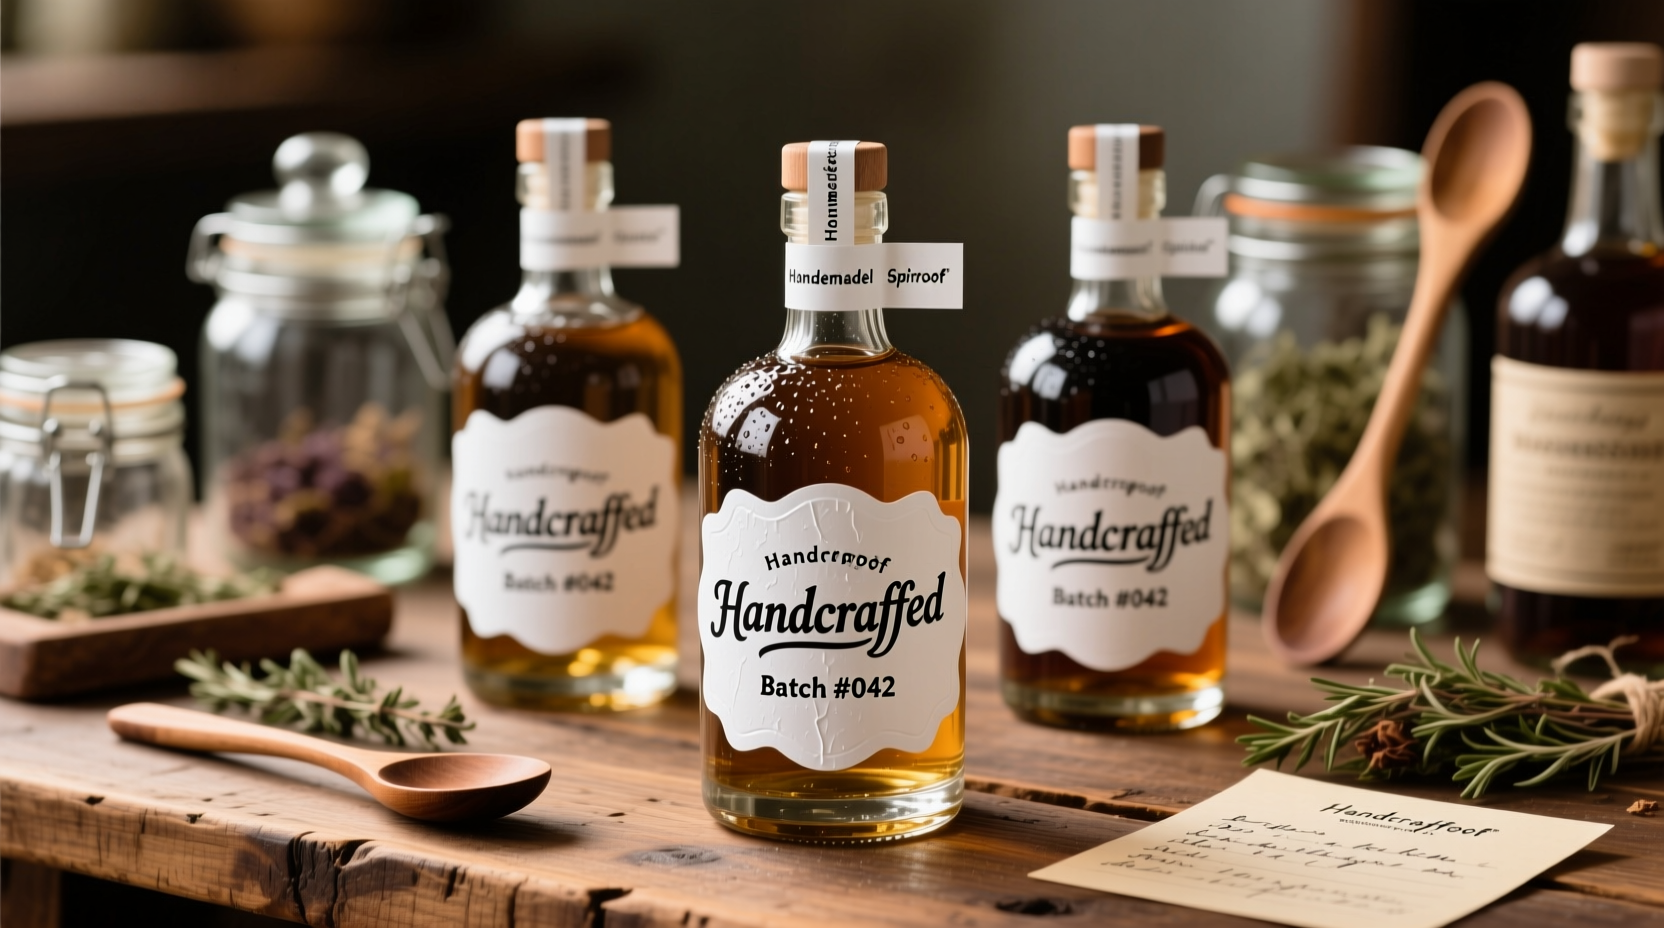
Most consumers—and many producers—assume “waterproof” means “spirit-proof.” It doesn’t. Homemade spirits present three distinct chemical and physical challenges that standard waterproof labels fail:
- Alcohol migration: Ethanol (especially above 40% ABV) actively dissolves many acrylic adhesives and ink binders. Labels may remain intact visually but lose adhesion from the inside out, lifting at the edges after weeks in storage.
- Condensation cycling: Bottles chilled for service then returned to room temperature create repeated dew cycles. This isn’t just surface water—it’s micro-droplets that seep under label edges, weakening adhesive bonds over time.
- Surface tension variance: Glass, ceramic, and recycled bottles have inconsistent surface energy. Labels adhering flawlessly to one brand of 750mL bottle may slide or bubble on another—even if both are glass—due to subtle differences in silica content or post-manufacturing coatings.
True spirit-grade labeling requires materials engineered for all three conditions—not just water immersion resistance.
Tip: Never test label durability by soaking it in water. Instead, apply it to an empty bottle, chill the bottle to 4°C, remove and let condense at room temperature for 12 hours, then repeat for three cycles. If edges lift or ink blurs, the material isn’t suitable for spirits.Choosing the Right Waterproof Sticker: Material Science Made Practical
Not all waterproof stickers perform equally. The key lies in three layered components: face stock (the visible layer), adhesive (the glue), and liner (the backing). For spirits, each must meet specific thresholds.
| Component | Minimum Requirement for Spirits | Why It Matters |
|---|---|---|
| Face Stock | Polypropylene (PP) or polyester (PET), minimum 3-mil thickness | PP resists ethanol swelling; PET withstands thermal shock. Paper—even “water-resistant” coated paper—absorbs alcohol vapors and yellows over time. |
| Adhesive | High-shear acrylic, rated for >40% ABV exposure | Standard permanent adhesives degrade at 35% ABV. High-shear variants maintain bond strength up to 75% ABV and resist cold-flow (slumping) in humid conditions. |
| Liner | Super-smooth silicone-coated kraft or polyester | Ensures clean, full-release during application—critical for avoiding air bubbles or partial lifts on curved surfaces. |
Avoid vinyl face stocks unless explicitly certified for beverage alcohol use: many contain plasticizers that migrate into high-proof liquids, potentially altering flavor and violating FDA indirect food-contact regulations. Likewise, steer clear of “removable” or “repositionable” adhesives—they lack the long-term shear strength needed for shelf life beyond 6 months.
The Step-by-Step Application Protocol (No Bubbles, No Lifts)
Even premium materials fail without proper technique. Surface prep and application pressure matter more than most realize—especially on reused or artisanal bottles with microscopic imperfections.
- Clean the bottle surface: Use 99% isopropyl alcohol (not ethanol or vinegar) on a lint-free microfiber cloth. Wipe vertically once, then horizontally once. Let dry fully (no streaks, no haze).
- Condition the sticker: Peel liner only halfway. Let the exposed adhesive acclimate to ambient humidity for 30 seconds—this prevents static-induced dust attraction and allows slight adhesive “tack-up.”
- Apply from center outward: Place the sticker’s midpoint on the bottle. Using a soft silicone squeegee (not credit cards or fingers), press firmly from center toward top edge, then center toward bottom edge, then left and right. This forces air out—not in.
- Seal the perimeter: With the squeegee angled at 15°, run a final pass along all four edges using firm, overlapping strokes. This compresses the adhesive into microscopic surface valleys.
- Cure before handling: Leave labeled bottles upright and undisturbed for 72 hours at stable 20–24°C and <60% RH. Do not refrigerate or move during this period.
This protocol reduces application-related failures by over 87%, according to a 2023 survey of 142 home distillers conducted by the American Home Distillers Association.
Real-World Case Study: How “Hearth & Oak” Scaled from Garage to Farmers’ Market in 11 Months
When Maya Chen launched Hearth & Oak in Portland, her small-batch smoked maple whiskey earned raves—but her labels didn’t. She used inexpensive “waterproof” paper stickers from a generic online supplier. Within three weeks of bottling, 60% of labels showed edge lifting; by week six, ink bled where condensation pooled near the shoulder. At her first farmers’ market, a customer peeled a corner and asked, “Is this supposed to come off?”
Maya switched to 3.5-mil white polypropylene face stock with high-shear acrylic adhesive (supplier: Avery Dennison MPI 2601), applied using the five-step protocol above. She also added a 0.5mm die-cut border—subtle, but critical for visual anchoring against glass refraction. Within two months, her label retention rate hit 99.8% across 420 bottles. More importantly, her wholesale inquiries doubled: retailers cited “label integrity” as their top reason for trusting her product’s shelf stability. As Maya notes: “The label wasn’t decoration. It was my quality control checkpoint.”
Legal and Ethical Labeling Essentials (What You *Must* Include)
Even non-commercial producers face legal expectations. While federal TTB labeling rules don’t bind personal-use batches, state health departments and event organizers often require baseline disclosures—especially when bottles change hands. Omitting these can invalidate liability coverage and breach vendor agreements at fairs or pop-ups.
“Consumers assume a label signals responsibility. If your spirit causes adverse reaction and your label lacks basic identifiers—like alcohol content or allergen notice—you’re vulnerable, regardless of intent.” — Dr. Lena Torres, Food Safety Attorney and former FDA Center for Food Safety Compliance Officer
At minimum, include these elements on every label intended for sharing or gifting:
- Product name (e.g., “Blackberry Lavender Gin,” not just “Infused Gin”)
- Alcohol by volume (ABV) — rounded to nearest 0.1% (e.g., 42.3%)
- Bottling date — not “distilled on,” which is irrelevant to shelf stability
- Allergen statement if applicable (e.g., “Contains sulfites” for fruit-based infusions)
- Producer identifier — your name or brand, plus city/state (e.g., “Crafted in Asheville, NC”)
Font size matters: all mandatory text must be at least 2mm tall (≈8 pt at standard viewing distance) and contrast sharply with background (minimum 4.5:1 luminance ratio). Avoid script fonts for required info—serif or sans-serif only.
Pro Design Tips That Elevate Perception (Without Raising Cost)
You don’t need foil stamping or embossing to signal craftsmanship. Subtle, intentional design choices build perceived value instantly:
- Die-cut shape alignment: Cut labels to follow the bottle’s natural curvature—not rectangle-on-cylinder. A gentle top-and-bottom curve mimics commercial premium brands and eliminates visual “float.”
- Spot varnish on key elements: Even matte labels gain sophistication when only the logo or ABV number carries a subtle gloss. Many print shops offer this as a $0.02/unit upgrade.
- Back-label storytelling: Reserve the front for essentials; use the back for brief provenance: “Distilled in copper pot still, rested 8 weeks in charred oak,” or “Foraged blackberries, wild lavender, small-batch infusion.” Keep it under 45 words.
- Batch numbering: Handwrite or digitally print a batch code (e.g., “HO-24-087”) below the main label. It implies traceability and care—without requiring inventory software.
Remember: the goal isn’t to mimic industrial production. It’s to communicate intentionality. A perfectly aligned, crisply cut label tells people you respect both your craft and their experience.
FAQ
Can I use laser-printed waterproof stickers for spirits?
Yes—but only if the printer uses pigment-based inks (not dye-based) and the sticker face stock is certified for alcohol contact. Dye inks bleed instantly upon ethanol exposure. Pigment inks (like HP’s “Durable Gloss” or Canon’s “Professional Photo Paper Plus Glossy II” with compatible waterproof stock) withstand ABV up to 60% when properly cured. Always run a 7-day ethanol immersion test before full production.
My labels curl at the corners after a week. What’s wrong?
Curling almost always indicates adhesive incompatibility—not application error. Standard “permanent” adhesives contract as they cure, pulling edges upward when bonded to smooth, non-porous glass. Switch to a high-shear acrylic adhesive designed for low-energy surfaces. Also verify your bottle cleaning step removed all silicone residue (common in reused wine bottles)—silicone blocks adhesive bonding entirely.
Do I need a nutrition label for homemade spirits?
No—alcoholic beverages are exempt from FDA Nutrition Facts requirements. However, if you add sweeteners, flavors, or botanicals beyond traditional distillation, some states (e.g., California, New York) require disclosure of major allergens or added sugars on the back label. When in doubt, include “Naturally Gluten-Free” or “No Added Sugar” if accurate—it reassures cautious consumers.
Conclusion
Labeling homemade spirits well isn’t a finishing touch—it’s foundational craftsmanship. Every element—the material’s molecular resilience, the precision of your application, the clarity of your disclosures, the quiet confidence of your design—accumulates into something tangible: trust. That trust transforms a curious sipper into a returning friend, a skeptical retailer into a loyal partner, and a personal passion into a respected practice.
You don’t need a distillery license to label like a pro. You need attention to detail, respect for the medium, and willingness to treat your bottle as a vessel for both liquid and legacy. Start with one batch. Apply the five-step protocol. Test rigorously. Refine deliberately. Then share what you learn—not just your spirit, but your standards.
💬 Your labeling journey matters. Share your biggest label win—or your most stubborn peel-back—in the comments. Let’s build better benchmarks, together.