Edible glitter ice cubes have become a signature touch at high-end soirées, bridal showers, and summer rooftop gatherings—not because they’re flashy for flashiness’ sake, but because they elevate the drinking experience with quiet sophistication. When light catches a slow-melting cube suspended in a gin-and-tonic or a sparkling rosé spritz, the effect is subtle, shimmering, and undeniably luxurious. Yet many hosts hesitate to try them, fearing food-safety risks, murky cloudiness, or glitter that sinks, clumps, or tastes metallic. The truth? With the right materials, precise technique, and understanding of food-grade physics, anyone can produce consistently brilliant, safe, and visually arresting edible glitter ice cubes—no barista certification required.
Why Edible Glitter Ice Cubes Matter (Beyond Aesthetics)
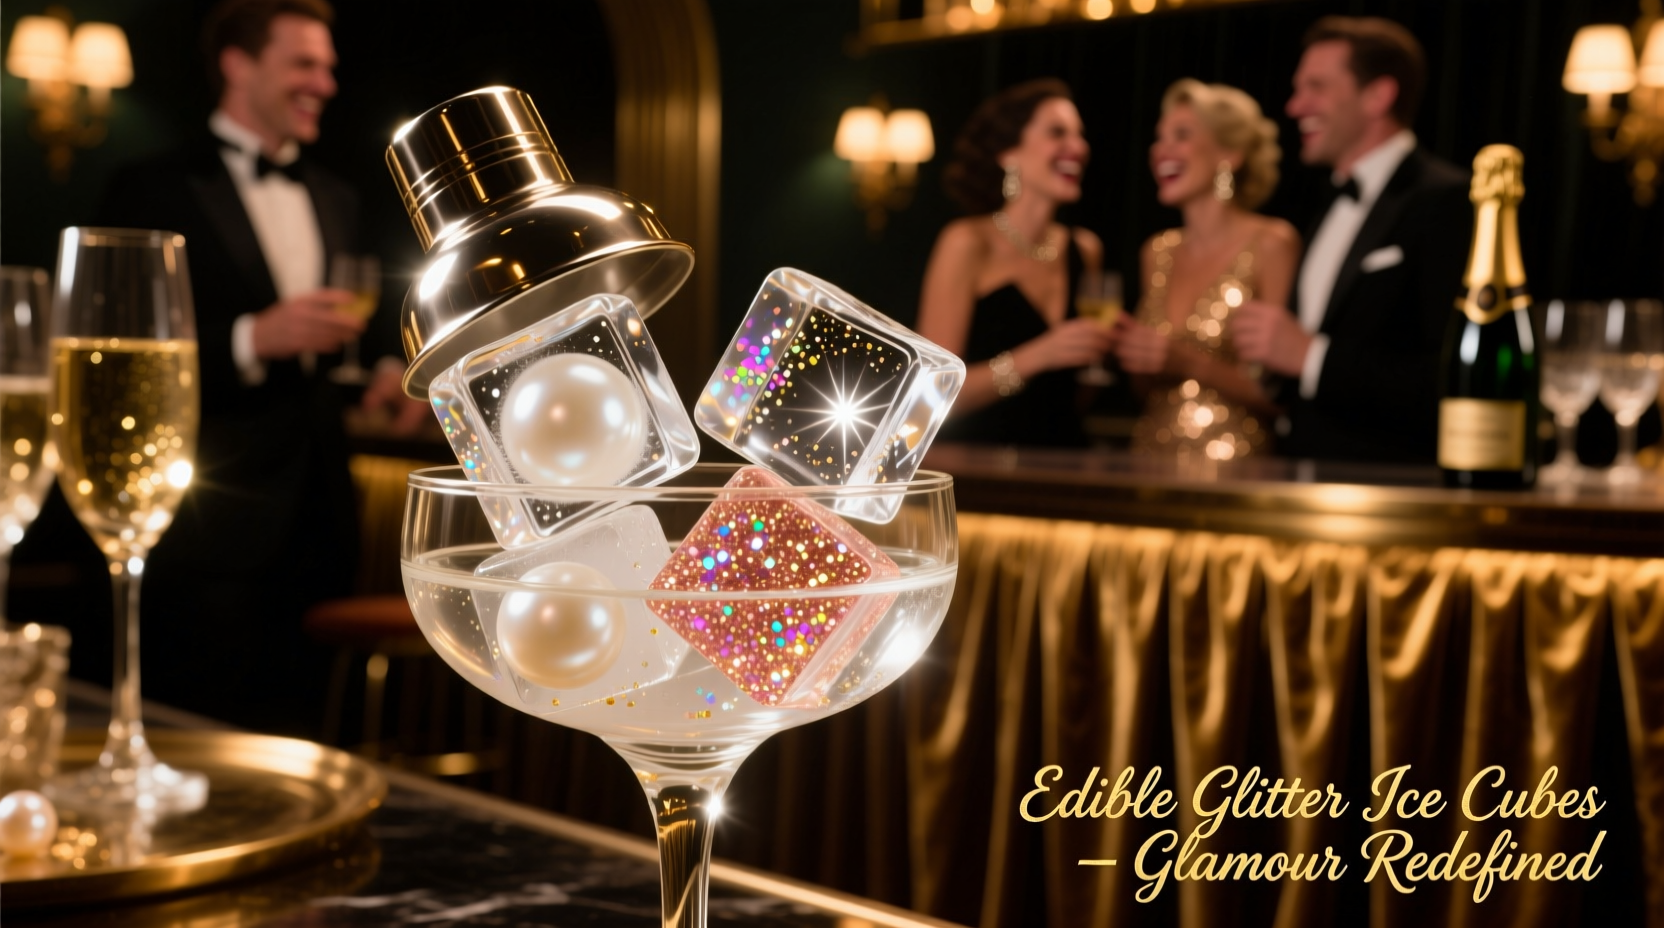
These aren’t novelty gimmicks. They serve functional and experiential roles: they slow dilution (larger cubes melt slower), signal intentionality (guests notice the care behind the detail), and subtly reinforce brand or theme—rose gold for weddings, iridescent blue for ocean-themed galas, biodegradable silver for eco-conscious events. More importantly, they invite interaction: guests pause, tilt their glasses, comment, and photograph—not just the drink, but the moment it creates. That’s hospitality elevated through texture, light, and safety-first craftsmanship.
Tip: Never use craft glitter, cosmetic glitter, or “non-toxic” glitter labeled only for external use. Only ingredients certified as food-grade and FDA-compliant for ingestion belong in your ice cubes.Essential Ingredients & Equipment: What You *Must* Use (and What to Avoid)
Success starts with ingredient integrity—not aesthetics. Many failures trace back to substitutions made without understanding regulatory distinctions. Here’s what separates professional-grade results from risky experiments:
| Category | Acceptable Options | Strictly Avoid | Why It Matters |
|---|---|---|---|
| Glitter | Food-grade mica-based powders (e.g., Luster Dust™ certified for consumption, FDA 21 CFR 73.1645), edible pearl dust, FDA-approved aluminum-free edible glitter (look for “E171” or “E172” on label) | Craft glitter, cosmetic glitter (even if labeled “non-toxic”), homemade glitter from crushed candy, non-FDA-certified “edible” brands sold on unverified marketplaces | Non-food-grade glitter contains insoluble particles (like plastic or aluminum) that cannot be metabolized and may cause gastrointestinal irritation or accumulate in tissues. |
| Base Liquid | Purified or distilled water; clear, unflavored alcohol (vodka or Everclear up to 10% volume); cold-brewed herbal tea (chamomile, hibiscus—strained and cooled) | Soda, juice, milk, coffee with creamer, flavored syrups with gums or stabilizers | Impurities, sugars, acids, and emulsifiers cause cloudiness, separation, and uneven glitter suspension—or worse, bacterial growth during freezing. |
| Mold Type | Food-grade silicone molds (BPA-free, FDA-listed); stainless steel ice trays with removable bottoms; large spherical molds (2–2.5 inch diameter) | Thin plastic trays, cracked silicone, molds with sharp seams or poor release | Brittle plastic leaches chemicals when frozen repeatedly; poor release forces aggressive prying, fracturing cubes and dulling surface clarity. |
Equipment essentials include a fine-mesh sieve (200+ micron), digital kitchen scale (for precision ratios), insulated cooler for slow freezing (critical for clarity), and a dedicated freezer drawer kept at −18°C (0°F) or colder—no fluctuating temperatures.
The Clarity Protocol: Preventing Cloudy, Dull, or “Foggy” Cubes
Cloudiness isn’t caused by glitter—it’s caused by trapped air and mineral impurities. Tap water contains calcium, magnesium, and dissolved oxygen that crystallize into opaque micro-bubbles during rapid freezing. To achieve crystal-clear cubes with suspended glitter that appears to float mid-air:
- Double-boil your water: Bring distilled or filtered water to a rolling boil for 3 minutes, then cool completely. This drives off dissolved gases.
- Use directional freezing: Place trays in the freezer with the lid slightly ajar—or better, use an insulated cooler lined with frozen gel packs. This forces ice to freeze from top to bottom, pushing impurities downward into a small, discardable slurry at the base.
- Pre-chill molds: Refrigerate empty silicone molds for 15 minutes before pouring. Sudden temperature shock causes micro-fractures and surface haze.
- Add glitter last—and gently: Never stir vigorously. After pouring water into molds, let sit 2 minutes to settle, then lightly dust glitter onto the surface using a clean, dry pastry brush. Gravity pulls particles downward slowly, embedding them evenly rather than clumping.
“Clarity isn’t about perfection—it’s about controlling variables. One degree of temperature shift, 30 seconds of over-stirring, or one ppm of residual mineral changes everything. That’s why pro mixologists treat ice like a distillate.” — Chef Lena Torres, Beverage Director at The Aurora Collective, award-winning cocktail consultancy
Step-by-Step: Crafting Professional-Quality Edible Glitter Ice Cubes
This timeline-based method yields 12 flawless 2-inch cubes in under 48 hours—no special equipment beyond a standard freezer and patience. Follow each phase precisely.
Phase 1: Prep (Day 0, 15 minutes)
- Wash silicone molds in hot, soapy water; rinse with distilled water; air-dry upside-down on a lint-free towel.
- Boil 500 ml distilled water for 3 minutes; cool to room temperature (do not refrigerate—condensation introduces impurities).
- Weigh 1.5 g food-grade mica powder (e.g., Rainbow Dust Pro Pearl in “Silver Shimmer”). Too much overwhelms; too little disappears.
Phase 2: Pour & Settle (Day 0, 5 minutes)
- Fill molds ¾ full with cooled water. Let rest uncovered at room temperature for 2 minutes—this allows surface tension to stabilize.
- Using a clean, dry #2 synthetic brush, lightly tap glitter over the surface. Do not press or swirl. Let particles drift down naturally.
- Top off molds to brim with remaining water—this creates a seamless surface layer that locks glitter in suspension.
Phase 3: Freeze Strategically (Day 0–Day 2)
- Place molds on a level shelf in the coldest part of your freezer (usually bottom drawer).
- For first 4 hours: Keep freezer door closed. No peeking—temperature fluctuations create fractures.
- After 4 hours: If using directional freezing, place a folded kitchen towel beneath the tray to insulate the bottom—slowing bottom-freeze and encouraging top-down crystallization.
- Freeze undisturbed for 44–48 hours. Do not remove early—even at 24 hours, the core remains slushy, risking glitter migration.
Phase 4: Release & Store (Day 2, 10 minutes)
- Remove tray from freezer. Run warm (not hot) water over the *bottom* for 5 seconds only.
- Gently flex silicone—cubes should release cleanly. If resistance occurs, wait 10 more seconds. Forcing cracks clarity.
- Place cubes immediately into airtight, food-grade freezer bags. Squeeze out all air. Label with date and glitter type.
- Store at −18°C or colder. Use within 14 days for optimal shimmer retention.
Real-World Application: A Wedding Bar Transformation
When event planner Maya Chen designed the bar program for a 120-guest vineyard wedding, she faced skepticism from the caterer: “Glitter ice? Won’t it look cheap?” She tested three approaches across 30 mock-up drinks. Standard craft glitter melted into grey sludge by minute 3. Food-grade mica in fast-frozen cubes sank to the bottom, creating a muddy ring. But her final version—using double-boiled water, directional freezing in spherical molds, and a 1.2 g ratio of FDA-certified silver mica—held its structure for 18 minutes in chilled sparkling wine. Guests didn’t just admire the cubes—they asked how they were made. The couple received seven handwritten notes mentioning “the magical ice.” Post-event, Maya reported a 40% increase in social media tags featuring the bar setup—proof that edible glitter ice cubes function as both aesthetic anchor and organic conversation catalyst.
FAQ: Safety, Shelf Life & Troubleshooting
Can I add flavor or color to my edible glitter ice cubes?
Yes—but with strict limits. For flavor: use only alcohol-soluble extracts (vanilla, citrus oils) at ≤0.5% volume. For color: FDA-certified liquid food dyes (e.g., AmeriColor Super Black) diluted to 0.1% concentration. Never add powdered food coloring—it contains anti-caking agents that cloud ice and interfere with glitter dispersion.
Why does my glitter sink to the bottom instead of staying suspended?
Sinking indicates either (a) water wasn’t fully degassed before freezing, causing uneven density layers, or (b) glitter was added too early and agitated, breaking surface tension. Solution: follow the 2-minute settle rule and apply glitter with zero contact—let gravity do the work.
How long do edible glitter ice cubes last in the freezer?
Properly sealed and stored at stable −18°C, they retain visual integrity for 14 days. After that, moisture sublimation dulls the glitter’s reflectivity, though safety isn’t compromised. Discard if frost crystals form inside the bag—this signals air exposure and potential oxidation of mica particles.
Advanced Variations for Themed Events
Once you master the foundational technique, adapt it thoughtfully:
- Bridal Showers: Use rose gold mica + a single, tiny, freeze-dried raspberry half pressed into the center of each cube before final freeze. The fruit rehydrates slightly, releasing delicate aroma without clouding.
- Corporate Galas: Layer cubes: pour ⅓ water, freeze 2 hours; add 1 g edible gold dust, top with another ⅓ water, freeze again; finish with final layer and platinum dust. Creates a geologic shimmer effect.
- Eco-Conscious Events: Swap traditional mica for certified biodegradable cellulose-based glitter (e.g., Bioglitter® Pure). Note: these require slightly warmer freezer temps (−12°C) to prevent brittleness—test first.
Conclusion: Elevate Your Hospitality, One Cube at a Time
Edible glitter ice cubes are more than decoration—they’re evidence of intention. They tell guests you considered not just what they’ll drink, but how light will catch it, how slowly it will transform, and how safely every element was chosen. This isn’t about excess; it’s about excellence executed with humility and rigor. You don’t need a commercial lab or a $500 freezer. You need distilled water, FDA-certified mica, disciplined timing, and respect for the science of phase change. Start small: make six cubes this weekend. Watch them gleam in your afternoon spritz. Notice how your own mood lifts—not from the drink, but from the quiet pride of having mastered something beautiful, useful, and utterly safe. Then share what you learn. Because the best parties aren’t defined by extravagance alone—they’re remembered for the details that whispered, “You were worth the care.”
💬 Have you perfected a signature glitter ice technique? Encountered a surprising fix for cloudiness or sinking? Share your insight in the comments—your tip could spark someone else’s most glamorous party yet.