Cutting a dog’s nails is a routine part of grooming, but when those nails are dark, the task becomes significantly more challenging. Unlike light-colored nails, where the pink quick (the sensitive, blood-rich tissue inside) is clearly visible, dark nails obscure this vital landmark. One wrong snip can lead to bleeding, discomfort, and fear—both for the dog and the owner. Yet avoiding nail trims due to uncertainty only leads to overgrown nails, which cause pain, imbalance, and long-term joint issues.
The good news: with the right tools, techniques, and mindset, you can confidently trim your dog’s dark nails without causing harm. This guide delivers expert-backed strategies to make nail trimming safe, stress-free, and even positive for both you and your pet.
Understanding the Anatomy of a Dog’s Nail
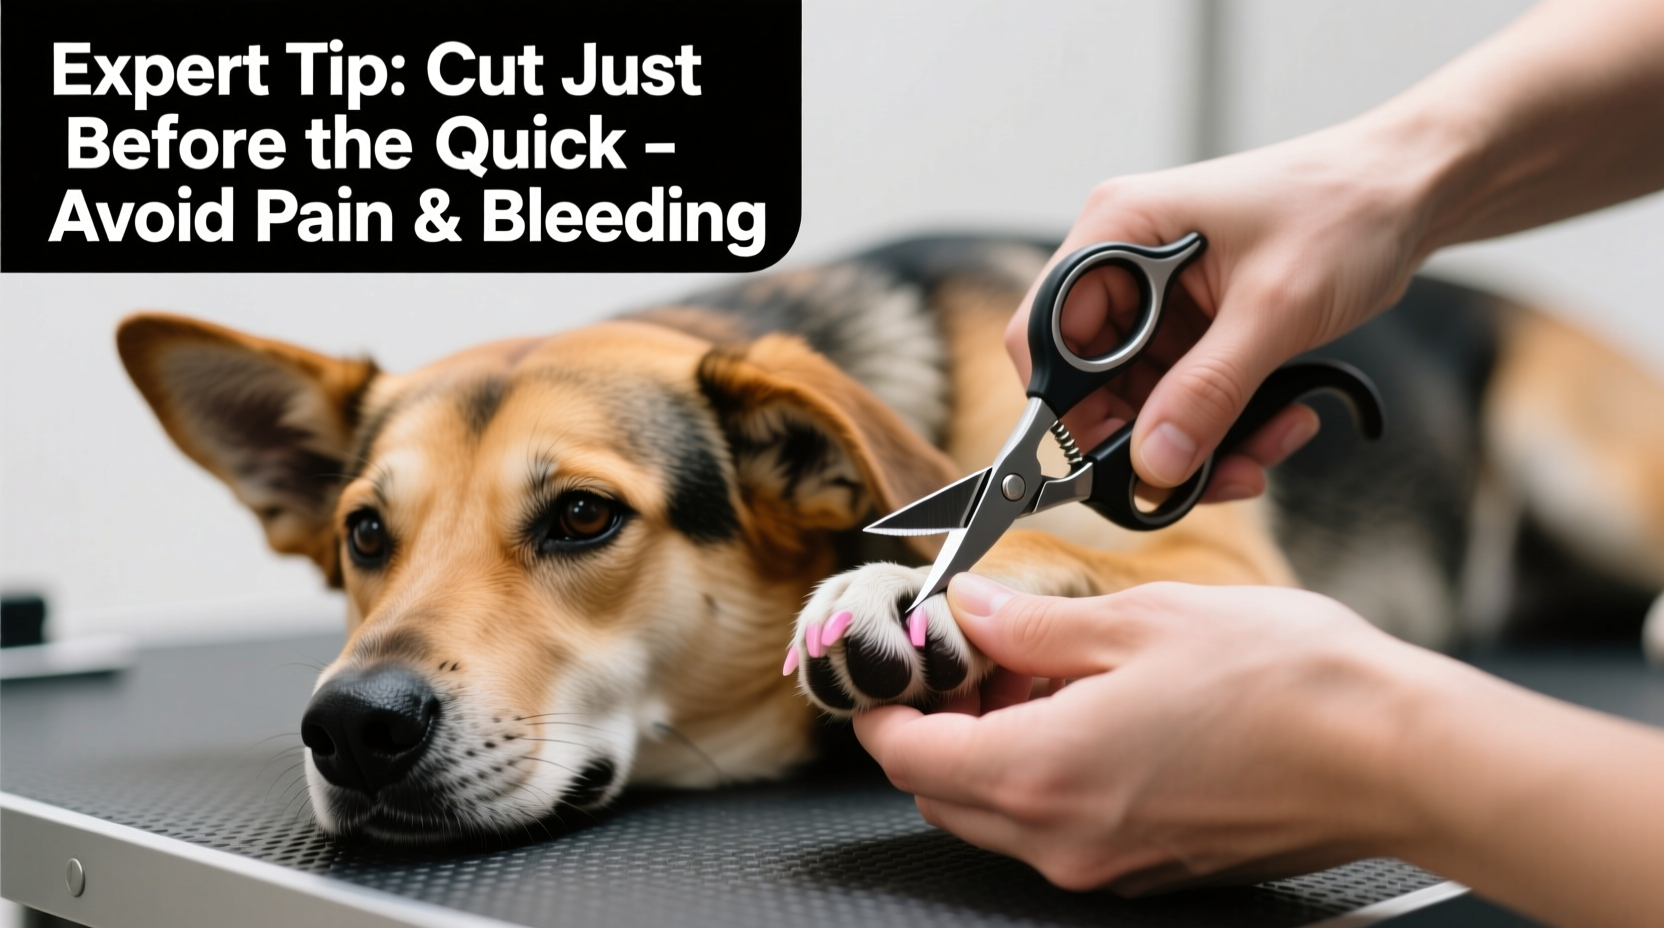
A dog’s nail consists of a hard outer shell and a soft inner core known as the “quick.” The quick contains nerves and blood vessels, making it extremely sensitive. In light-colored nails, the quick appears as a pinkish column extending from the base toward the tip. However, in dark nails, the entire structure appears black or opaque, hiding the quick from view.
Despite the lack of visibility, the anatomical principles remain the same. The quick grows along with the nail, especially if nails are never trimmed. Long-term neglect causes the quick to extend further, making future trims riskier. Regular trimming gradually recedes the quick, allowing for safer cuts over time.
“Even with dark nails, consistent, conservative trimming helps condition the quick to stay shorter—making each session easier and safer.” — Dr. Lena Patel, DVM, Canine Dermatology & Grooming Specialist
Essential Tools for Success
Using the correct equipment dramatically improves accuracy and safety. Never attempt to cut dark nails with dull or inappropriate tools.
| Tool | Purpose | Recommended Type |
|---|---|---|
| Nail Clippers | Cutting the nail cleanly | Guillotine or scissor-style; avoid side-cutters on thick nails |
| Grinder (Dremel) | Sanding down nail tips gradually | Low-noise, variable-speed model with cooling bit |
| Styptic Powder | Stopping bleeding instantly | Kwik-Stop or equivalent; keep within reach at all times |
| Treats & Clicker (optional) | Positive reinforcement | Small, high-value treats like chicken or cheese |
Step-by-Step Guide to Trimming Dark Nails Safely
Follow this methodical approach to minimize risk and build your dog’s tolerance over time.
- Prepare the Environment: Choose a quiet, well-lit room. Use natural daylight or a bright LED lamp to help detect subtle color shifts in the nail.
- Inspect Each Nail: Hold the paw gently and examine the underside. Look for a small oval or circle in the center of the nail’s cross-section—this may indicate the quick’s location.
- Start Conservatively: Cut only 1/16th of an inch at a time, especially if unsure. It’s better to leave it slightly long than risk the quick.
- Watch for the Dot: After each cut, check the freshly cut surface. If you see a tiny black or gray dot in the center, that’s the beginning of the quick. Stop immediately.
- Use a Grinder for Precision: A Dremel allows gradual shortening. Work in 5–10 second bursts to prevent heat buildup, focusing on the tip.
- Reward Calm Behavior: Give a treat after every successfully handled paw, even if no clipping occurred. Build trust first.
- Repeat Over Days: Trim one or two nails per day if needed. Rushing increases stress and mistakes.
Real Example: Helping a Fearful Rescue Dog
Baxter, a 4-year-old mixed breed rescued from a hoarding situation, had severely overgrown black nails that curled under his paws. His foster family attempted a trim using dull clippers, accidentally nicking the quick twice. Baxter became terrified of having his paws touched.
A certified groomer recommended a rehabilitation plan: daily 2-minute sessions touching his paws with no trimming, paired with chicken treats. After a week, they introduced the sound of the Dremel without contact. By week three, they were lightly sanding one nail per session. Within six weeks, all nails were properly shortened, and Baxter now tolerates grooming calmly.
This case highlights that patience and desensitization often matter more than technical skill alone.
Do’s and Don’ts When Cutting Dark Nails
| Do’s | Don’ts |
|---|---|
| Trim frequently (every 3–4 weeks) | Wait until nails click loudly on floors |
| Use sharp, clean tools | Use scissors or human clippers |
| Have styptic powder ready | Panic if bleeding occurs—apply pressure calmly |
| Work in natural light | Trim in dim lighting |
| Stop at the first sign of a dark center | Keep cutting to “get it over with” |
Frequently Asked Questions
What should I do if I cut the quick?
Stay calm. Apply styptic powder directly to the bleeding nail with firm pressure for 30–60 seconds. Most bleeding stops quickly. Comfort your dog with a treat and end the session. Avoid future trims for 5–7 days to allow healing.
Can I trim my dog’s nails while he��s sleeping?
No. This undermines trust and can create long-term anxiety. Training through positive reinforcement builds cooperation. Sneaking trims teaches your dog that being near you is unsafe.
How short should black nails be?
When standing, the nail should not touch the ground. Ideally, there should be a slight lift between the tip and the floor. Over-shortening risks pain and infection, but overly long nails alter posture and strain joints.
Building a Stress-Free Routine
The key to pain-free nail care isn’t just technique—it’s consistency and emotional safety. Dogs respond to tension. If you’re nervous, they’ll be too. Practice handling paws daily during calm moments—while watching TV or after a walk. Pair each touch with a treat. Over time, your dog will associate paw handling with rewards, not fear.
Begin actual trims only after your dog allows full paw manipulation without resistance. Start with one nail, then stop. Gradually increase as comfort grows. For particularly anxious dogs, consider enlisting a professional groomer or vet technician to demonstrate proper form in person.
“Nail trimming shouldn’t be an ordeal. When done correctly and compassionately, it becomes just another part of your dog’s wellness routine.” — Sarah Lin, Certified Professional Dog Trainer (CPDT-KA)
Final Checklist: Safe Dark Nail Trimming
- ✅ Gather sharp clippers or grinder, styptic powder, and treats
- ✅ Choose a well-lit area with minimal distractions
- ✅ Examine each nail for shape and possible quick outline
- ✅ Cut or grind in tiny increments—never rush
- ✅ Stop at the first sign of a dark center in the cut surface
- ✅ Reward calm behavior immediately
- ✅ Repeat regularly to keep the quick retracted
Take Action with Confidence
Trimming dark nails doesn’t have to be a dreaded chore. With knowledge, preparation, and patience, you can protect your dog from pain and maintain their mobility and comfort. Start today by inspecting your tools and scheduling a low-pressure paw-handling session. Small steps lead to big progress. Your dog relies on you—not just for love, but for thoughtful care that supports their health from nose to toes.
💬 Have a success story or tip for trimming dark nails? Share your experience in the comments and help fellow pet owners gain confidence!