For many pet owners, caring for a disabled dog becomes a daily responsibility that requires patience, strength, and knowledge. Whether due to age, injury, or a chronic condition like arthritis or paralysis, dogs who can no longer support their own weight need help moving from place to place. Done incorrectly, lifting can cause pain, injury, or long-term strain—for both the dog and the caregiver. The key is not just physical ability but using the right techniques at the right time.
Safely lifting and carrying a disabled dog isn’t about brute strength; it’s about mechanics, empathy, and consistency. With proper form and tools, you can preserve your dog’s dignity, prevent secondary injuries, and maintain their quality of life—without sacrificing your own health in the process.
Understanding Your Dog’s Physical Needs
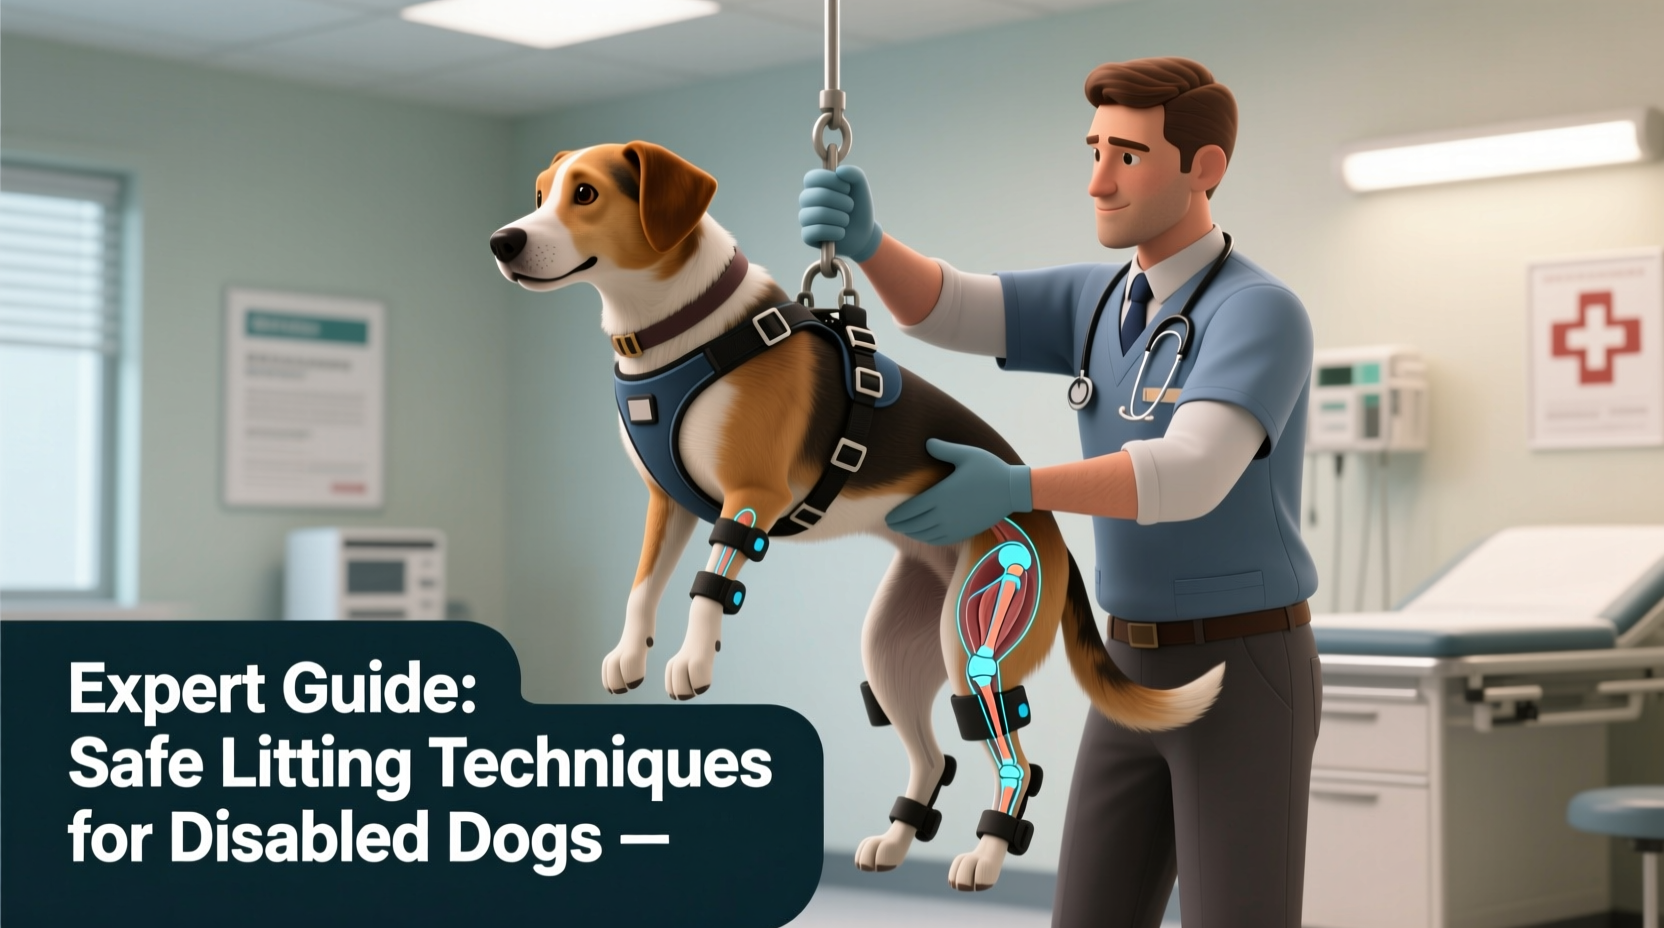
Before attempting any lift, assess your dog’s condition. A senior Labrador with hip dysplasia has different needs than a small breed dog recovering from spinal surgery. Weight distribution, mobility level, and pain sensitivity all influence how you should approach movement.
Dogs with rear limb weakness often rely on their front legs, meaning their hindquarters must be fully supported during lifts. Those with full paralysis may require two-person assistance or mobility aids. Always consult your veterinarian or a certified canine rehabilitation therapist to understand your dog’s limitations and ideal handling methods.
“Improper lifting is one of the most common causes of secondary musculoskeletal issues in disabled dogs. Supporting the correct body zones prevents strain on compromised joints.” — Dr. Laura Simmons, DVM, Certified Canine Rehabilitation PractitionerTip: Observe your dog’s posture and reactions closely. If they flinch, tense up, or avoid being touched in certain areas, those regions are likely painful and need extra care.
Step-by-Step: Safe Lifting Techniques by Size and Condition
No single method fits every dog. Below is a structured guide based on size and mobility level. Practice these techniques slowly, ideally with another person present until you’re confident.
Small Dogs (Under 20 lbs) with Limited Mobility
- Approach calmly and speak in a soothing tone.
- Slide one hand under the chest, just behind the front legs.
- Place your other hand under the rump, supporting the hips and pelvis.
- Lift gently, bringing the dog close to your chest to minimize swinging.
- Keep movements slow and smooth—avoid sudden turns or jerks.
Medium to Large Dogs (20–70 lbs) with Rear Limb Weakness
- Kneel beside your dog to reduce back strain.
- Use a folded blanket or towel as a sling: position it under the abdomen, just in front of the hind legs.
- Grip both ends of the sling firmly and rise slowly, keeping your back straight and knees bent.
- Encourage your dog to engage their front legs if possible, reducing load on your back.
- Move deliberately over short distances. Set down gently by lowering into a squat.
Large or Heavy Dogs (Over 70 lbs) or Full Paralysis
- Always use a lifting aid such as a harness with dual handles or a full-body sling.
- Two-person lifts are strongly recommended: one supports the chest/shoulders, the other the hips/pelvis.
- Coordinate lifting and lowering simultaneously to avoid twisting the dog’s spine.
- Never attempt to carry without mechanical assistance if you cannot do so without pain or imbalance.
Essential Tools and Aids for Safer Handling
While technique matters, equipment can make the difference between sustainable care and physical burnout. The right tools reduce stress on both you and your pet.
| Tool | Best For | Key Benefit |
|---|---|---|
| Support Harness (e.g., Ruffwear, GingerLead) | Dogs with mild to moderate weakness | Provides rear lift support without full restraint |
| Full-Body Sling | Paralyzed or post-surgery dogs | Even weight distribution across torso |
| Wheelchair or Caddy | Long-term mobility loss | Eliminates need for frequent lifting |
| Orthopedic Lift Belt | Caregivers with back concerns | Reduces lumbar strain during lifts |
Real Example: Helping Max, a 12-Year-Old Dachshund with IVDD
Max was diagnosed with intervertebral disc disease (IVDD) after suddenly losing coordination in his hind legs. His owner, Sarah, initially tried lifting him by the torso, which caused Max to yelp and arch his back. After consulting her vet, she learned Max’s spine was extremely sensitive and required full pelvic support.
Sarah began using a rear-lift harness and practiced the two-handed lift method. She placed non-slip mats near furniture and installed a ramp for car access. Over time, Max regained partial function through rehab exercises, but the harness remained essential for stairs and longer walks. By prioritizing proper mechanics, Sarah avoided back injury and gave Max a stable, pain-free routine.
Checklist: Pre-Lift Safety Protocol
Before every lift, run through this quick checklist to ensure safety and comfort:
- ✅ Confirm your dog is calm and aware
- ✅ Clear the path of obstacles (toys, rugs, furniture)
- ✅ Use a supportive harness or sling if needed
- ✅ Bend your knees, keep back straight, and engage core muscles
- ✅ Lift smoothly—no jerking or twisting motions
- ✅ Keep the dog close to your body during transport
- ✅ Set down gently; allow them to stabilize before releasing support
Common Mistakes to Avoid
Even well-meaning caregivers can unintentionally harm their pets. Watch out for these frequent errors:
- Lifting by the front legs only: Puts excessive pressure on shoulders and neck, especially dangerous for small breeds prone to luxating patellas.
- Holding too far from the body: Increases leverage and strain on your spine, making drops more likely.
- Ignoring your own posture: Twisting while carrying can lead to slipped discs or muscle tears in caregivers.
- Rushing the process: Dogs sense urgency and may panic, increasing the risk of struggle or injury.
“Many owners don’t realize they’re hurting themselves until it’s too late. Just like patient handling in human healthcare, dog lifting should follow ergonomic principles.” — Karen Fauntleroy, Physical Therapist & Animal Mobility Consultant
Frequently Asked Questions
How do I know if I’m lifting my dog correctly?
You’re doing it right if your dog remains relaxed, their body stays aligned (no sagging or twisting), and you can complete the lift without pain or wobbling. If either of you shows signs of discomfort, reassess your method or equipment.
Can I injure my dog even if they don’t cry out?
Yes. Dogs often mask pain instinctively. Subtle signs include lip licking, avoiding eye contact, tensing muscles, or shallow breathing. These behaviors may indicate distress even without vocalization.
Are there alternatives to lifting altogether?
Absolutely. Consider ramps for vehicles and furniture, mobility carts for paralyzed dogs, or floor-level bedding to minimize the need for elevation changes. Prevention is always better than intervention.
Final Thoughts: Confidence Through Preparation
Lifting a disabled dog safely isn’t just an act of physical support—it’s an expression of love, commitment, and responsibility. With the right knowledge, tools, and mindset, you can provide essential care without compromising your health or your dog’s comfort.
Start by mastering one technique suited to your dog’s size and condition. Invest in reliable equipment. Listen to your body and your pet’s cues. Small improvements in form today can prevent serious injuries tomorrow.
💬 Have a tip or experience that helped you care for your disabled dog? Share your story in the comments—your insight could support another pet owner facing the same challenge.