
Building a glass aquarium at home is a rewarding DIY project that combines craftsmanship with practicality. When done correctly, a homemade aquarium can be just as reliable and long-lasting as a commercial one—often more so, because you control the materials and construction quality. However, water pressure, glass thickness, and seal integrity demand precision. A single flaw can lead to leaks or catastrophic failure. This guide walks through the essential principles, tools, and techniques to ensure your aquarium is safe, durable, and built to last for years.
Selecting the Right Materials
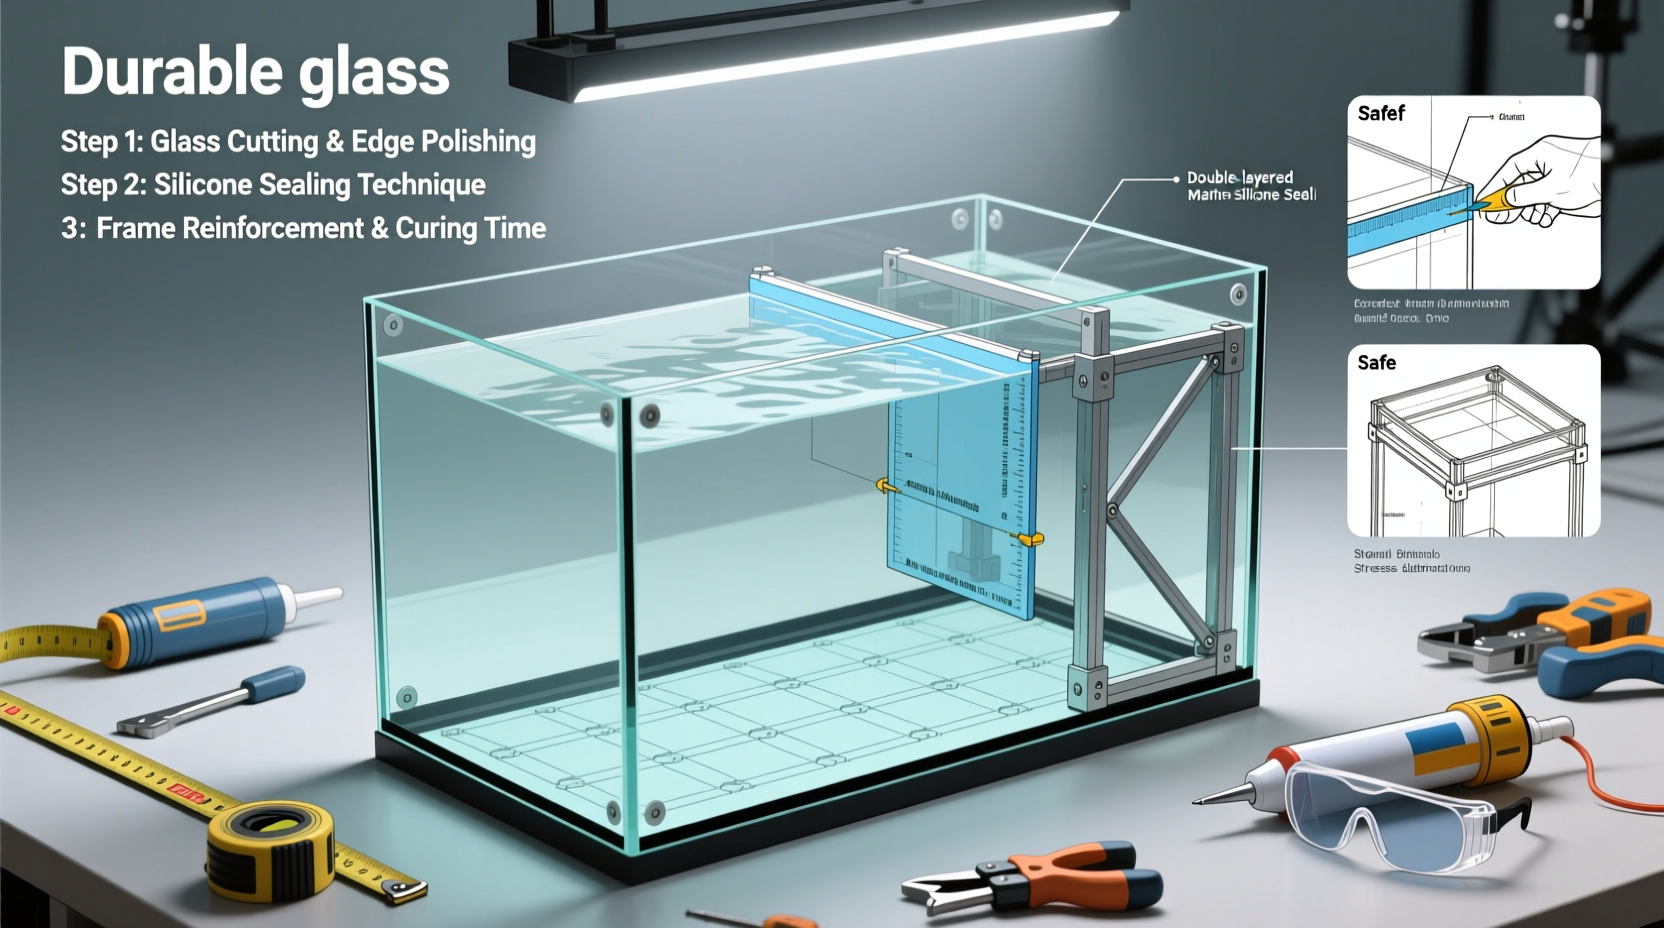
The foundation of a durable aquarium lies in high-quality materials. Standard window glass is not suitable—it lacks the strength to withstand constant water pressure. Instead, use low-iron tempered or annealed plate glass designed specifically for aquariums. The thickness depends on the tank’s dimensions. Larger tanks require thicker glass to resist bowing and stress fractures.
Tip: Always purchase glass with polished edges to reduce stress points and improve silicone adhesion.Silicone sealant is equally critical. Use 100% aquarium-safe silicone, free from mold inhibitors or additives. Brands like Momentive RTV108 or DAP Aquarium Silicone are trusted by hobbyists for their long-term durability and clarity. Never substitute with bathroom or kitchen caulk—even if labeled “waterproof.”
Design and Dimension Planning
Before cutting glass, sketch a precise layout of your aquarium. Decide on dimensions based on available space and intended use (e.g., freshwater vs. saltwater). Remember: water weighs approximately 8.34 pounds per gallon (about 1 kg per liter), so larger tanks exert significant force on seams and bottom panels.
A common mistake is underestimating side wall support. For tanks over 20 gallons, consider adding a center brace or additional top frame using the same glass material. This distributes weight and reduces lateral pressure on vertical seams.
“Glass thickness must scale proportionally with volume. A 50-gallon tank needs at least 1/2-inch glass on sides and bottom, not the 3/8-inch used in smaller units.” — David Lin, Aquatic Habitat Engineer
Step-by-Step Construction Process
Follow this sequence to assemble a structurally sound aquarium:
- Measure and cut glass panels to exact dimensions. Hire a professional glass cutter if you lack experience—imperfect edges compromise seals.
- Dry-fit all pieces on a flat surface. Ensure corners align perfectly and gaps are minimal.
- Clean each panel thoroughly with isopropyl alcohol to remove oils and dust. Any residue weakens silicone bonding.
- Apply silicone sealant along the edge of the first side panel. Press it firmly against the base glass at a 90-degree angle.
- Hold in place with tape or clamps until the silicone sets (typically 1–2 hours).
- Repeat for remaining sides, then reinforce inside corners with a continuous bead of silicone.
- Add top bracing if needed, especially for tanks longer than 36 inches.
- Cure for 48 hours in a warm, dry environment before testing.
Testing for Leaks and Long-Term Integrity
Never skip the leak test. Fill the aquarium slowly with water over 24 hours, checking every joint for seepage. Place the tank on a towel to detect even minor dampness. If a leak appears, drain immediately, dry completely, and reapply silicone to the affected area.
After passing the test, let the tank run empty for another 72 hours to confirm no delayed seepage occurs. Only then should you proceed with substrate, equipment, and water.
| Tank Size (Gallons) | Recommended Glass Thickness | Support Frame Needed? |
|---|---|---|
| 10–20 | 1/4 inch (6 mm) | No |
| 25–40 | 3/8 inch (10 mm) | Optional |
| 50–75 | 1/2 inch (12 mm) | Yes (center brace recommended) |
| 90+ | 3/4 inch (18 mm) or laminated | Yes (full perimeter or T-brace) |
Common Mistakes and How to Avoid Them
- Using incorrect silicone: Even small amounts of fungicides in regular caulk can kill fish. Always verify “aquarium-safe” labeling.
- Rushing the curing process: Silicone needs at least 48 hours to fully polymerize. Premature filling leads to bond failure.
- Uneven pressure during assembly: Clamping too tightly can crack glass; too loosely allows misalignment. Use masking tape to hold pieces gently in place.
- Ignoring substrate weight: Gravel and rock add substantial load. Reinforce the stand and floor support accordingly.
Real Example: John’s 60-Gallon DIY Build
John, an amateur aquarist from Ohio, built a 60-gallon aquarium using 1/2-inch tempered glass and marine-grade silicone. He measured twice, cut once, and braced the top with a U-shaped glass frame. After 72 hours of curing, he filled it gradually over two days. No leaks appeared. Five years later, the tank remains watertight and houses a thriving community of cichlids and live plants. His secret? Patience and adherence to engineering principles over improvisation.
Maintenance and Longevity Tips
A well-built aquarium can last decades, but routine inspection is crucial. Check silicone seams annually for cloudiness, shrinking, or cracking. Clean glass with non-abrasive tools only—steel wool or harsh pads create micro-scratches that weaken structural integrity over time.
Place the aquarium away from direct sunlight and temperature fluctuations. Thermal expansion can stress joints. Also, avoid placing heavy objects on the lid that might press down on the glass cover or frame.
Tip: Label your tank with build date and glass thickness—this helps track aging and informs future modifications.FAQ
Can I use acrylic instead of glass?
Yes, but acrylic scratches more easily and requires different adhesives (solvent cement, not silicone). Glass offers better clarity retention and rigidity for large builds.
How do I repair a leaking seam?
Drain the tank, remove old silicone with a razor blade, clean thoroughly with alcohol, and reapply a fresh bead. Allow 48 hours to cure before refilling.
Is it safe to build a rimless aquarium at home?
Possible, but not recommended for beginners. Rimless designs rely entirely on perfect edge alignment and flawless silicone bonds. Start with a framed design for added stability.
Final Checklist Before Filling
- ✅ Glass panels cut to size with polished edges
- Ensures smooth bonding and reduces break risk.
- ✅ All surfaces cleaned with isopropyl alcohol
- Removes contaminants that interfere with adhesion.
- ✅ 100% aquarium-safe silicone applied evenly
- No substitutions. Double-check product label.
- ✅ Tank assembled and clamped/taped securely
- Holds alignment during cure.
- ✅ Cured for minimum 48 hours in dry environment
- Allows full chemical set.
- ✅ Leak-tested with 24–72 hour water observation
- Confirms structural integrity.
Conclusion
Constructing a durable glass aquarium at home is within reach for any dedicated hobbyist who respects the physics of water containment. Precision in measurement, quality in materials, and patience in execution define success. By following these guidelines, you’re not just building a tank—you’re creating a stable ecosystem that supports aquatic life safely and beautifully. Whether you're housing tropical fish, breeding shrimp, or designing a planted masterpiece, your handmade aquarium can become a centerpiece of craftsmanship and care.
💬 Have you built your own aquarium? Share your experience, challenges, and tips in the comments—your insight could help others succeed.