Maintaining a clean and stable aquatic environment is fundamental to the health of fish, plants, and invertebrates. While filtration helps manage waste, only regular water changes can effectively remove accumulated toxins like nitrates and replenish essential minerals. However, replacing aquarium water improperly can stress or even harm your aquatic life. Understanding the correct procedures and timing ensures your tank remains a balanced ecosystem. This guide outlines the science-backed practices and field-tested techniques for safe, effective water replacement.
Why Regular Water Changes Are Non-Negotiable
Even with high-quality filters, organic compounds build up over time. Fish waste, uneaten food, and decaying plant matter break down into ammonia, which beneficial bacteria convert to nitrite and then nitrate. While nitrates are less toxic, elevated levels (above 40–50 ppm) can cause stress, reduced immunity, and algae blooms. Unlike ammonia and nitrite, nitrate isn’t removed by standard biological filtration—only water changes reduce it.
Additionally, water changes restore trace elements such as calcium, magnesium, and potassium that are gradually depleted, especially in planted tanks. They also help stabilize pH by removing acidic compounds that accumulate from respiration and decomposition.
“Water changes aren’t just cleaning—they’re resetting the chemical balance of the aquarium. Skipping them is like ignoring air quality in a sealed room.” — Dr. Lena Torres, Aquatic Biologist and Aquarium Health Consultant
Step-by-Step Guide to Safe Water Replacement
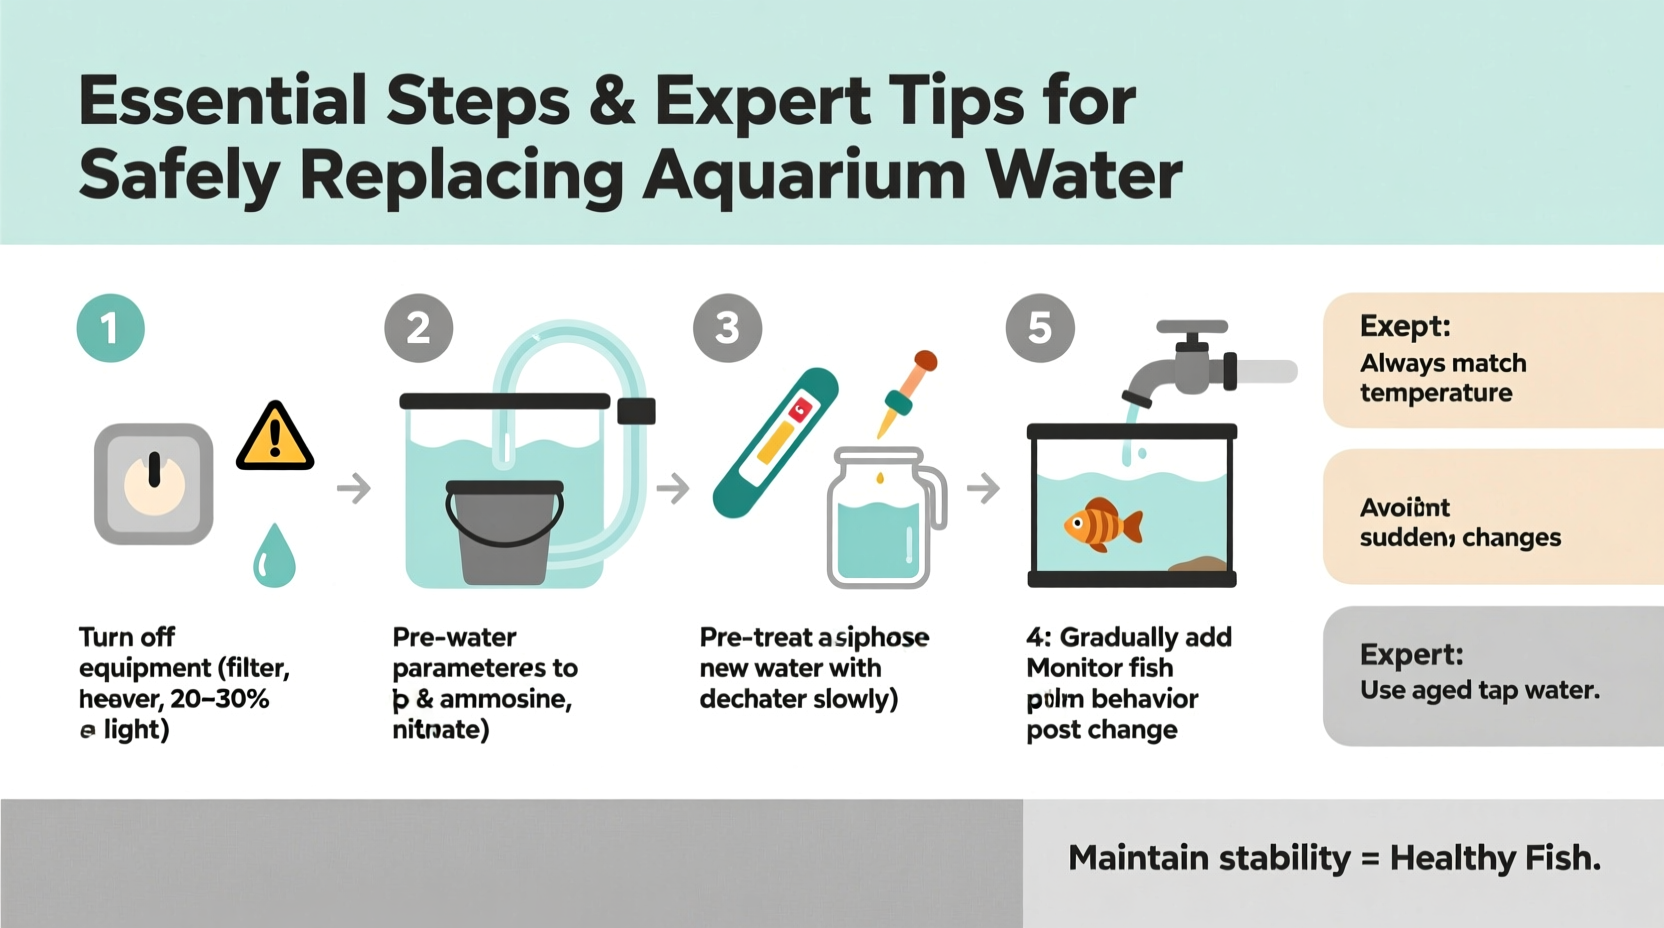
Performing a water change involves more than siphoning and refilling. A methodical approach prevents shock and maintains stability. Follow this sequence for optimal results:
- Test current water parameters: Check pH, temperature, ammonia, nitrite, and nitrate levels before starting. This baseline helps you assess how much water needs changing and detect any underlying issues.
- Prepare replacement water: Use dechlorinated tap water or pre-mixed RO/DI water. Match the temperature within ±1°F (±0.5°C) of the tank using a thermometer. Adjust pH and hardness if necessary, especially for sensitive species like discus or shrimp.
- Turn off equipment: Shut down heaters and filter pumps to prevent dry running during low water levels.
- Siphon water while cleaning substrate: Use a gravel vacuum to remove debris trapped in the substrate. Focus on high-waste areas near feeding zones but avoid disturbing deep anaerobic zones in sand beds.
- Add new water slowly: Pour replacement water onto a plate or saucer placed on the substrate to minimize disturbance. Alternatively, use a slow-flow bucket pour or connected drip line.
- Restart equipment and monitor: Turn filters and heaters back on. Observe fish for signs of stress over the next few hours.
Best Practices and Expert Tips
Success lies not just in doing water changes, but in doing them well. Seasoned aquarists rely on these strategies to maximize benefits and minimize risk.
- Stick to a consistent schedule: Weekly changes of 10–25% are ideal for most freshwater tanks. Heavily stocked or mature tanks may require 20–30% every 5–7 days.
- Clean glass and decor during water drawdown: With water level low, gently scrub algae off viewing panels and rinse decorations with old tank water (never tap water, which kills biofilm).
- Avoid filter media rinsing in tap water: Rinse mechanical media (sponges, floss) in removed tank water to preserve beneficial bacteria.
- Use a water conditioner: Always treat new water with a dechlorinator that neutralizes chlorine, chloramine, and heavy metals. Some conditioners also detoxify ammonia temporarily.
- Pre-condition water in advance: Let treated water sit for 15–30 minutes to off-gas chlorine and stabilize temperature, especially in colder rooms.
Mini Case Study: Recovering a Stressed Community Tank
Mark, a hobbyist with a 55-gallon community tank, noticed his tetras becoming lethargic and gouramis developing fin rot. Testing revealed nitrates at 80 ppm and pH dropping to 6.2. Despite functioning filtration, he had skipped water changes for six weeks due to travel.
Following expert advice, Mark performed three 25% water changes over eight days, each time matching temperature and using a pH-stabilizing conditioner. He also vacuumed the substrate thoroughly. Within two weeks, nitrate dropped to 30 ppm, pH stabilized at 6.8, and fish activity returned. The key wasn't one massive change, but consistent, measured corrections.
Do’s and Don’ts: Quick Reference Table
| Do’s | Don’ts |
|---|---|
| Change 10–25% weekly for established tanks | Replace more than 50% without cause |
| Match temperature and pH closely | Pour cold tap water directly into the tank |
| Vacuum substrate to remove detritus | Deep-clean all filter media at once |
| Use a water conditioner every time | Use soap or chemical cleaners on tank parts |
| Test water before and after changes | Ignore sudden behavioral changes post-change |
Frequently Asked Questions
How do I know if I’m changing too much water?
Signs include sudden fish stress (rapid gilling, hiding, darting), cloudy water (bacterial bloom from disrupted colonies), or pH swings greater than 0.3 units. If in doubt, reduce the volume and spread changes over several days.
Can I use rainwater or bottled water?
Rainwater is risky—it can carry pollutants and lacks buffering capacity, leading to unstable pH. Bottled spring water may contain minerals or additives unsuitable for fish. Stick to treated tap water or RO/DI with remineralization for best control and safety.
Should I remove fish during water changes?
No. Removing fish causes unnecessary stress and increases injury risk. Properly conducted partial changes are safer than handling or relocating animals. Only consider removal if performing a full system overhaul or emergency detox.
Essential Checklist for Every Water Change
Checklist:- ☑ Test water parameters (nitrate, pH, temp)
- ☑ Prepare replacement water (dechlorinate, match temperature)
- ☑ Turn off heater and filter
- ☑ Siphon 10–30% water while vacuuming substrate
- ☑ Clean algae from glass and decor (using old tank water)
- ☑ Rinse filter media in removed tank water
- ☑ Slowly add new water using a plate or diffuser
- ☑ Restart equipment and observe fish
- ☑ Record change date and observations
Final Thoughts and Next Steps
Replacing aquarium water isn’t a chore to rush through—it’s a vital maintenance ritual that sustains life beneath the surface. When done correctly, it prevents disease, supports vibrant colors, and promotes natural behaviors. The difference between a struggling tank and a thriving underwater world often comes down to consistency and attention to detail in water management.
Start applying these steps in your routine, keep a log of your changes, and watch how clarity, stability, and fish vitality improve. Your aquarium doesn’t need perfection—just thoughtful, informed care.
💬 Have a water change tip that saved your tank? Share your experience below. Your insight could help another aquarist avoid a common mistake.