Dry cat litter scattered across the carpet is a common household issue for pet owners. While it may seem like a minor mess, improper cleanup can lead to embedded particles, fiber deterioration, and even long-term odor problems. The key lies not just in removal, but in doing so without compromising the integrity of your carpet’s material. Whether you’re dealing with clay-based, silica, or plant-derived litter, using the right tools and methods ensures both cleanliness and longevity of your flooring. This guide outlines proven, non-damaging techniques that preserve carpet texture while thoroughly eliminating dry litter.
Understanding the Risks of Improper Litter Removal
Dry cat litter, though seemingly inert, poses several risks when left unattended on carpet. Clay and crystal litters are particularly abrasive and can grind into carpet fibers with foot traffic, leading to fraying or matting over time. Additionally, fine dust from clumping litters can infiltrate deep into padding, creating allergens and potential odor reservoirs. Vacuuming too aggressively on high-pile carpets may pull or stretch fibers, especially if the vacuum has a rotating brush set too low. Understanding these risks helps inform safer, more strategic cleanup approaches.
“Many homeowners worsen the situation by scrubbing or wetting dry litter prematurely. Mechanical agitation without proper preparation often embeds particles deeper.” — Dr. Lena Pruitt, Textile Restoration Specialist
Step-by-Step Guide: Safe Dry Litter Removal Process
Removing dry cat litter effectively requires patience and precision. Rushing the process increases the risk of spreading debris or damaging delicate carpet fibers. Follow this step-by-step sequence to ensure thorough yet gentle cleanup.
- Contain the Area: Prevent further scattering by blocking off the space with furniture or a temporary barrier. Avoid walking through the area.
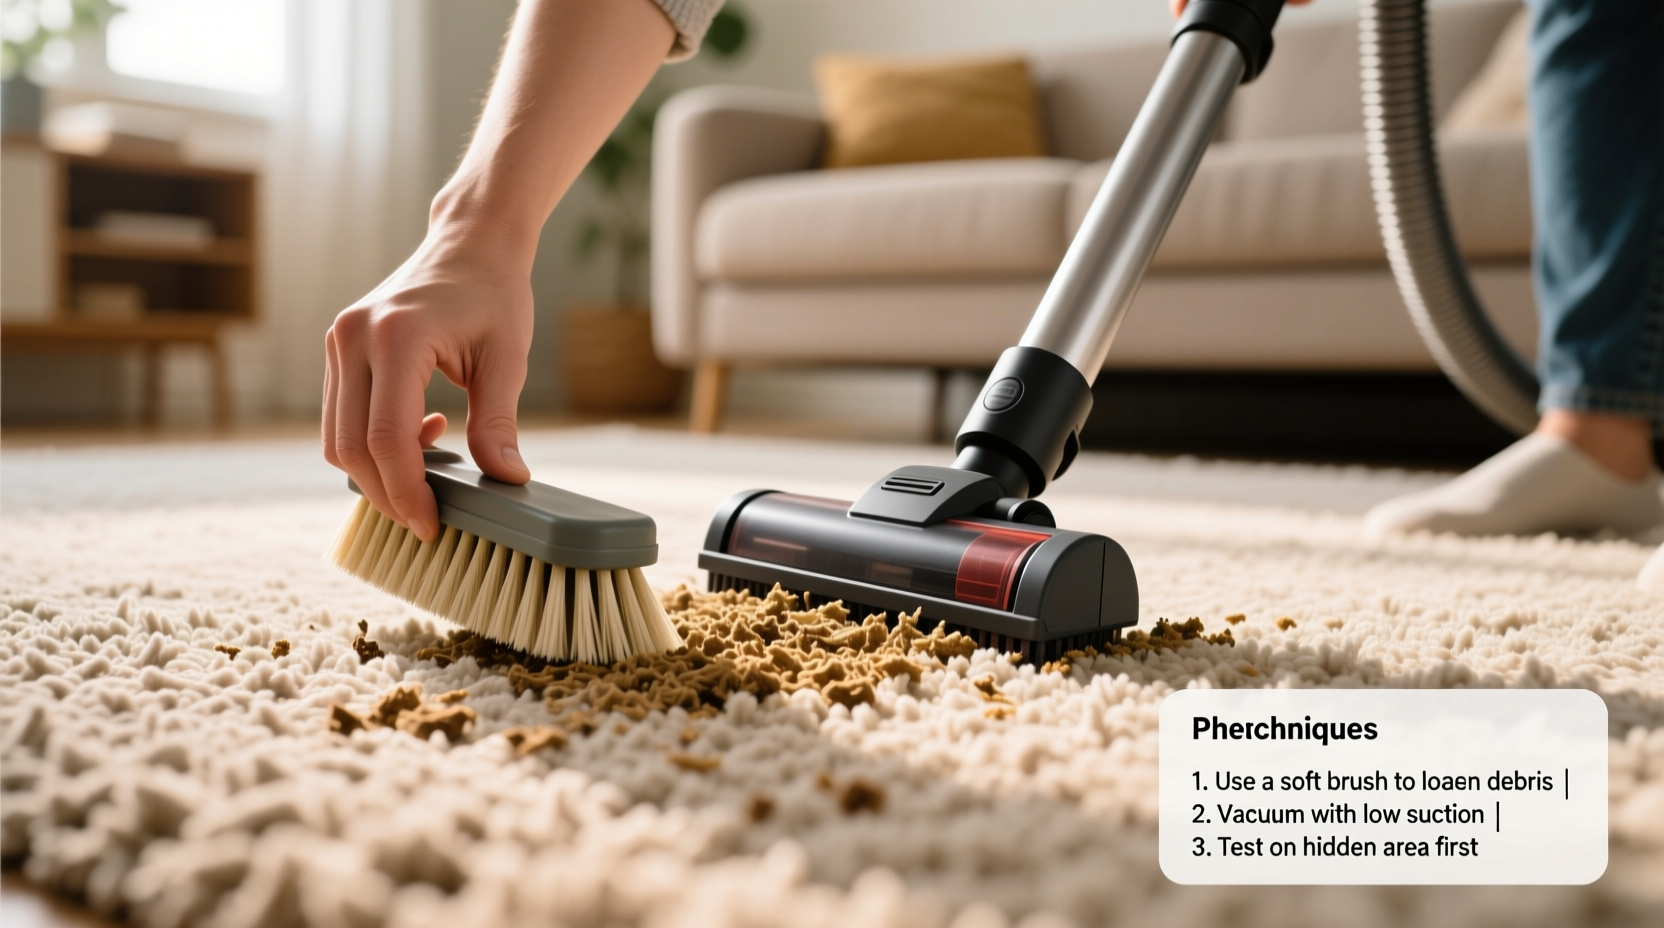
- Dry Brush Loose Particles: Use a soft-bristle brush or clean makeup brush to gently loosen litter caught between fibers. Work from the outer edge toward the center to minimize spread.
- Use a Dustpan and Hand Tool: Carefully scoop up larger clumps and visible granules. A narrow dustpan with a flexible edge fits better against the carpet surface.
- Vacuum with Proper Settings: Switch your vacuum to bare floor mode or turn off the beater bar. Use slow, overlapping strokes to lift remaining particles without pulling fibers.
- Double-Check with Tape: Wrap packing or duct tape around your hand (sticky side out) and dab the area to catch residual dust and micro-granules.
- Inspect Under Low Light: Shine a flashlight at a shallow angle across the carpet to reveal any missed specks before concluding cleanup.
Tool Comparison: What Works Best Without Damage
Not all tools are created equal when it comes to preserving carpet quality. Using inappropriate equipment can scratch fibers or push litter deeper. The table below compares common tools based on effectiveness and safety.
| Tool | Effectiveness | Fiber Safety | Best For |
|---|---|---|---|
| Soft Bristle Brush | High | Excellent | Loosening embedded granules |
| Vacuum (beater bar off) | High | Good | Final pickup on low-pile carpets |
| Packing Tape | Moderate | Excellent | Catching fine dust post-vacuum |
| Stiff Scrub Brush | Low | Poor | Avoid—can fray fibers |
| Handheld Vacuum | Moderate | Good | Small spills; limited suction power |
Real-World Example: Managing a Multi-Cat Household Spill
Sarah, a pet owner in Portland with three cats, regularly faced dry litter tracked across her wool-blend living room carpet. After one particularly messy evening, she attempted to vacuum immediately with her upright model on high agitation. The next morning, she noticed flattened patches and lingering grit underfoot. She switched tactics: first using a horsehair brush to lift particles, then vacuuming with the beater bar disengaged. Finally, she passed a piece of wide masking tape over the area. The result was a fully restored carpet with no fiber distortion. Her experience underscores the importance of technique over speed—especially with natural fiber rugs sensitive to mechanical stress.
Do’s and Don’ts of Carpet-Safe Litter Cleanup
To reinforce best practices, here’s a concise list of actions to embrace or avoid when removing dry cat litter from carpeted surfaces.
| Do’s | Don’ts |
|---|---|
| Use a soft brush to pre-loosen particles | Scrub aggressively with stiff brushes |
| Vacuum slowly with beater bar off | Use steam cleaners on dry litter |
| Employ sticky tape for final dust pickup | Wet the area prematurely |
| Check results with angled lighting | Wear socks or dirty shoes during cleanup |
| Empty vacuum immediately after use | Leave vacuum bag open near carpet |
Preventative Checklist for Long-Term Litter Control
Minimizing future incidents starts with proactive measures. Incorporate these steps into your daily routine to reduce litter scatter and protect your carpets over time.
- Place a rubber-backed mat under or beside the litter box to trap exiting particles.
- Trim your cat’s paws fur regularly to reduce litter carry-out.
- Choose low-tracking litter formulas with larger granule size or rounded edges.
- Use a covered litter box with a sifting exit tray.
- Brush your cat’s paws gently after use if they tolerate it.
- Schedule weekly carpet inspections in high-traffic pet zones.
- Rotate carpeted areas with washable rugs that can be shaken outdoors.
FAQ: Common Questions About Dry Litter and Carpet Care
Can I use a broom to sweep dry litter off carpet?
No, traditional brooms are too harsh for carpet surfaces. Their stiff bristles can fray fibers and push litter deeper. A soft brush used gently is a far safer alternative.
Is it safe to use a robot vacuum for litter cleanup?
Only if the model allows you to disable the beater bar. Many robotic vacuums have aggressive brushes unsuitable for carpet pile. Also, fine litter dust can clog sensors and filters quickly, requiring frequent maintenance.
What should I do if litter gets ground into the carpet over time?
If neglected litter has settled deep, begin with a dry brushing session, then vacuum multiple times with changing directions. Follow with tape lifting. If odors persist, sprinkle baking soda lightly, wait 15 minutes, then vacuum again—but only after all dry particles are removed.
Protect Your Floors, Preserve Your Peace
Dealing with dry cat litter doesn’t have to mean sacrificing carpet quality. With the right approach—gentle tools, careful technique, and preventative habits—you can maintain both a clean home and healthy flooring. The methods outlined here prioritize fiber preservation while delivering complete particle removal. By integrating smart routines and respecting the delicate nature of textile surfaces, pet owners can enjoy the companionship of their cats without constant cleanup battles.
💬 Have a tip that worked for your carpet type? Share your experience in the comments and help fellow pet owners keep their floors intact and litter-free.