Dog skin yeast infections—often caused by an overgrowth of Malassezia, a naturally occurring fungus—are more common than many pet owners realize. While mild cases can be managed at home with consistent care, untreated infections can lead to chronic discomfort, hair loss, and secondary bacterial issues. Recognizing early symptoms such as redness, itching, greasy skin, or a musty odor allows for prompt intervention. With the right combination of topical treatments, dietary changes, and environmental management, most dogs respond well to home-based protocols. This guide outlines practical, veterinarian-informed strategies to safely treat existing infections and prevent recurrence.
Understanding Canine Yeast Infections
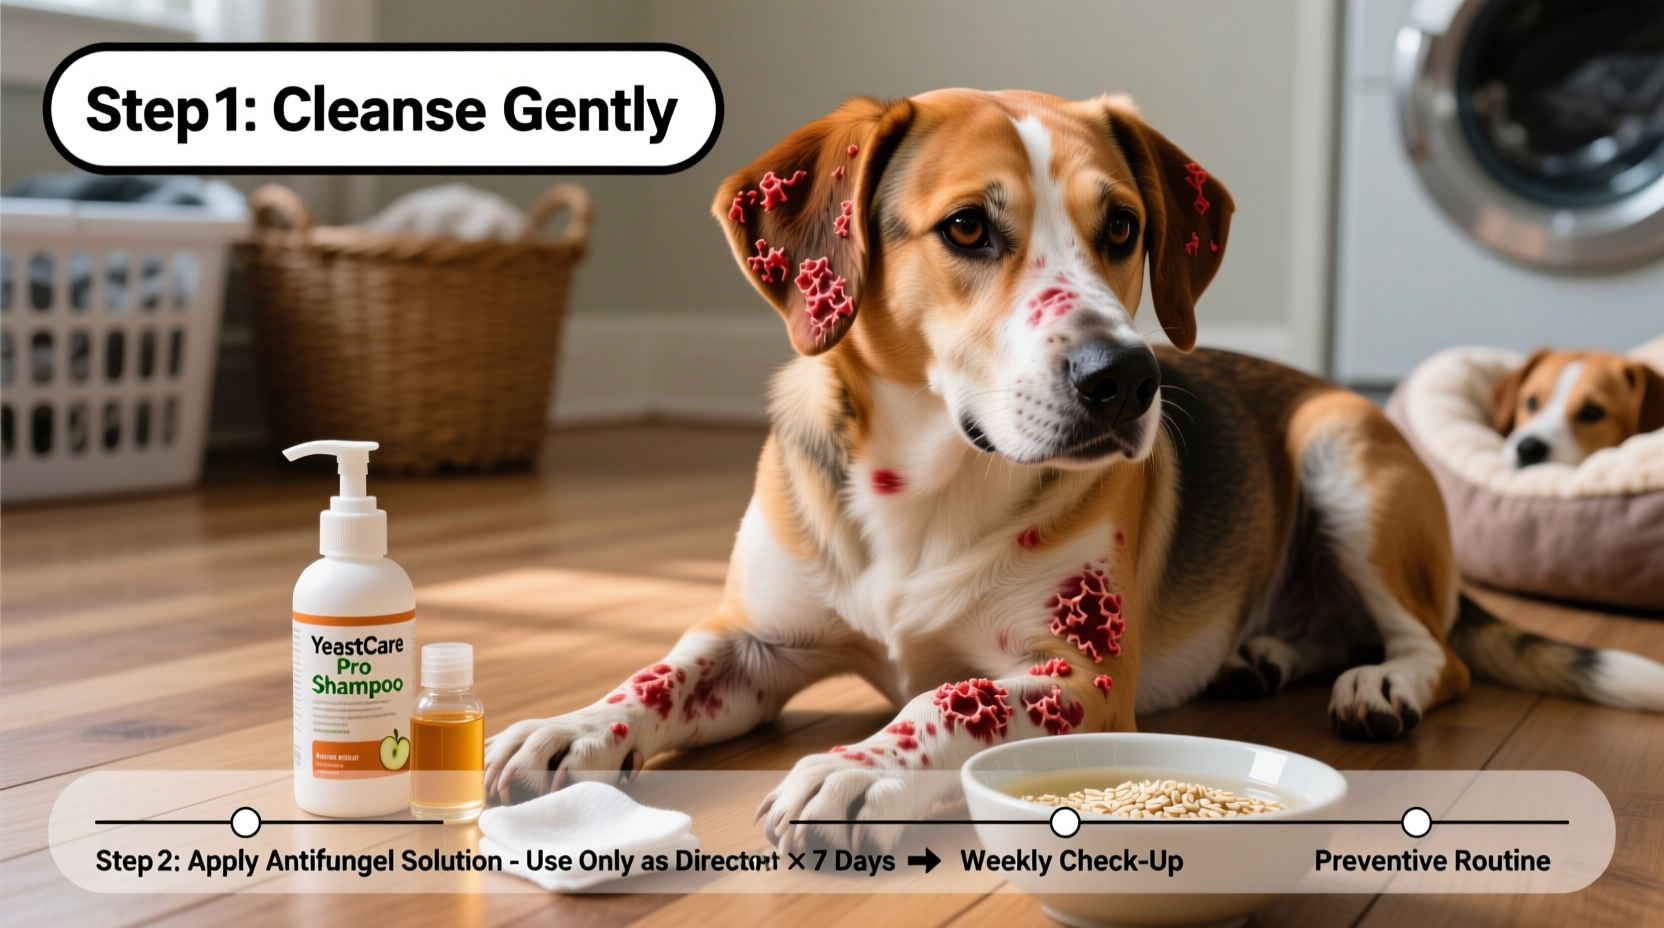
Yeast thrives in warm, moist environments, making areas like ears, paws, armpits, and skin folds prime targets. Dogs with allergies, hormonal imbalances, or weakened immune systems are especially prone. Overuse of antibiotics or steroids can also disrupt the skin’s natural microbiome, encouraging yeast proliferation.
Symptoms include persistent scratching, darkened or thickened skin, flaking, and a characteristic “corn chip” smell between the toes. While diagnosis should ideally be confirmed by a vet through skin cytology, mild cases showing clear signs can often be addressed conservatively at home with close monitoring.
“Early intervention is key. Many yeast flare-ups start subtly but escalate quickly if the underlying triggers aren’t addressed.” — Dr. Laura Simmons, DVM, Veterinary Dermatology Specialist
Step-by-Step Home Treatment Protocol
Treating a mild yeast infection at home requires consistency and attention to detail. Follow this 4-week timeline for best results:
- Week 1: Cleanse and Soothe
Use a chlorhexidine or ketoconazole shampoo twice weekly. Lather thoroughly, focusing on affected areas, and leave on for 10 minutes before rinsing. After bathing, dry your dog completely—especially in skin folds and between toes. - Week 2: Apply Topical Treatments
Use an antifungal wipe or spray containing miconazole or chlorhexidine daily. For paws, consider soaking in a solution of 1 part apple cider vinegar to 3 parts water for 3–5 minutes daily. Pat dry afterward. - Week 3: Monitor and Adjust
Evaluate improvement. If redness or odor persists, switch to a prescription-strength medicated shampoo or consult your vet. Introduce supplements like omega-3 fatty acids to support skin healing. - Week 4: Transition to Maintenance
Reduce bathing to once every 1–2 weeks. Continue spot treatments as needed. Focus on prevention through diet and hygiene.
Essential Prevention Strategies
Preventing recurrence is often more effective than repeated treatment. Address root causes rather than just surface symptoms:
- Control Moisture: Dry your dog thoroughly after swimming, bathing, or walks in damp conditions. Use a microfiber towel or blow dryer on cool setting for dogs with thick coats.
- Manage Allergies: Food and environmental allergens are major contributors. Consider an elimination diet under veterinary guidance.
- Clean Bedding Weekly: Wash your dog’s bed, blankets, and toys in hot water with fragrance-free detergent.
- Trim Hair in Problem Areas: Keep fur short around ears, paws, and groin to improve air circulation.
Dietary Adjustments That Help
Diet plays a critical role in skin health. Yeast feeds on sugar, so reducing carbohydrates and avoiding ingredients like corn, wheat, and soy can help suppress overgrowth. Opt for high-quality, limited-ingredient diets rich in animal protein and healthy fats.
Supplements that support skin balance include:
- Probiotics (to restore gut flora)
- Omega-3 fatty acids (reduce inflammation)
- Coconut oil (contains lauric acid with antifungal properties)
Do’s and Don’ts: A Quick Reference Table
| Do’s | Don’ts |
|---|---|
| Use vet-approved antifungal shampoos | Use human dandruff shampoos without consulting a vet |
| Dry your dog thoroughly after baths | Allow moisture to linger in skin folds |
| Feed a low-carb, grain-free diet | Give treats with added sugars or fillers |
| Wipe paws after outdoor walks | Ignore persistent licking or chewing |
| Visit the vet if no improvement in 2–3 weeks | Use steroid creams without diagnosis |
Real-Life Example: Bella the Bichon Frise
Bella, a 5-year-old Bichon Frise, began excessively licking her paws and developed a yeasty odor. Her owner noticed redness between the toes and greasy fur behind the ears. After ruling out fleas and food allergies with her vet, a mild Malassezia infection was suspected.
Following a home protocol, Bella’s owner started biweekly ketoconazole baths, daily paw soaks with diluted apple cider vinegar, and switched her to a grain-free diet supplemented with probiotics. Within three weeks, the licking decreased significantly, and the skin improved. By week six, the odor had disappeared. The owner now maintains a monthly medicated bath schedule and wipes Bella’s paws after every walk—keeping yeast at bay.
Comprehensive Prevention Checklist
Use this checklist monthly to reduce the risk of yeast overgrowth:
- ✅ Bathe with antifungal shampoo (every 1–2 weeks as needed)
- ✅ Wipe ears with vet-approved cleanser
- ✅ Trim hair around paws and skin folds
- ✅ Wash bedding in hot water
- ✅ Feed a balanced, low-sugar diet
- ✅ Supplement with probiotics and omega-3s
- ✅ Inspect skin weekly for redness or odor
- ✅ Avoid over-bathing with harsh soaps
Frequently Asked Questions
Can I use coconut oil on my dog’s infected skin?
Yes, virgin coconut oil has natural antifungal properties due to lauric acid. Apply a small amount to affected areas twice daily. However, avoid using it on oily or severely infected skin, as it may trap moisture. Always test on a small patch first.
Is apple cider vinegar safe for treating yeast infections?
Diluted apple cider vinegar (1:3 with water) is generally safe for paw soaks or spot cleaning. It helps restore skin pH and inhibits yeast growth. Never apply it to open wounds or raw skin, and avoid contact with eyes and ears unless directed by a vet.
How long does it take to cure a yeast infection at home?
Mild cases typically improve within 2–3 weeks with consistent treatment. Full resolution may take up to 4–6 weeks. If there's no noticeable improvement after three weeks, consult your veterinarian to rule out resistant strains or underlying conditions.
Final Thoughts and Next Steps
Managing dog skin yeast infections at home is entirely possible with diligence and the right approach. Success hinges not only on treating the current outbreak but also on identifying and addressing contributing factors like diet, moisture, and immune health. While natural remedies and hygiene routines are powerful tools, they are not substitutes for professional diagnosis when symptoms persist or worsen.
Every dog is different—what works for one may not work for another. Keeping detailed notes on treatments, diet changes, and symptom progression can help you and your vet make informed decisions. Most importantly, patience and consistency yield the best outcomes.
💬 Have experience managing your dog’s yeast infection at home? Share your tips or questions in the comments to help fellow pet owners find relief for their furry friends.