Adding natural-looking rocks to an aquarium enhances aesthetics and provides shelter for fish and beneficial bacteria. However, wild-collected or store-bought stones can carry contaminants such as dirt, algae, pesticides, or harmful microorganisms. Cleaning rocks properly before placing them in your tank is essential to maintain water quality and protect aquatic life. This guide outlines scientifically sound, practical, and safe cleaning procedures that ensure your aquarium remains a stable, thriving ecosystem.
Why Proper Rock Cleaning Matters
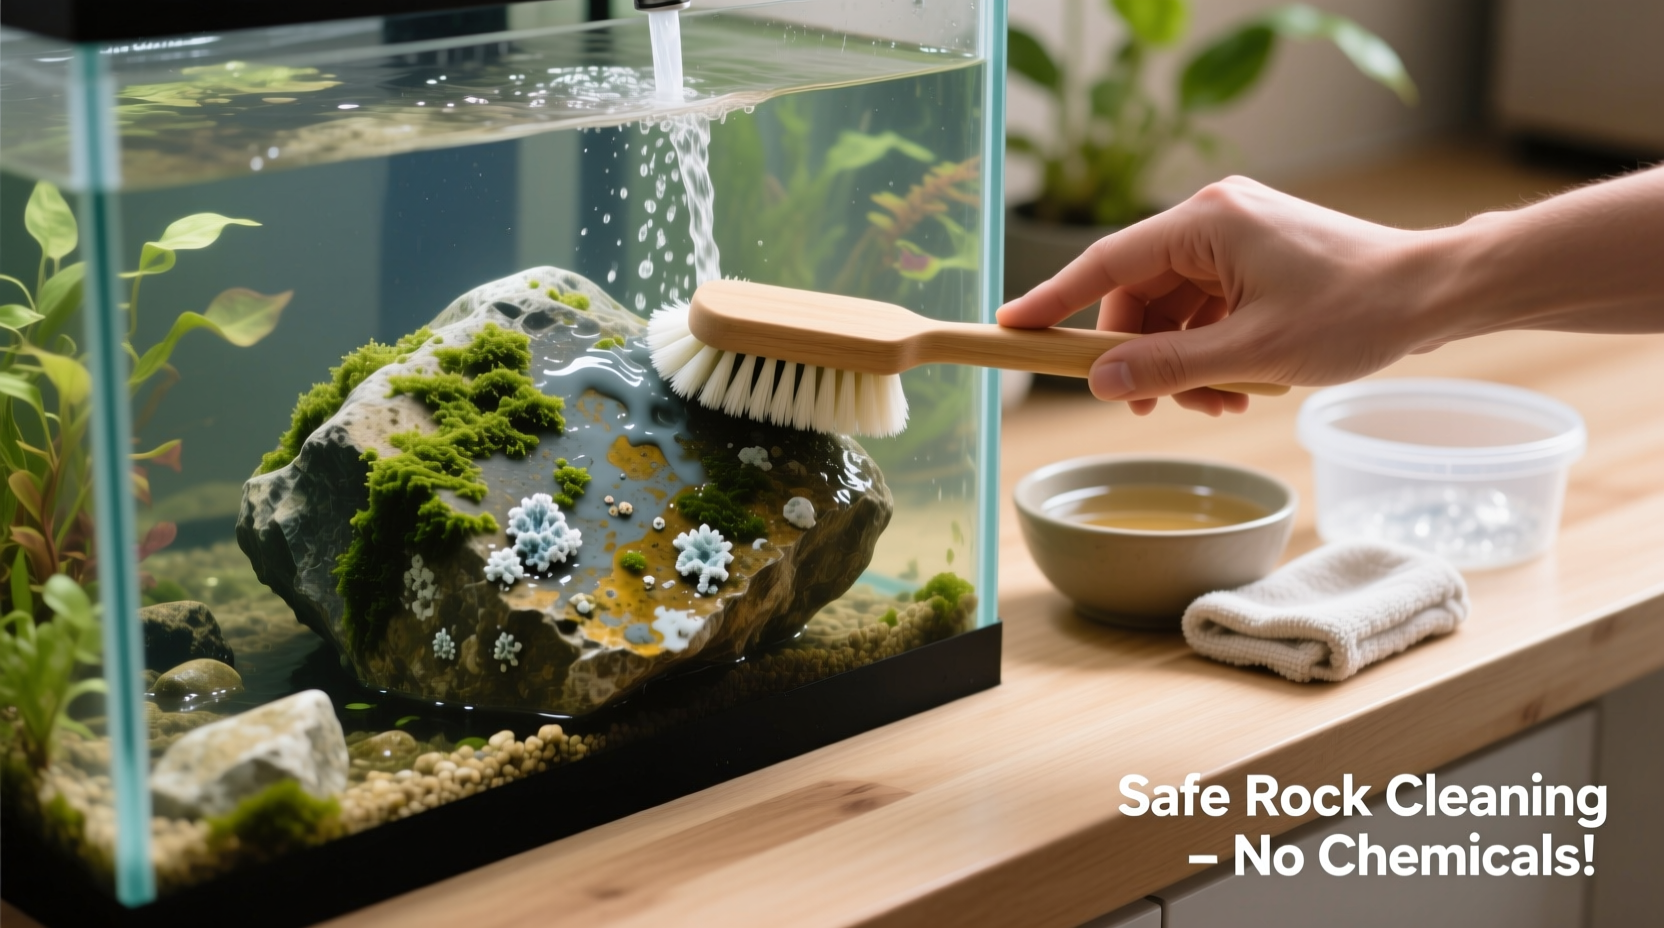
Aquarium-safe rocks do more than improve visual appeal—they contribute to biological filtration and help stabilize pH levels. But uncleaned stones may leach organic matter, alter water chemistry, or introduce pathogens. Algae spores, snail eggs, and even parasites can hitchhike on untreated rocks. Additionally, some rocks contain limestone or other minerals that dissolve in water, raising pH and hardness to dangerous levels for sensitive species like tetras or discus.
Cleaning isn’t just about appearance; it’s a critical step in preventing disease outbreaks and maintaining long-term aquarium health. Skipping this process risks destabilizing the nitrogen cycle and stressing fish, which can lead to illness or death.
“Introducing contaminated décor is one of the most common causes of new tank crashes,” says Dr. Lena Patel, aquatic biologist at the National Aquarium Research Institute. “A five-minute rinse won’t cut it. Proper sanitation protects the entire system.”
Step-by-Step Guide: How to Safely Clean Rocks for Your Aquarium
Cleaning rocks involves physical scrubbing, disinfection (if necessary), and thorough rinsing. The method depends on whether the rocks are collected from nature or purchased commercially. Follow this timeline-based approach for reliable results:
- Inspect and Sort (Day 1): Examine each rock for cracks, excessive porosity, or signs of mineral deposits. Discard any that crumble easily or appear chalky—these may be limestone. Separate into categories: porous (like lava rock) vs. dense (such as granite or slate).
- Initial Rinse and Scrub (Day 1): Use a dedicated aquarium brush (never used for household cleaning) to remove loose debris under running water. Avoid soap or detergents, which leave toxic residues.
- Soak in Dechlorinated Water (Optional, 24–48 hours): Submerge rocks in a bucket of dechlorinated water to draw out trapped sediment. Change water daily if cloudy.
- Disinfect Only When Necessary (Day 2): For wild-collected rocks, consider mild disinfection using one of the safe methods described below. Do not over-sanitize, as this can destroy beneficial trace elements.
- Rinse Thoroughly and Test (Day 3): After treatment, rinse multiple times with clean water. Conduct a simple pH stability test by soaking the rock in distilled water for 24 hours and measuring pH before and after.
- Final Inspection and Placement: Ensure no residue, odor, or cloudiness occurs during testing. Once cleared, rocks can be added to the aquarium.
Safe Disinfection Methods Compared
Not all rocks require chemical treatment. Commercially sourced aquarium rocks often only need rinsing. However, field-collected specimens should be sanitized to eliminate biological hazards. Below is a comparison of approved methods based on safety, effectiveness, and material compatibility.
| Method | Suitable For | Procedure | Caution |
|---|---|---|---|
| Boiling | Dense, non-porous rocks (slate, quartz) | Submerge in boiling water for 15–20 minutes | Avoid porous rocks—they may crack due to steam expansion |
| Bleach Solution (10%) | Stubborn algae, biofilm, or suspected pathogens | Soak 10–15 min in mix of 1 part bleach to 9 parts water; rinse thoroughly | Must neutralize residual chlorine with sodium thiosulfate or extended rinsing |
| Vinegar Soak | Removing calcium deposits or testing carbonate content | Soak 30 min in white vinegar; observe bubbling (indicates limestone) | Do not use on desired alkaline-buffering stones unless intentional |
| Oven Baking | Small, dry rocks without moisture pockets | Bake at 250°F (120°C) for 1 hour | High risk of explosion—only for experienced handlers with dry, solid stones |
| Hydrogen Peroxide (3%) | Gentle pathogen control, especially for live plants or delicate setups | Soak 30–60 minutes, then rinse well | Effective against snail eggs and fungi without harsh residues |
Checklist: Preparing Rocks for Aquarium Use
- ☐ Confirm rock type—avoid limestone, marble, or coral unless intended for hard-water tanks
- ☐ Inspect for sharp edges that could injure fish
- ☐ Scrub off visible dirt and algae with stiff brush under running water
- ☐ Choose appropriate cleaning method based on porosity and source
- ☐ Disinfect only when needed (e.g., wild collection)
- ☐ Rinse repeatedly until water runs clear
- ☐ Perform pH test soak in distilled water (24 hours)
- ☐ Allow to air-dry completely before placement (optional but recommended)
Real Example: A Beginner’s Mistake Turned Learning Opportunity
Mark, a hobbyist in Oregon, gathered river stones from a local creek to decorate his 30-gallon community tank. Excited to set up his new aquascape, he rinsed the rocks quickly and placed them in the aquarium. Within two days, the water turned cloudy, ammonia spiked, and his neon tetras began gasping at the surface.
After consulting a local fish store, Mark learned that decaying organic matter trapped in the porous rocks had fueled bacterial blooms. He removed the stones, boiled the denser ones, discarded the highly porous pieces, and re-rinsed everything meticulously. After restarting the cycle, his tank stabilized. Now, Mark advocates for proper rock preparation in online forums and always soaks and tests new additions for at least 48 hours.
Frequently Asked Questions
Can I use soap to clean aquarium rocks?
No. Household soaps and detergents contain surfactants and fragrances that are extremely toxic to fish, even in trace amounts. These chemicals disrupt gill function and can kill aquatic life rapidly. Always use mechanical cleaning (scrubbing with water) or aquarium-safe disinfectants like diluted bleach followed by complete neutralization and rinsing.
How do I know if a rock is safe for my aquarium?
Conduct two simple tests. First, the **fizz test**: apply a drop of white vinegar to the surface. If it bubbles, the rock contains calcium carbonate and will raise pH—unsuitable for soft-water tanks. Second, the **float test**: place the rock in water. If it floats initially, it’s highly porous and may trap air or decay internally. While not inherently unsafe, such rocks require longer soaking and monitoring.
Do I need to sterilize every rock I add?
Not necessarily. Store-bought aquarium rocks labeled as \"aquarium-safe\" typically only require a thorough rinse. Sterilization is recommended primarily for wild-collected materials, reused decorations from another tank, or when introducing live plants with substrate attached. Overuse of bleach or heat can strip beneficial minerals, so use discretion.
Maintaining Clean Rocks in the Long Term
Once in the tank, rocks will naturally accumulate biofilm and some algae—this is normal and even beneficial. Avoid deep-cleaning rocks inside the aquarium, as this removes colonies of nitrifying bacteria crucial to water stability. Instead, gently agitate them during water changes to dislodge excess debris. If algae become problematic, introduce algae-eating species like nerite snails or ottos rather than removing and scrubbing the rocks.
During major cleanings, never replace all rocks at once. Doing so can crash the biological filter. Rotate maintenance over several weeks and monitor water parameters closely.
Tip: Label your rock storage bins with collection date and location. This helps track performance and identify issues later.Conclusion: Build a Healthier Aquarium from the Ground Up
The foundation of a vibrant aquarium begins with thoughtful preparation. Taking the time to properly clean and test rocks safeguards water quality, supports biological balance, and prevents avoidable disasters. Whether you're setting up a first tank or expanding a seasoned display, treating your hardscape with care ensures a safer, more stable home for your aquatic inhabitants.
💬 Have a rock-cleaning tip or story to share? Join the conversation below and help fellow aquarists create healthier, more beautiful tanks—one stone at a time.