As winter temperatures drop, outdoor cats—whether they're strays, ferals, or beloved pets with access to the yard—face real risks from exposure. Hypothermia, frostbite, and respiratory illness are serious threats when cats lack proper shelter. While many assume cats naturally adapt to cold, their bodies lose heat quickly, especially in wet or windy conditions. A well-insulated, windproof cat house can be the difference between survival and suffering. The good news? You don’t need advanced carpentry skills or expensive materials to build one. With common household items and a few hours of effort, you can create a warm, dry refuge that protects your cat from freezing temperatures.
Why Outdoor Cats Need Insulated Shelters
Cats are more vulnerable to cold than many realize. Their small size and high surface-area-to-volume ratio mean they lose body heat rapidly. A cat’s normal body temperature is around 101–102.5°F (38–39°C). When ambient temperatures fall below 45°F (7°C), cats begin to feel discomfort. Below freezing, the risk of hypothermia increases significantly—especially for kittens, seniors, or underweight animals.
Shelter is essential not just for warmth but also for protection from wind, rain, snow, and predators. A poorly constructed box may trap moisture or allow drafts, making it colder inside than outside. The goal isn’t luxury—it’s thermal efficiency: creating a space where heat generated by the cat’s own body is retained, not lost.
“Even short-term exposure to extreme cold can weaken a cat’s immune system. A simple insulated shelter reduces stress and supports long-term health.” — Dr. Lena Patel, Feline Veterinarian & Animal Welfare Advocate
Materials and Tools You’ll Need
The best DIY cat houses use affordable, water-resistant, and insulating materials. Avoid cardboard alone—it absorbs moisture and collapses in snow. Instead, opt for rigid foam insulation, plastic storage bins, or wooden crates. Here’s what to gather before starting:
- One large plastic storage tote (18–24 inches long) or a wooden crate
- Rigid foam insulation boards (½ to 1 inch thick)
- Utility knife or handsaw
- Duct tape or waterproof sealant
- Old towel, fleece blanket, or straw (not hay) for bedding
- Waterproof tarp or roofing shingle (optional, for roof cover)
- Measuring tape and marker
- Screwdriver or drill (if using wood)
Step-by-Step Guide to Building a Warm Cat House
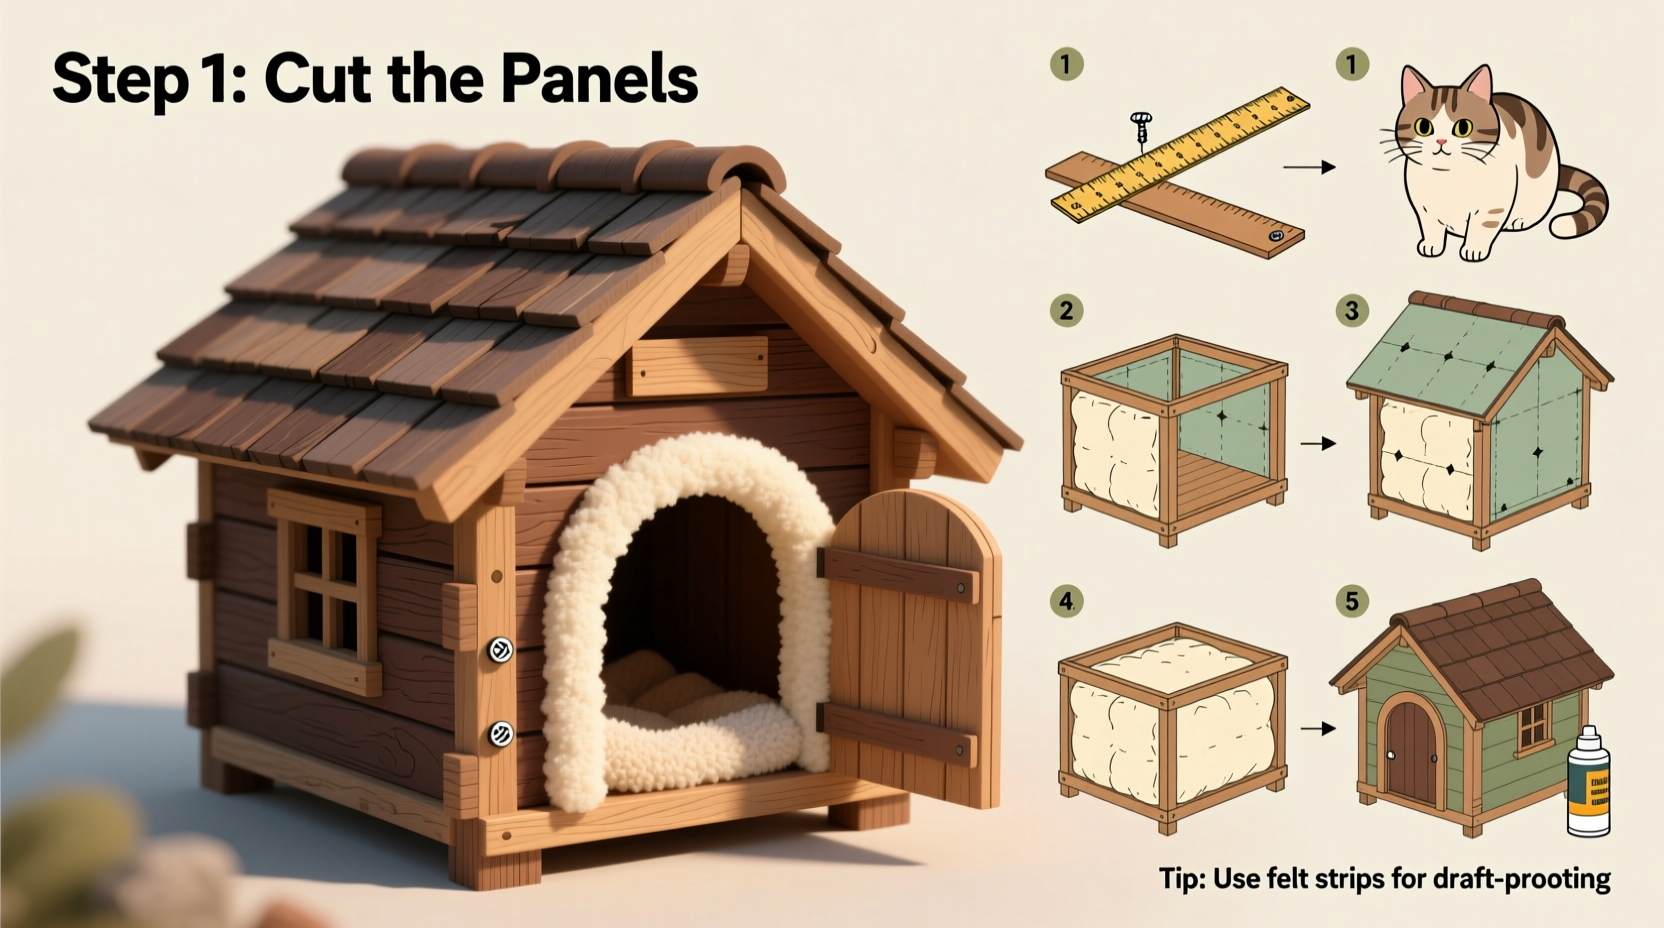
Follow this proven six-step process to construct a durable, insulated shelter that retains heat and withstands winter elements.
- Select and Prepare the Base Structure
Choose a plastic tote with a lid or a wooden box with a removable top. Plastic is lighter and waterproof; wood offers better structural support. Clean the container thoroughly and let it dry. - Insulate the Walls and Floor
Cut rigid foam insulation to fit each interior wall and the floor. Fit snugly and secure with duct tape or non-toxic adhesive. For maximum warmth, use two layers with staggered seams. Do not insulate the ceiling if using a lid—this allows ventilation. - Create a Raised Floor
Elevate the interior base 1–2 inches using scrap wood or foam blocks. This prevents ground moisture from seeping in and improves airflow underneath. Place insulation on top of the raised platform. - Cut a Small Entry Hole
Use a utility knife or hole saw to cut a 6-inch diameter entrance near the bottom of one side. Keep the opening small to minimize drafts while allowing easy access. Position the door away from prevailing winds if possible. - Add Bedding and Secure the Lid
Line the floor with a folded fleece mat or 3–4 inches of straw. Avoid cotton towels—they wick moisture. Seal the lid with duct tape or clips, leaving a small gap for ventilation. Never fully airtight the shelter—condensation buildup leads to dampness. - Elevate and Position the Shelter
Place the house on bricks, pallets, or a wooden board to keep it off wet ground. Face the entry away from wind and precipitation. Cover the top with a tarp or shingle if exposed to snow.
Design Comparison: Tote vs. Wooden Shelter
| Feature | Plastic Tote Shelter | Wooden Crate Shelter |
|---|---|---|
| Cost | $10–$15 | $25–$40 |
| Insulation Capacity | High (with foam lining) | Very High (double-walled option) |
| Weather Resistance | Excellent (naturally waterproof) | Good (requires sealing) |
| Portability | Easy to move | Heavier, less portable |
| Best For | Temporary or mobile shelters | Permanent outdoor setups |
Real-World Example: Community Cat Rescue in Chicago
In 2022, a volunteer group in Chicago’s North Side built 18 insulated cat houses using recycled plastic totes and donated insulation. Temperatures dropped to -10°F (-23°C) during a polar vortex. All monitored cats using the shelters survived without injury, while unsheltered strays in the same area showed signs of frostbite and malnutrition. Volunteers attributed success to three key factors: elevated floors, straw bedding, and south-facing placement to capture sunlight. One volunteer noted, “We checked the interiors—it was over 30 degrees warmer inside than out. That small gap saved lives.”
Common Mistakes to Avoid
- Using cardboard boxes – They degrade quickly and offer no insulation.
- Making the entrance too large – Big openings allow cold air in and warm air to escape.
- Overcrowding multiple cats in one shelter – More than 3–4 cats reduce effective warmth per animal. Build multiple units instead.
- Placing the house directly on snow or soil – Always elevate to prevent moisture absorption.
- Using fabric bedding in snowy climates – Cloth holds moisture and freezes. Stick to straw.
Frequently Asked Questions
How warm can a DIY cat house get?
A well-insulated shelter with a single cat can maintain an internal temperature 20–30°F warmer than the outside air. With straw bedding and a snug fit, a cat’s body heat alone can raise the interior to above 50°F even when it’s below freezing outside.
Can I use a heating pad or light?
No. Electrical devices pose fire and burn risks, especially in damp or chew-prone environments. Self-warming pet pads (non-electric) are safer but unnecessary if the shelter is properly insulated and sized correctly.
How often should I maintain the shelter?
Check weekly during winter. Replace wet bedding, clear snow from the entrance, and inspect for cracks or pest infestations. Clean the interior monthly with a mild vinegar-water solution if needed.
Final Checklist Before Deployment
- ✅ Insulation covers all sides except the entry
- ✅ Floor is raised off the ground
- ✅ Entry is 6 inches wide and shielded from wind
- ✅ Bedding is straw or fleece (no cotton or towels)
- ✅ Shelter is secured against tipping or blowing away
- ✅ Ventilation gap exists under or near the lid
- ✅ Positioned in a quiet, low-traffic area
Take Action Today—Your Cat Depends on It
Winter doesn’t wait—and neither should you. Whether you’re caring for a neighborhood stray or protecting your own outdoor-access cat, a simple DIY shelter can provide life-saving warmth. The materials cost less than $20, and construction takes under three hours. More importantly, it shows compassion in its purest form: providing safety when it’s needed most. Build one today, monitor it through the season, and consider sharing extra shelters with local rescues. In the coldest months, warmth isn’t a luxury—it’s a necessity.
💬 Have you built a cat shelter? Share your design tips or lessons learned in the comments—your experience could help save another cat this winter.